APRICOT TRIPLE CREME PASTRY

By Cheesemonger Evalina

IMG-0124.JPG

A little salty, a little sweet, a lot of feeling good about Brie for breakfast.

INGREDIENTS

  • 1 package puff pastry (2 sheets), thawed

PREPARATION

  1. Preheat the oven to 400º F.  Unroll the first sheet of dough and cut into 6 pieces. Arrange these on a parchment covered baking sheet, then cut the remaining piece of dough into 6 and set aside.

IMG-0118.JPG
IMG-0116.JPG

2. Spread a spoonful of jam on each of the first 6 dough rectangles, making sure to leave a ¾ inch border.

IMG-0117.JPG

3. Chop up the wedge of apricot triple creme into half-inch pieces, then evenly distribute these onto the 6 jam-topped dough pieces.

IMG-0123.JPG
IMG-0115.JPG

4. Wet the border of the apricot-covered dough with water and top with the empty piece of pastry dough. Using a fork, pinch all 4 edges shut so none of the filling can leak out later. Repeat with the other 5 pastries. 

5. Whisk the egg and tablespoon of water in a bowl, then use a pastry brush to cover the pastries in a light layer of egg wash. Using a sharp knife, cut 2-3 openings in the center of each pastry to allow pressure to release while baking. 

IMG-0125.JPG

6. Place in the preheated oven, and bake for 18-20 minutes, or until golden. Best served with coffee or tea.

IMG-0122.JPG
IMG-0120.jpg

CARAWAY CABBAGE GRATIN

by Cheesemonger Carolyn

IMG-0106.JPG

adapted from Andy Baraghani’s “Cheesy Cabbage Gratin,” Bon Appetit

Humble green cabbage gets dressed up with a savory garlic-and-caraway cream sauce, plus a healthy grating of the underrated but delicious Extra Aged Caraway Havarti. Pre-roasting the cabbage before assembling the gratin helps draw out water and concentrate flavor for maximum cheesy, creamy, cabbagey goodness. Serve alongside a simple roast chicken (recipe in notes!) for a cozy, comforting dinner to beat the late-winter blues.

INGREDIENTS

  • 1 medium green cabbage (~3.5lb), cut through the core into eight even wedges

  • Extra-virgin olive oil

  • Kosher salt

  • Freshly ground black pepper

  • 2 tbsp unsalted butter, divided

  • 4 garlic cloves, peeled and thinly sliced

  • 2 tsp caraway seeds

  • 2 cups heavy cream

  • 4 oz. Aged Parmesan, finely grated

  • 8 oz. Extra Aged Caraway Havarti, coarsely grated
    You can also substitute our Aged Sweet Cream Havarti!

  • Fresh parsley and/or dill, minced, for serving

IMG-0102.JPG

PREPARATION

  1. Position racks in the top and lower thirds of the oven and preheat to 350 degrees. Place cabbage wedges on a rimmed baking sheet and drizzle with olive oil, then season lightly with salt and pepper. Roast on the top rack until cabbage is tender and edges are browned, even charred, about 50 minutes.

IMG-0100.jpg

2. Meanwhile, melt 1 tbsp butter in a saucepan over medium low heat. Add sliced garlic and caraway seeds and cook until garlic is softened and seeds are toasted, 1-2 minutes. Add cream, 1 tsp salt, and a few grinds of black pepper. Bring to a simmer, then reduce heat and cook, stirring occasionally, until cream is fragrant and slightly reduced, about 20 minutes. Remove from heat and stir in grated parmesan until it melts.

3. Grease a shallow baking dish with remaining butter. Arrange cabbage wedges in dish and pour cream mixture over. Bake on lower oven rack, uncovered, until cream thickens and bubbles, about 30 minutes.

IMG-0107.jpg

4. Sprinkle grated caraway havarti evenly over cabbage. Move to top oven rack and bake until cheese is bubbling, beginning to brown, and generally irresistible, about 10 minutes.

IMG-0101.jpg

5. Serve warm, topped with fresh parsley and/or dill if desired, and repeat as needed :)

NOTES

  • If you have a broiler-safe baking dish (I don’t!) you could do the last step in the broiler instead of on the top oven rack. Baraghani suggests letting the gratin cool for 30 minutes, then adding the cheese and broiling for about 4 minutes. Watch closely so it doesn’t burn!

  • For an easy, crispy roast chicken: about 3 hours before you want to eat, pat a 3-4 lb chicken dry with paper towels and then rub all over with 1-2 Tbsp kosher salt, zest of 1 lemon, and lots of freshly ground black pepper. Let sit uncovered at room temp for at least 1 hour, preferably 2, then preheat oven to 425 degrees. Transfer chicken to a sheet pan or cast iron skillet (my preference). Sprinkle with leftover parsley and/or dill, and slice the zested lemon in half and stuff it into the cavity. Roast until skin is very well-browned and a meat thermometer stuck into the thigh joint registers 170 F, about 1 hour 15 minutes. Let rest 10 minutes before carving, then squeeze lemon halves over and serve alongside big scoops of cabbage gratin. For timing’s sake, I first seasoned the chicken, then prepared and baked the gratin, then roasted the chicken, then reheated the gratin at 350 degrees while the chicken rested, then carved the chicken and sprinkled more fresh herbs on everything. Simple and delicious.

IMG-0114.JPG

PASTA with ASIAGO SAUCE

By Cheesemonger Evalina

IMG-0082.JPG

This quick weeknight 2-serving dinner is simple and has all the good stuff (but also lends itself to substitutions!) : Kale, Sausage, Cheese. What more do you need?

INGREDIENTS:

  • 6oz pasta

  • 2oz kale (2 cups chopped)

  • 2oz Aged Asiago (1 cup finely grated)

  • ½ pound Italian sausage

  • 4 oz white wine (1/2 c)

  • 2 T butter

  • pinch salt

  • Ground black pepper

IMG-0080.JPG

PREPARATION

Prep – Boil water, and cook your favorite pasta shape (I’m using Rigatoni). Drain, setting aside ½ cup of the pasta water for later. Rinse and chop up the kale, then grate up your Asiago (I use a food processor to speed things along).

While pasta cooks, heat up a skillet and break up sausage links into crumbly chunks (you can also slice it into disks). Cook until they start to get crispy. Set aside sausage.

IMG-0083.JPG

Make the sauce – pour wine into a small saucepan, and simmer on low until reduced to about half. Add in the butter, salt, and pasta water from step 1, and bring to a boil on medium heat. Cook for 2-3 minutes and then dump in the cooked pasta and all but 2 tablespoons of the Asiago. Turn temp back to low and cook for 2 minutes.

IMG-0078.JPG
IMG-0079.JPG

As the sauce finishes – heat up that greasy sausage skillet from step 2 and throw the kale on. We want it to cook for only a few minutes, so it still has a nice crisp texture, but also takes on some delicious sausage flavor.

IMG-0081.JPG

Finally – Dish the pasta into serving bowls, top with a layer of kale, sausage crumbles, the rest of the Asiago, and finish with a sprinkle of black pepper.

HAM AND SWISS SCONES

by Cheesemonger Carolyn

IMG-0072.JPG

with help from Deb Perelman's treasure trove of scone recipes at Smitten Kitchen

A hearty, savory scone is the perfect vehicle for the Bread Winner, a flavorful artisan flour fresh-milled by our friends at True Grain. Using cold butter and chilling the scones prior to baking helps them keep their shape despite the delicious weight of savory ham, scallions, and our classic Nut Sweet Aged Swiss. Yields 8, plenty to share with your pod or flash freeze for a mid-week breakfast pick-me-up!

IMG-0069.JPG

INGREDIENTS

  • 280 g (or 2 cups, see notes) The Bread Winner fresh-milled flour

  • 1 tbsp baking powder

  • 1 tsp kosher salt

  • 8 tbsp cold unsalted butter, diced

  • 1/2 cup heavy cream

  • 2 eggs

  • 8 oz Nut Sweet Aged Swiss, coarsely grated

  • 6 oz cooked ham, cut into small dice

  • 3-4 scallions, thinly sliced

  • Freshly ground black pepper

IMG-0066.jpg

PREPARATION

  1. Line a large baking sheet with parchment paper for easy cleanup, then set aside.

  2. Combine flour, baking powder, and kosher salt in a large mixing bowl. Add the cold diced butter, and cut it into the flour mixture using a pastry blender or your fingers, working quickly until the mixture resembles a coarse meal with some larger pieces of butter.

IMG-0070.JPG

3. In a separate bowl, mix one egg into the heavy cream. Pour over flour-butter mixture and lightly fold ingredients together until it just combined.

4. Set aside 1 cup grated Swiss for later, then gently mix the rest into the dough along with ham and scallions. Be careful not to overwork the dough—it’s okay if it’s a little crumbly!

IMG-0074.jpg

5. Turn out dough onto a well-floured counter or cutting board. Press dough into a stout disc about 1” tall. You might need to knead a bit to bring everything together, but work gently!

IMG-0065.jpg

6. Cut dough into 8 wedges with a butter knife or bench scraper. Transfer onto prepared baking sheet and chill in fridge for at least 15 minutes. Meanwhile, preheat oven to 400 F.

IMG-0064.JPG

7. Beat remaining egg together with a tsp of water to make an egg wash. Brush over the scones, then bake until firm and golden brown, 20-25 minutes.

8. Sprinkle remaining Swiss over scones and top with a few grinds of black pepper, then return to oven until cheese is well-melted, 3-5 minutes.

9. Transfer scones to a wire rack and allow to cool for at least 10 minutes, then eat! Like most scones, these are best the day they’re baked…so consider that permission to eat as many as you’d like throughout the afternoon. :)

IMG-0071.JPG

NOTES

  • Flour is prone to inaccurate measurement, which can really affect the texture of something like a scone. If you have a kitchen scale, this is the time to use it. Otherwise, measure out two light cups of Bread Winner by first fluffing the flour with a fork, using a spoon to transfer it to the measuring cup, then leveling it.

  • To flash freeze scones for later: Transfer formed scones to a baking sheet and freeze (once solid, you can switch them to a Tupperware for easier storage). When ready to bake, pick up at step 7 and just give them an extra few minutes in the oven if needed!

SEARED BROCCOLI AND GOAT CHEDDAR SOUP with PARMESAN CROUTONS

by Cheesemonger Carolyn 

IMG-0056.jpg

Adapted from Sarah Jampel’s “Broccoli Cheddar Soup with Cheesy Croutons,” Bon Appetit

A delicious, vegetable-forward version of a soup bar classic, with a cheesy kick provided by a healthy grating of one of my personal favorite cheeses, LaClare’s Aged Goat Milk Cheddar (you can also sub in the LaClare Chandoka Cheddar which is a bit sweeter and less “goat-y”) plus Parmesan-covered croutons for a crunchy topping. Searing the broccoli before cooking locks in flavor and color, and red pepper flakes and whole grain mustard provide just the right amount of spice. It all adds up to a perfect, light dinner to eat while hoping for spring. Serves about four adults, ideal for a smaller household, but feel free to double if needed!

INGREDIENTS

  • 1 stick (8tbsp) unsalted butter

  • 2 heads broccoli (approx. 1 lb)

  • 2 small yellow onions (or 2 large shallots, see notes)

  • 4 garlic cloves

  • 1 medium russet potato

  • 1/2 tsp red pepper flakes

  • Kosher salt

  • Freshly ground black pepper

  • 5 cups water

  • 8 oz LaClare Aged Goat Milk Cheddar or LaClare Chandoka Cheddar , grated finely

  • 1-2 tsp good whole grain mustard

  • 1/2 cup full-fat Greek yogurt

  • 4 slices good white bread

  • 2-4 oz Aged Parmesan , grated finely (1/4-1/2 cup)

IMG-0050.JPG
  1. Prep and sear broccoli: Trim bottoms, peel stalks and separate from the tops, then dice the stalks into bite-sized pieces and cut the tops into smaller florets. Try to separate the florets from the stalks as much as possible—we’ll cook them at different times.

  2. Melt 2 tbsp butter in a Dutch oven (or another large lidded soup pot) over medium high heat. Add the broccoli stalks and sear, cooking till they’re browned on the bottom and nicely green on top, 3-5 minutes. Transfer broccoli stalks to a plate or bowl, then repeat with an additional 2 tbsp of butter and the broccoli florets. Transfer to plate and turn off heat.

IMG-0057+%281%29.jpg

3. Prep soup base: Halve, peel, and coarsely chop the onions. Peel, smash, and coarsely chop the garlic. Everything’s taking a trip to the blender, so don't worry about getting a fine dice—we just want everything around the same size so it cooks evenly.

4. Melt remaining 4 tbsp butter over medium low heat. Add onion and garlic and season with 1/2 tsp red pepper flakes, a generous pinch of kosher salt, and a few grinds of black pepper. Stir to combine, then cover and cook till softened and starting to take on color, 8-10 minutes. Meanwhile, peel and dice the potato into bite-sized pieces.

5. Cook soup: Once onion and garlic mix is softened and fragrant, add seared broccoli stalks (saving the florets for later!) and potato, stirring to coat in butter and seasoning. Add 5 cups water, 2 tsp salt, and bring to boil over high heat. Once boiling, reduce to a simmer, then cover and cook until broccoli stalks and potatoes are completely tender (test them with a fork), 20-25 minutes.
When broccoli stalks and potatoes are soft, add broccoli florets to pot, then cover and cook again until tender and even greener, 5-7 minutes.

IMG-0052.jpg

6. Puree and finish soup: Working in batches, puree the soup in a countertop blender, starting at the lowest setting and working your way up to desired consistency (see notes). As you work, transfer the pureed soup to another pot or large mixing bowl to make way for the next batch.

7. Transfer blended soup back to the Dutch oven and bring it back up to a simmer. Gradually add grated goat cheddar, stirring as you go, till it’s all melted in. Add 1-2 tsp mustard to taste. Stir a bit more and taste for seasoning, adding more salt or pepper if needed. Cover and reduce heat to low.

IMG-0059.JPG

8. Make the croutons: Heat broiler, then place 4 slices of bread on a rimmed baking sheet. Broil till lightly browned, 2-4 minutes, watching closely so they don’t burn. Flip the slices so the light side is facing up, then top with a thick layer of grated parmesan and season with black pepper. Return to broiler until cheese is melting and bubbly, 1-2 minutes. Set aside to cool a bit.

IMG-0058.jpg

9. Serve: Remove soup from heat, taste one more time for seasoning and adjust if needed, then add 1/2 cup Greek yogurt, stirring to blend well. Cut cheese toasts into bite-sized croutons. Divide soup among bowls, then top with croutons, any extra parmesan, and one last grind of black pepper for good measure. Eat and enjoy! Reheat leftovers at a simmer on the stovetop for best results.

IMG-0051.JPG

NOTES

  • On onions vs. shallots: my grocery store had GIANT shallots this week, so for one test I replaced the onions with two of those—the flavor was a little bit sweeter and milder, but not hugely different. I liked it both ways. If you want to use normal, small shallots, try 3 or 4.

  • On searing the broccoli: I borrowed this tip from cookbook writer Lukas Volger and he borrowed it from NYT Cooking columnist Melissa Clark. Searing locks in color and flavor, so searing the broccoli before adding it to the soup ensures a lovely green color and some nice smoky, vegetal notes to complement the tangy goat cheddar.

  • On pureeing soup in a blender without making a mess: Work in batches, making sure the blender is only about 1/3 full each time, then hold the blender lid down with a kitchen towel draped over it for extra protection as you blend. Or you can use an immersion blender if you’ve got one and puree the soup right in the pot!

IMG-0053.JPG
  • As always, customize this recipe to your flavor preferences and dietary needs! Skip the mustard and/or red pepper flakes if you don’t care for the added spice, add a handful of spinach with the broccoli florets for extra green, replace the Greek yogurt with crème fraîche if you’ve got it or skip it altogether if you want a lighter soup, make grilled cheeses for dipping instead of croutons…the list goes on!

Chipotle Cheddar Mac and Cheese

by Cheesemonger Carolyn

adapted from Martha Stewart’s “Macaroni and Cheese 101,” from The Martha Stewart Living Cookbook: The Original Classics

Freezing temps and heavy snow call for some cozy comfort carbs…ideally with a little bit (or a lot) of heat. Macaroni and Cheese, meet Kickaas Chipotle Espresso Cheddar. Martha Stewart’s classic baked mac gets an upgrade from some flavorful TCP favorites, plus a can of chipotle chiles in adobo for extra spice. This dish is great on its own for an easy batch of WFH lunches or alongside a simple protein and green veg for a full feast—in my household, we served it with chile-rubbed pork chops and roasted Brussels sprouts.

INGREDIENTS

  • 8 tablespoons unsalted butter, divided, plus more for baking dish

  • 6 slices good white bread (see notes)

  • 5 1/2 cups whole milk

  • 1/2 cup all-purpose flour

  • 2 teaspoons kosher salt, plus more to taste and for pasta water

  • 1/2 teaspoon smoked paprika

  • 8 oz Kickaas Chipotle Espresso Cheddar, grated

  • 8 oz Applewood Smoked Gouda, grated

  • 8 oz Aged Asiago, or Aged Parmesan grated

  • 1 7-oz can chiles in adobo, chopped, with their sauce

  • 1 pound short pasta such as elbow macaroni, fusilli, or cavatappi (my favorite!)

  • Cilantro and your favorite hot sauce, to garnish as desired

IMG-0043.JPG

PREPARATION

  1. Let’s get started! Preheat your oven to 375 degrees. Butter a large casserole dish (at least 3 quarts) and set aside. Fill a large stockpot with water (about 5 quarts), salt it generously, then cover and place it on a back burner so it’s boiling by the time you’re ready to cook the noodles.

  2. Prep your bread crumbs: Remove the crusts from the bread and cut or tear into about half-inch pieces. Melt 2 tbsp butter in a large-ish microwavable mixing bowl, stopping and stirring every 30 seconds or so. Then add the paprika and the bread crumbs, tossing well.

IMG-0041.jpg

3. It’s roux time! Warm the milk in a saucepan set over medium heat. Then, melt the remaining 6 tbsp butter in large high-sided skillet or sauté pan over medium heat. When the butter begins to bubble, add the flour. Cook, stirring with a whisk, for one minute.

IMG-0044.JPG

4. Slowly add in the hot milk a little at a time, whisking as you pour to keep the mixture smooth. Continue to cook and whisk constantly until the mixture bubbles and becomes thick, 8 to 12 minutes.

IMG-0046.jpg

5. Remove the roux from the heat. Set aside about 1/4 cup of each cheese with the bread crumbs for topping. Then, stir in the remainder of each cheese along with the chopped chiles, their sauce, and 2 tsp kosher salt. Taste your sauce—it should be rich and creamy and delicious and just a little bit spicy and smoky. Adjust salt and heat to your preference, adding more seasonings if you like (see notes). Set aside.

IMG-0040.jpg

6. Prep your noodles: Ideally your water is now boiling! Cook pasta about 4-5 minutes less than your package suggests, so the outside of the noodle is cooked but the inside is underdone. Transfer the pasta to a colander, rinse under cold water, and drain well. Stir the pasta into the reserved cheese sauce.

7. Pour the cheesy pasta into your prepared baking dish. Sprinkle the bread crumbs and remaining cheeses over the top. Bake until the cheese is bubbling, bread crumbs are golden brown, and the entire thing looks (and smells) irresistible, about 30 minutes. Transfer to a wire rack to cool for about 5 minutes.

IMG-0042.jpg

8. Garnish as desired with cilantro and/or hot sauce, then serve and enjoy! Leftovers, should you have any, can be reheated in a 350-degree oven for about 10 minutes or microwaved.

NOTES

  • For maximum success with grating semi-firm cheeses like the chipotle cheddar and smoked gouda, use the large holes of a box grater and grate ‘em up when they’re nice and cold from the fridge.

  • You might want more breadcrumbs—I used 6 slices of bread a la Martha but when I make it again, I’ll use at least 8 or maybe even double it (!) for extra crunch.

  • I have a low-ish spice tolerance and was surprised to find that the full can of chiles provided the perfect amount of heat—and even more surprised that the hot sauce junkies in my pod agreed! But you can absolutely adjust the sauce to your preference…skip the chiles, use half the can, add a second can, throw in a few pinches of cayenne pepper, follow your heart! If your household is divided on matters of spice, thrill-seekers can simply kick up their own servings with extra hot sauce.

  • If you’ve got a spare half pound of Great Grand Cheddar lying around, it’s an excellent sub for the Gouda—you’ll get a bolder Cheddar flavor and lovely orange color, with the only trade-off being a slightly less creamy/cohesive sauce. I tested one version with Cheddar and one version with Gouda and loved both, but found the Gouda to be slightly easier to use for melting purposes.

  • If needed, you can totally make this gluten-free! Use slices of your favorite GF bread for the topping (or skip the bread crumbs), chickpea- or rice- based pasta, and King Arthur’s Measure for Measure flour. Note that the tapioca starch in the flour blend will result in a much thicker roux/cheese sauce (not a bad thing) and that GF pasta generally takes longer to cook, so you’ll probably need 7-8 minutes to get it to the level of doneness we’re after.

BEER CHEESE SAUCE AND PRETZEL BITES

by Cheesemonger Evalina

dip&pretzels.jpg

Both adapted from Gimme Some Oven

Pretzel Bites

INGREDIENTS

  • 1 ½ cups warm water or milk

  • 1 tablespoon sugar (I used brown)

  • 2 teaspoons salt

  • 2 ¼ teaspoons active dry yeast (equal to 0.25-oz packet)

  • 2 tablespoons melted butter

  • 4 ½ cups bread or all-purpose flour

  • 6 cups water

  • ⅓ cup baking soda

  • 1 egg

  • 1 tablespoon water

PREPARATION

  1. Mix warm water (or milk) with sugar and salt, then sprinkle the yeast on top. Let sit for about 5 minutes or until foamy.

  2. Measure flour into a bowl, make a well, and then dump in the yeast mixture and melted butter. Stir until mostly combined, and then turn the dough out onto a countertop/large cutting board to knead for 4 minutes. (One could use a stand mixer, but I found the dough a bit too dense for that.)

  3. Shape dough into a ball and place in an oiled bowl. Cover with cling wrap/a wet towel and let rise in a warm place* for 30-60 minutes (until doubled). Smiley face optional :)

IMG-0028.jpg

4. Preheat the oven to 450ºF, and grease 2 baking sheets, then bring the water and baking soda to a boil in a large saucepan.

5. Cut the ball of dough into 8 pieces. Roll each out into a ¾-inch wide rope, and cut the rope into 1-1½-inch long pretzel bites.

IMG-0029.jpg
IMG-0031.jpg

6. Using a wire strainer or slotted spoon, carefully transfer 10 or so pretzel bites at a time into the boiling water mixture. Cook for 30 seconds and then transfer to the greased baking sheets. Repeat until all of the bites have been boiled.

7. Whisk the egg and tablespoon of water together, then brush that on top of the pretzel bites. Top with coarse sea salt and bake for 11-14 minutes (or until brown).

8. Brush with butter right before serving -- and they really are best served warm!

Beer Cheese Sauce

INGREDIENTS

  • 2 tablespoons butter

  • 2 tablespoons flour

  • 1 cup beer**

  • ½ cup milk

  • 1 ½ teaspoons prepared mustard

  • 1 teaspoon Worcestershire sauce

  • 1 cup (8 oz/half pound hunk) shredded TCP Applewood Smoked Gouda

  • 1 cup (8 oz/half pound hunk) shredded TCP 8yr Great Grand Cheddar

  • Pinch salt

  • Pinch black pepper

  • ½ teaspoon smoked paprika

PREPARATION

  1. Melt butter in a large saucepan over medium heat, then add the flour and cook for a few minutes.

  2. Pour in the beer, milk, mustard, and Worcestershire. Whisk until smooth and thick.

  3. Add in the cheese and continue whisking until everything is blended together.

  4. Turn heat to low and add the seasonings (adjusting amounts as needed).

  5. Serve warm with pretzel bites! (or veggies or pasta, or french bread, the possibilities are both endless and delicious!)

NOTES
*Rise time differs for everyone, it all depends on kitchen warmth and humidity. If you live in an old drafty Chicago apartment like me, here’s a trick I’ve learned: Preheat the oven to 200 degrees but then shut it off after 2-4 minutes. Make sure the inside isn't too hot -- remember we want it to rise and not bake -- and place your dough inside with the light on.
** I used a pale ale (“Daisy Cutter” from Half Acre Beer Company in Chicago) but would totally recommend experimenting with different types! Something heavier goes well with bread, or if being served with veggies, I'd recommend a beer on the lighter side.

MELTY SWEET POTATOES

by Cheesemonger Maggie

64BA4998-9BAA-4D5B-A24F-81F65D234629.jpeg

Adapted from Laura Bolton’s “Sweet Potato Gratin” and “Melissa Clark’s Sweet Potato and Gruyere Gratin”

When many Americans think of sweet potatoes, the next thought probably includes brown sugar, marshmallows, and feigned approval around the Thanksgiving dinner table. No more! This sweet potato casserole is gooey, savory, rich, and, in case you weren’t convinced, has a filigree bottom crust of smoked cheddar and a broiled Pleasant Ridge topping to hold in those creamy, warm sweet potatoes. Make this if you’re in need of a hearty side dish, or just craving a vehicle for a couple of top notch cheeses.

INGREDIENTS

  • 2 lbs peeled sweet potatoes (about 3 medium potatoes)

  • 1 cup (8 oz or 1/2 lb hunk) grated Pleasant Ridge Reserve (Further known as PRR; cut off the rind before shredding)

  • 1 cup (8 oz or 1/2 lb hunk) grated Applewood Smoked Cheddar

  • 1 tsp olive oil

  • 4 large cloves minced garlic

  • 1 cup half-and-half or heavy cream

  • 3 Tbsp chopped fresh sage (3 tsp dried)

  • 1 Tbsp finely chopped fresh rosemary (1 tsp dried)

  • ¼ tsp ground nutmeg

  • Kosher salt and fresh-ground black pepper, to taste

PREPARATION

IMG_0023.JPG
  1. Preheat the oven to 400°. Butter a 9-inch baking dish and evenly sprinkle half of the smoked Cheddar over the buttered surface.

  2. Slice your peeled sweet potatoes into ⅛ inch rounds. If you have a mandoline, now’s the time to break it out. If not, a sharp knife will certainly suffice. Arrange one third of the rounds evenly over the cheese on the bottom of the pan.

  3. Set aside half of the PRR. Sprinkle the sweet potatoes with a third of the remaining Cheddar and PRR, then a layer of sweet potatoes, then cheese, then potatoes. Leave the top of the potatoes without any cheese!

IMG_0021.jpg

4. Heat your olive oil over medium heat in a skillet or heavy-bottomed saucepan . Saute the garlic until fragrant, about 3 minutes. Turn heat to low, and add the cream or half-and-half, rosemary, sage, and nutmeg. Stir often, and try to keep the mixture from boiling. Season with salt and pepper to taste.

IMG_0024.jpg


5. After heating the cream mixture for about 5 minutes, pour it over the layered potatoes as evenly as possible. Most of the herbs and garlic will stay on top; that’s perfectly fine.

6. Cover the baking dish with foil, and bake for 40-45 minutes, until the potatoes are fork-tender. Remove the foil, and top the potatoes with the remaining cheese. Broil everything for 5-6 minutes, until the cheese is browned and melted on top.

JACK N DILL MONKEY BREAD

by Cheesemonger Carolyn

IMG_0011 2.jpeg

Adapted from Chris Morocco’s “Cheesy Monkey Bread,” Bon Appetit, and Deb Perelman’s “Rushed Pizza Dough,” the Smitten Kitchen Cookbook

This savory twist on a classic monkey bread takes advantage of our Kickaas Jack N Dill’s fresh herby flavor and delicious melty texture. Use store-bought biscuit dough for an easy appetizer with a slightly firmer texture, or try making your own pizza-style dough for something a little more soft n gooey. This basic recipe calls for pantry staples like dried onion flakes, but if you’re feeling more adventurous, amp up your monkey bread with some fresh ingredients like minced shallot or lemon juice—check out further suggestions at the end!

INGREDIENTS

If making dough from scratch:
- 3/4 cup warm water
- 1 3/4 tsp active dry yeast OR 1 1/4 tsp instant yeast
- 2 cups all-purpose flour
- 1 1/2 tsp table salt
- Olive oil (for coating bowl)

If using store-bought dough:
- One 16 oz. can biscuit dough (I used Pillsbury Grands Southern Homestyle, but pick your favorite or whatever’s available!)

For both versions:
- 8 oz. (1/2 lb hunk) TCP Kickaas Jack N Dill
- 1/4 cup (half a stick) unsalted butter, plus a tbsp or two for greasing your pan
- 1 tbsp dried onion flakes
- 1 1/2 tsp garlic salt
- 1/2 tsp table salt
- Freshly ground black pepper, to taste

PREPARATION
If you’re interested in making your own dough, start here. I promise, it’s not that hard! Otherwise, skip on down to the next section.

  1. Turn your oven on low—about 200-225 degrees—for five minutes, then turn it off.
    This’ll create a nice cozy spot to speed up your dough’s rising time!

  2. Pour 3/4 cup of warm water into the bowl of your stand mixer. If you’re using active dry yeast, sprinkle it over the water and let it stand for five minutes, until it foams a little bit. If you’re using instant yeast, you can just sprinkle it over the water and proceed—no need to wait.

  3. Add the flour and salt, then mix with your dough hook at a moderate speed until ingredients are just combined. Reduce the speed to as low as your machine goes, and let the hook do your kneading for you until you get a nice, smooth elastic dough, usually about 5 minutes. (No stand mixer? You can absolutely do this by hand—see NOTES.)

  4. Set your dough on a clean countertop for a minute while you coat the mixing bowl with a bit of olive oil (about a tablespoon, but just eyeball it!) Place dough back in the bowl, flip it a few times so all sides get coated in oil, then cover the bowl with plastic wrap. Place in your previously warmed oven and let it hang out there for about 30 minutes, or until roughly doubled in size.

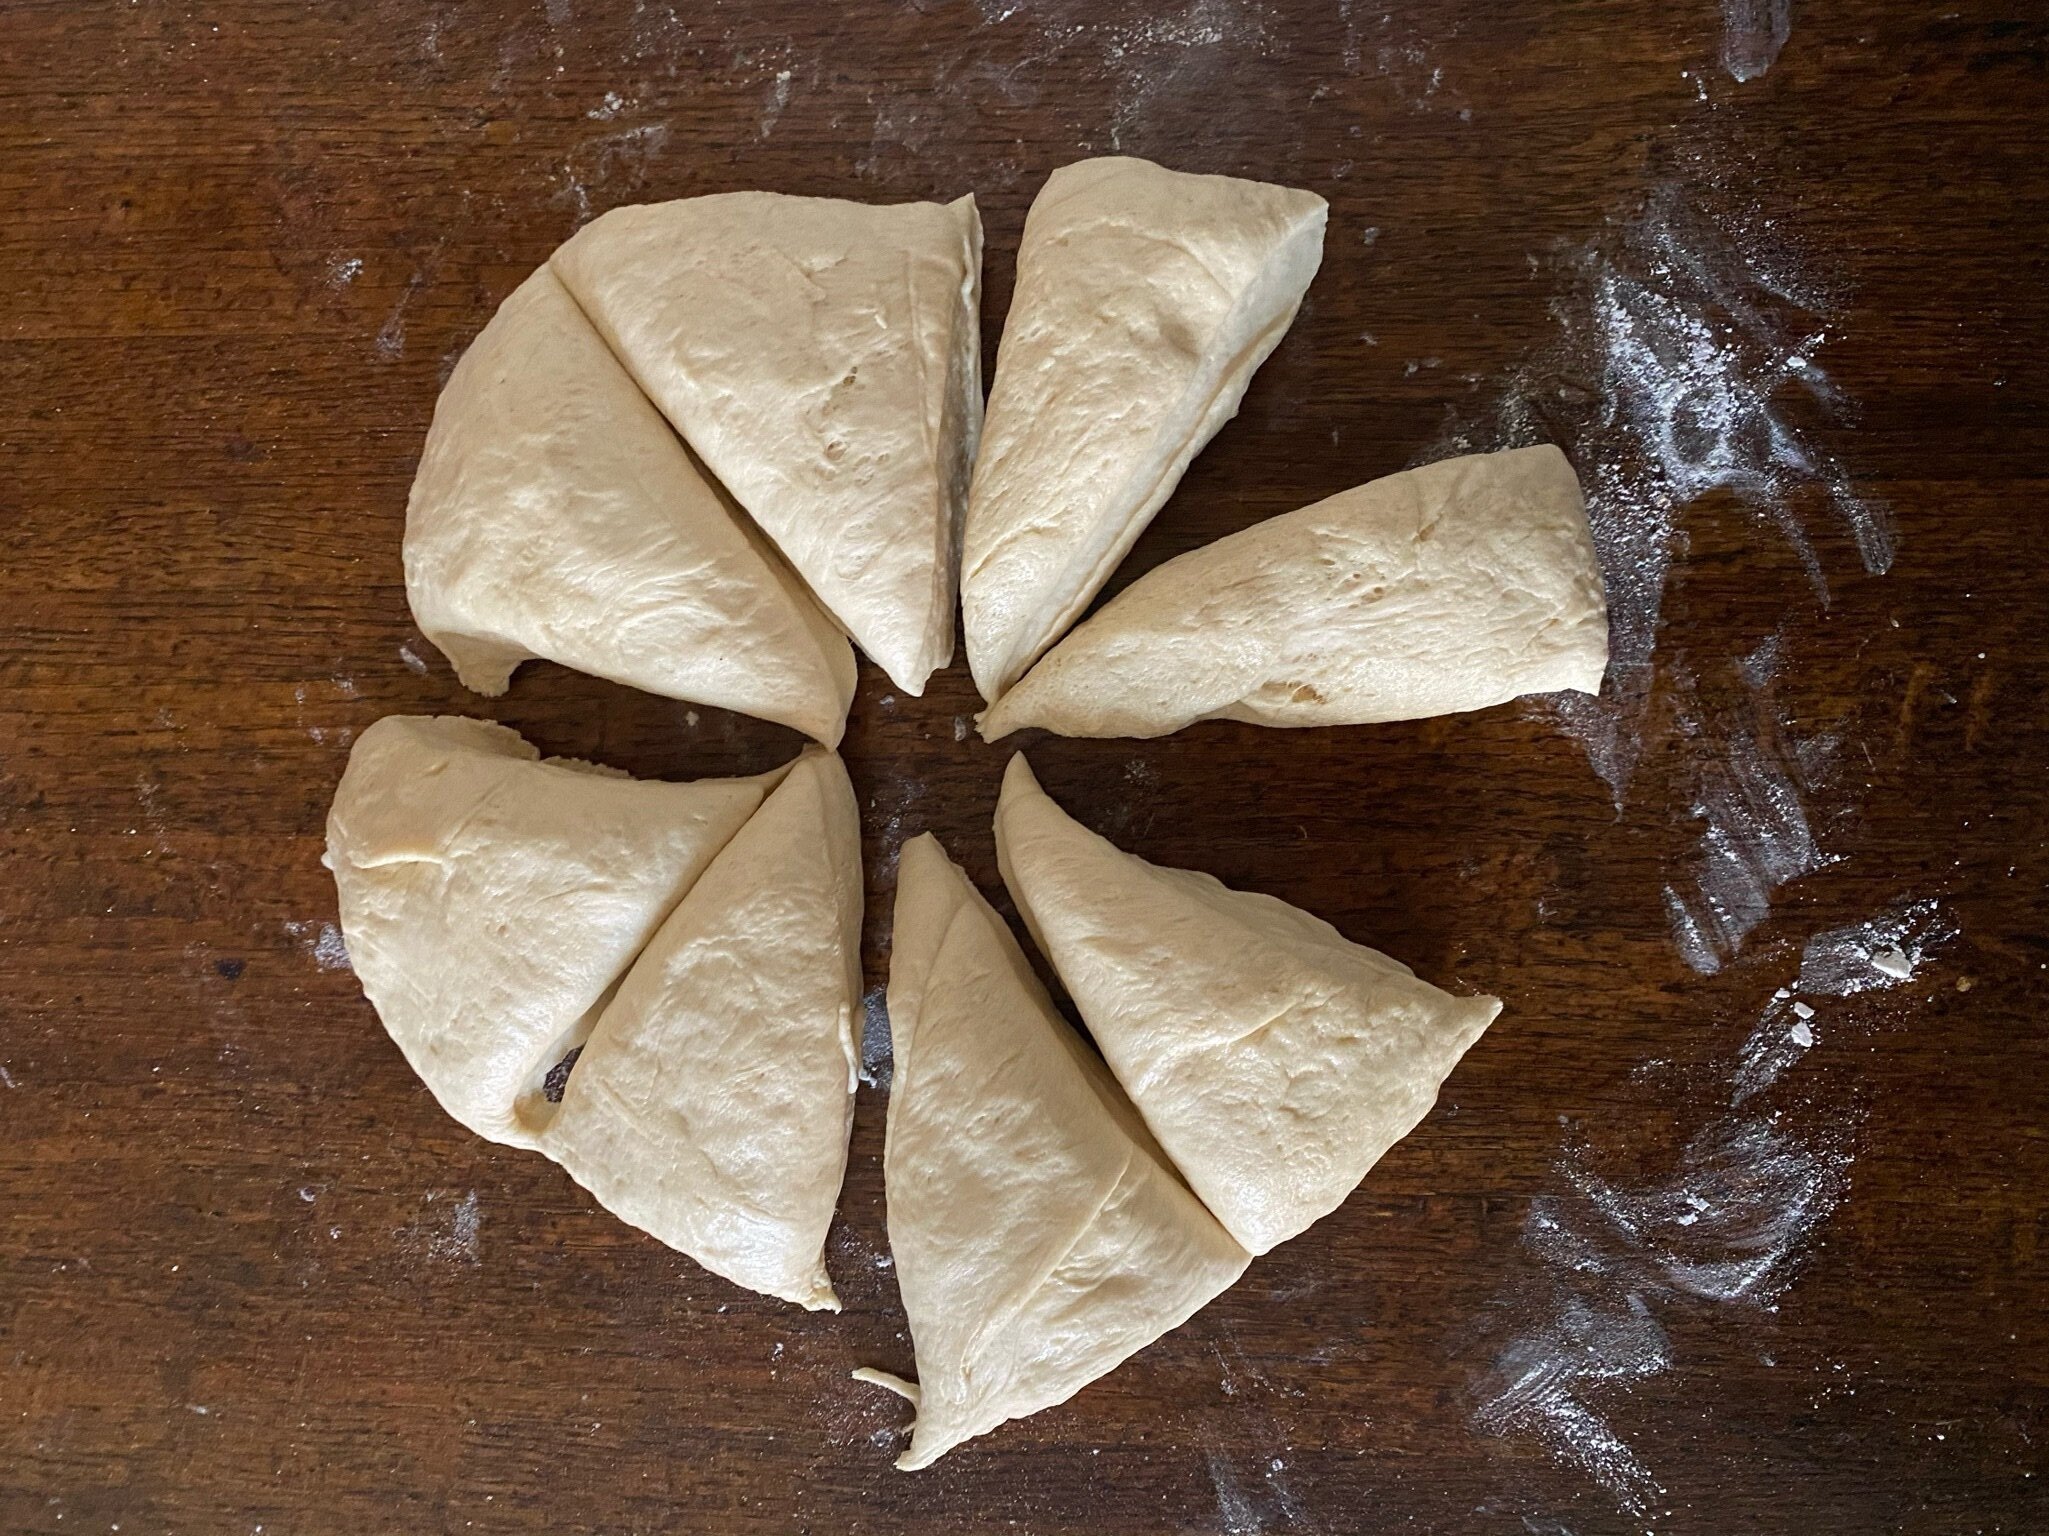
  5. Remove the dough from the oven, turn out onto a clean floured counter or large cutting board, then press down a bit to flatten. Use a bench scraper or a plain ol’ butter knife to section the dough into approximately 1-inch pieces (I got 24, but it doesn’t really matter!) Rejoice in the victory of having made your own yeast dough from scratch, then meet us down below to continue!

If you’re using store-bought biscuit dough, your task is simple:

  1. Open dough according to package instructions and lay the biscuits out on a clean floured counter or large cutting board. Use a bench scraper or a plain ol’ butter knife to cut each biscuit into quarters. Easy!

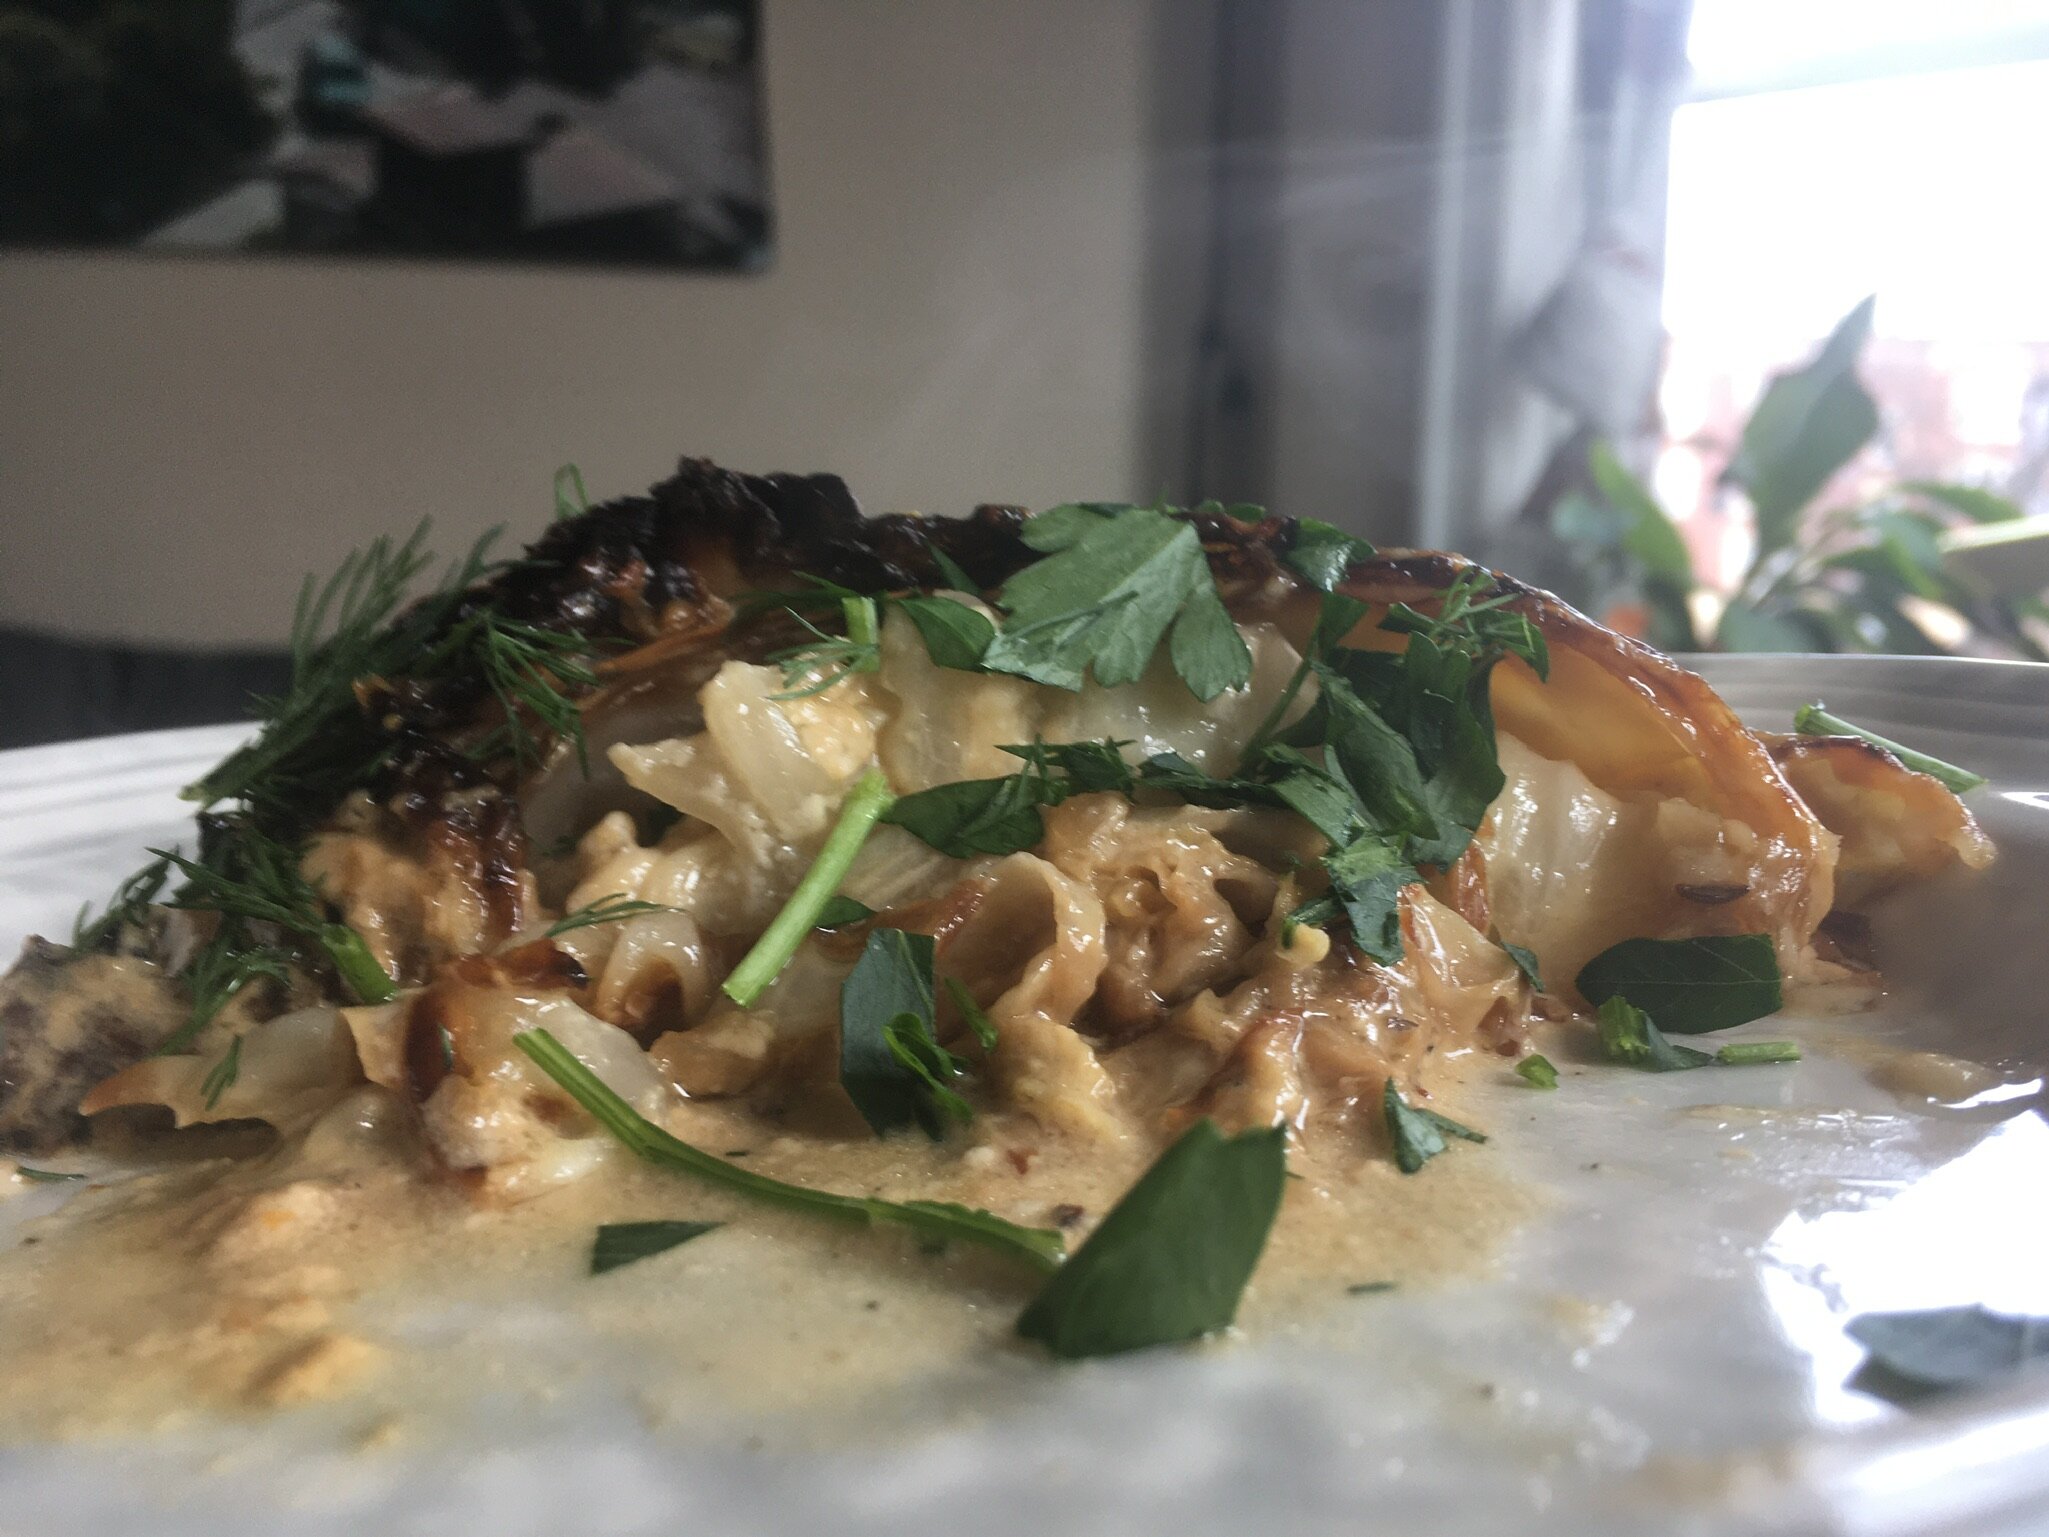
To make your jack n dill monkey bread:

  1. Preheat your oven to 375 degrees. Using one or two tablespoons of your unsalted butter, grease an ovenproof skillet (I used stainless steel, but you could use a well- seasoned cast iron pan too if you’ve got one!) If you don’t have an ovenproof skillet, try a round cake pan or deep dish pie pan. Anything goes! You just want it to be about ten inches in diameter and at least two to three inches deep.

  2. Get your butter ready: melt the remaining 1/4 cup butter in a microwavable bowl or mug, stopping and stirring after every 30 seconds or so. Let it cool for a bit, then stir in the garlic salt and a couple grinds of black pepper. (If you’re adding lemon juice, now’s the time!)

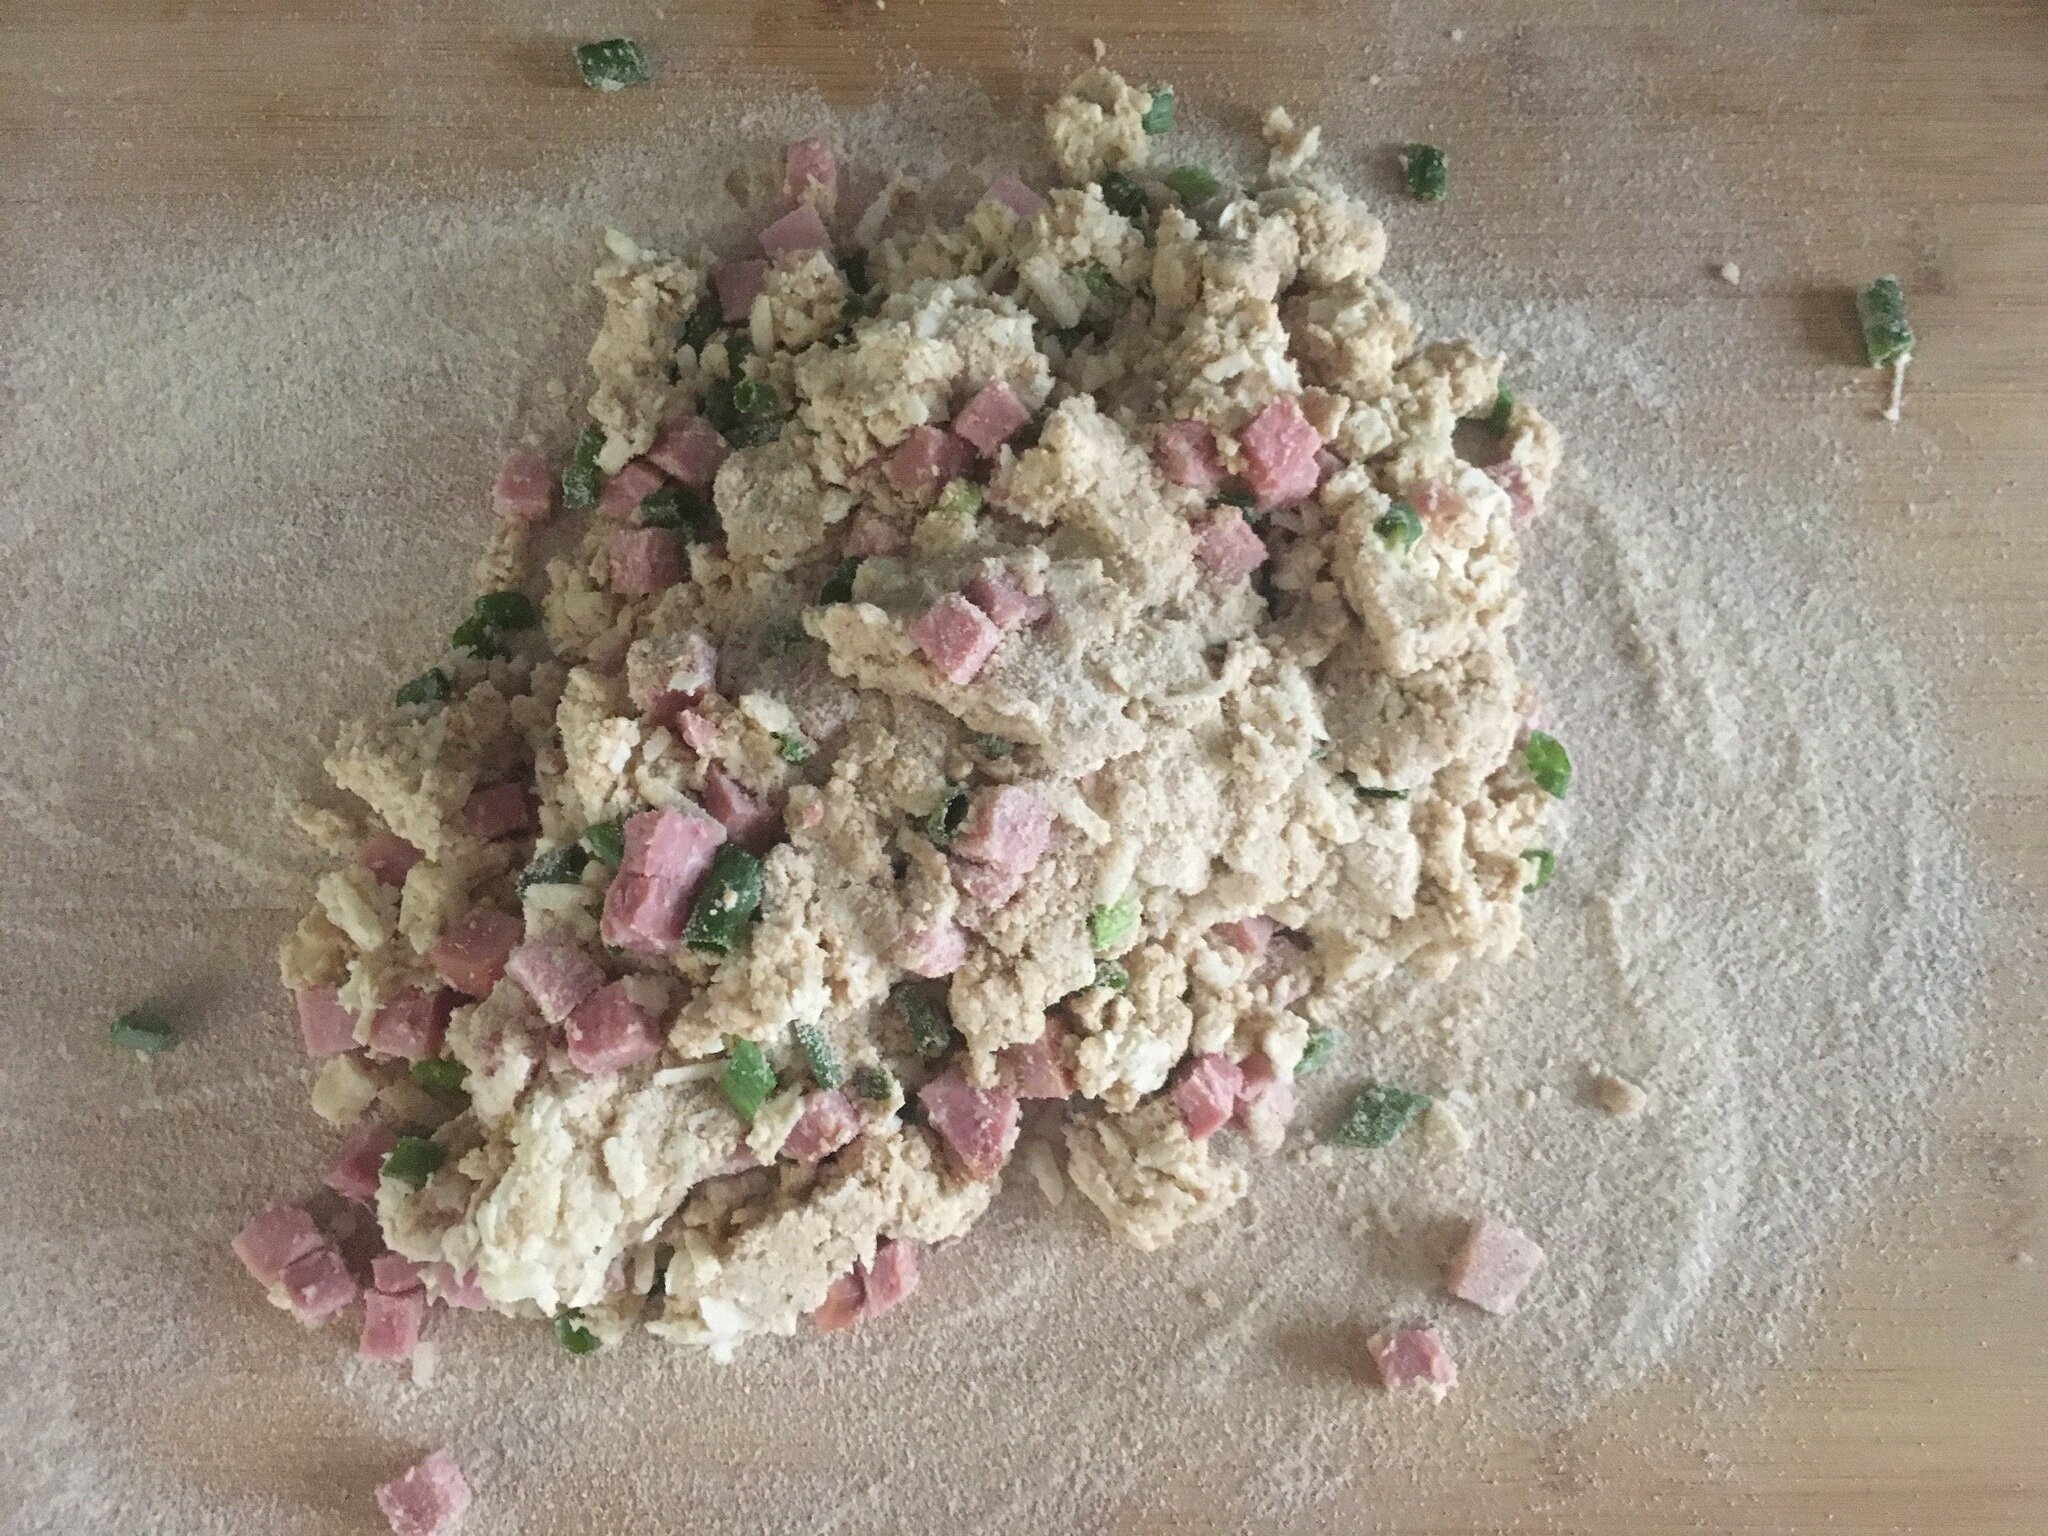
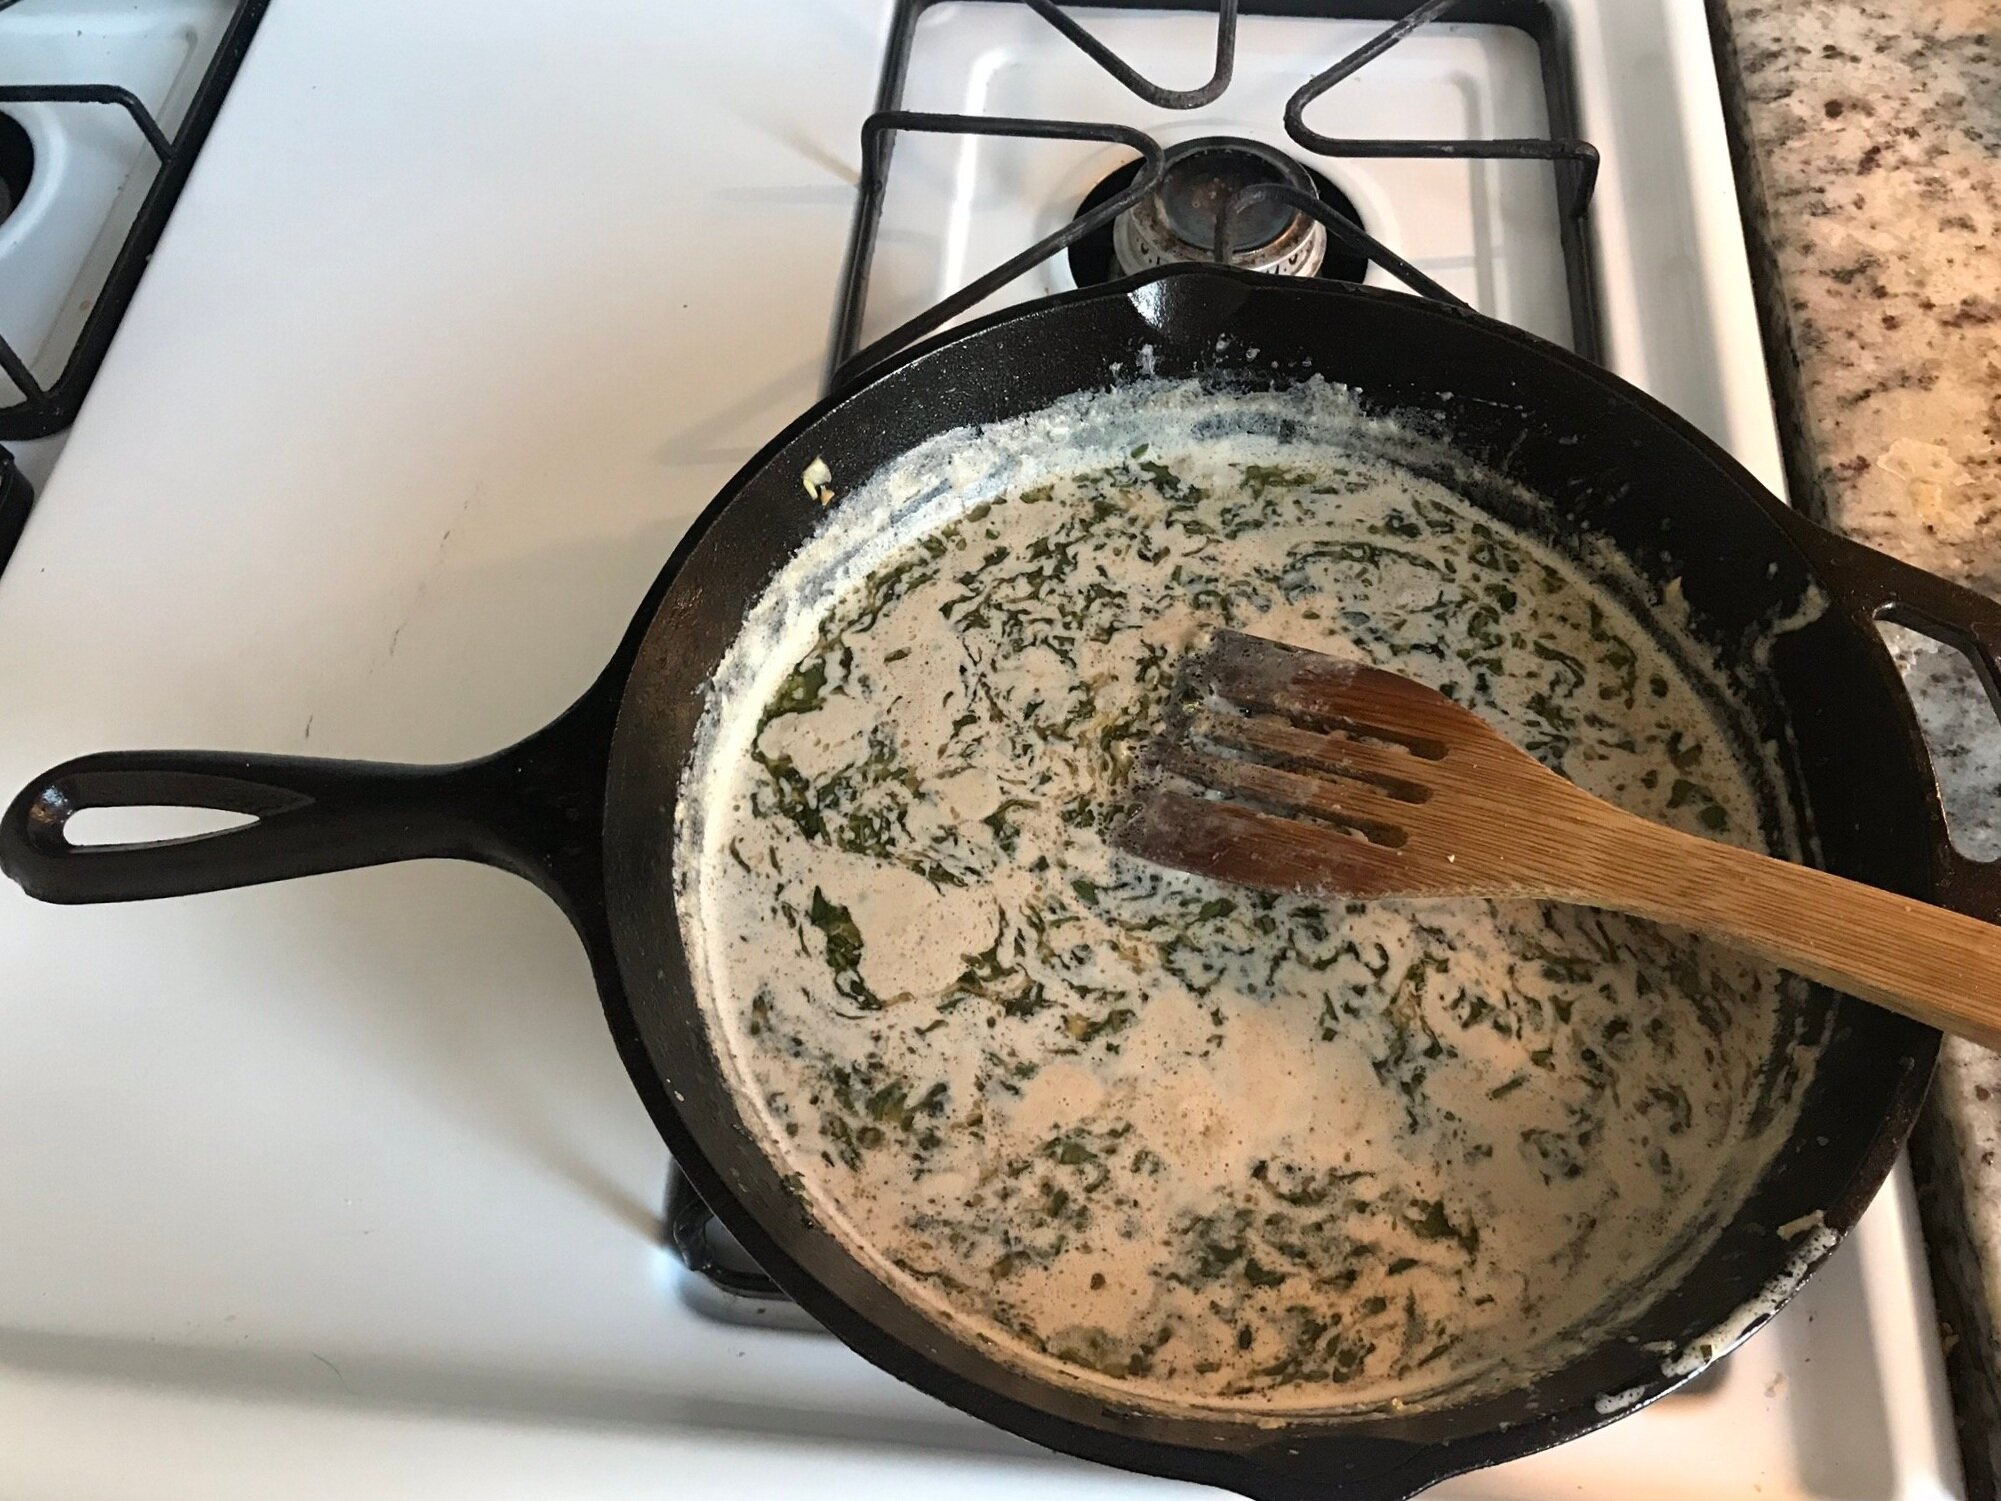
  3. Get your cheese ready: shred the Jack N Dill on the large holes of a box grater. Toss the cheese in a medium mixing bowl along with the onion flakes, table salt, and whatever additional ingredients you’ve picked out, if any (see NOTES!) Season generously with black pepper. Transfer a hefty handful of the cheese mixture into a smaller bowl and set aside for now. (If your kitchen, like mine, gets really warm with the oven on, I suggest sticking this bowl in the fridge till step 5!)

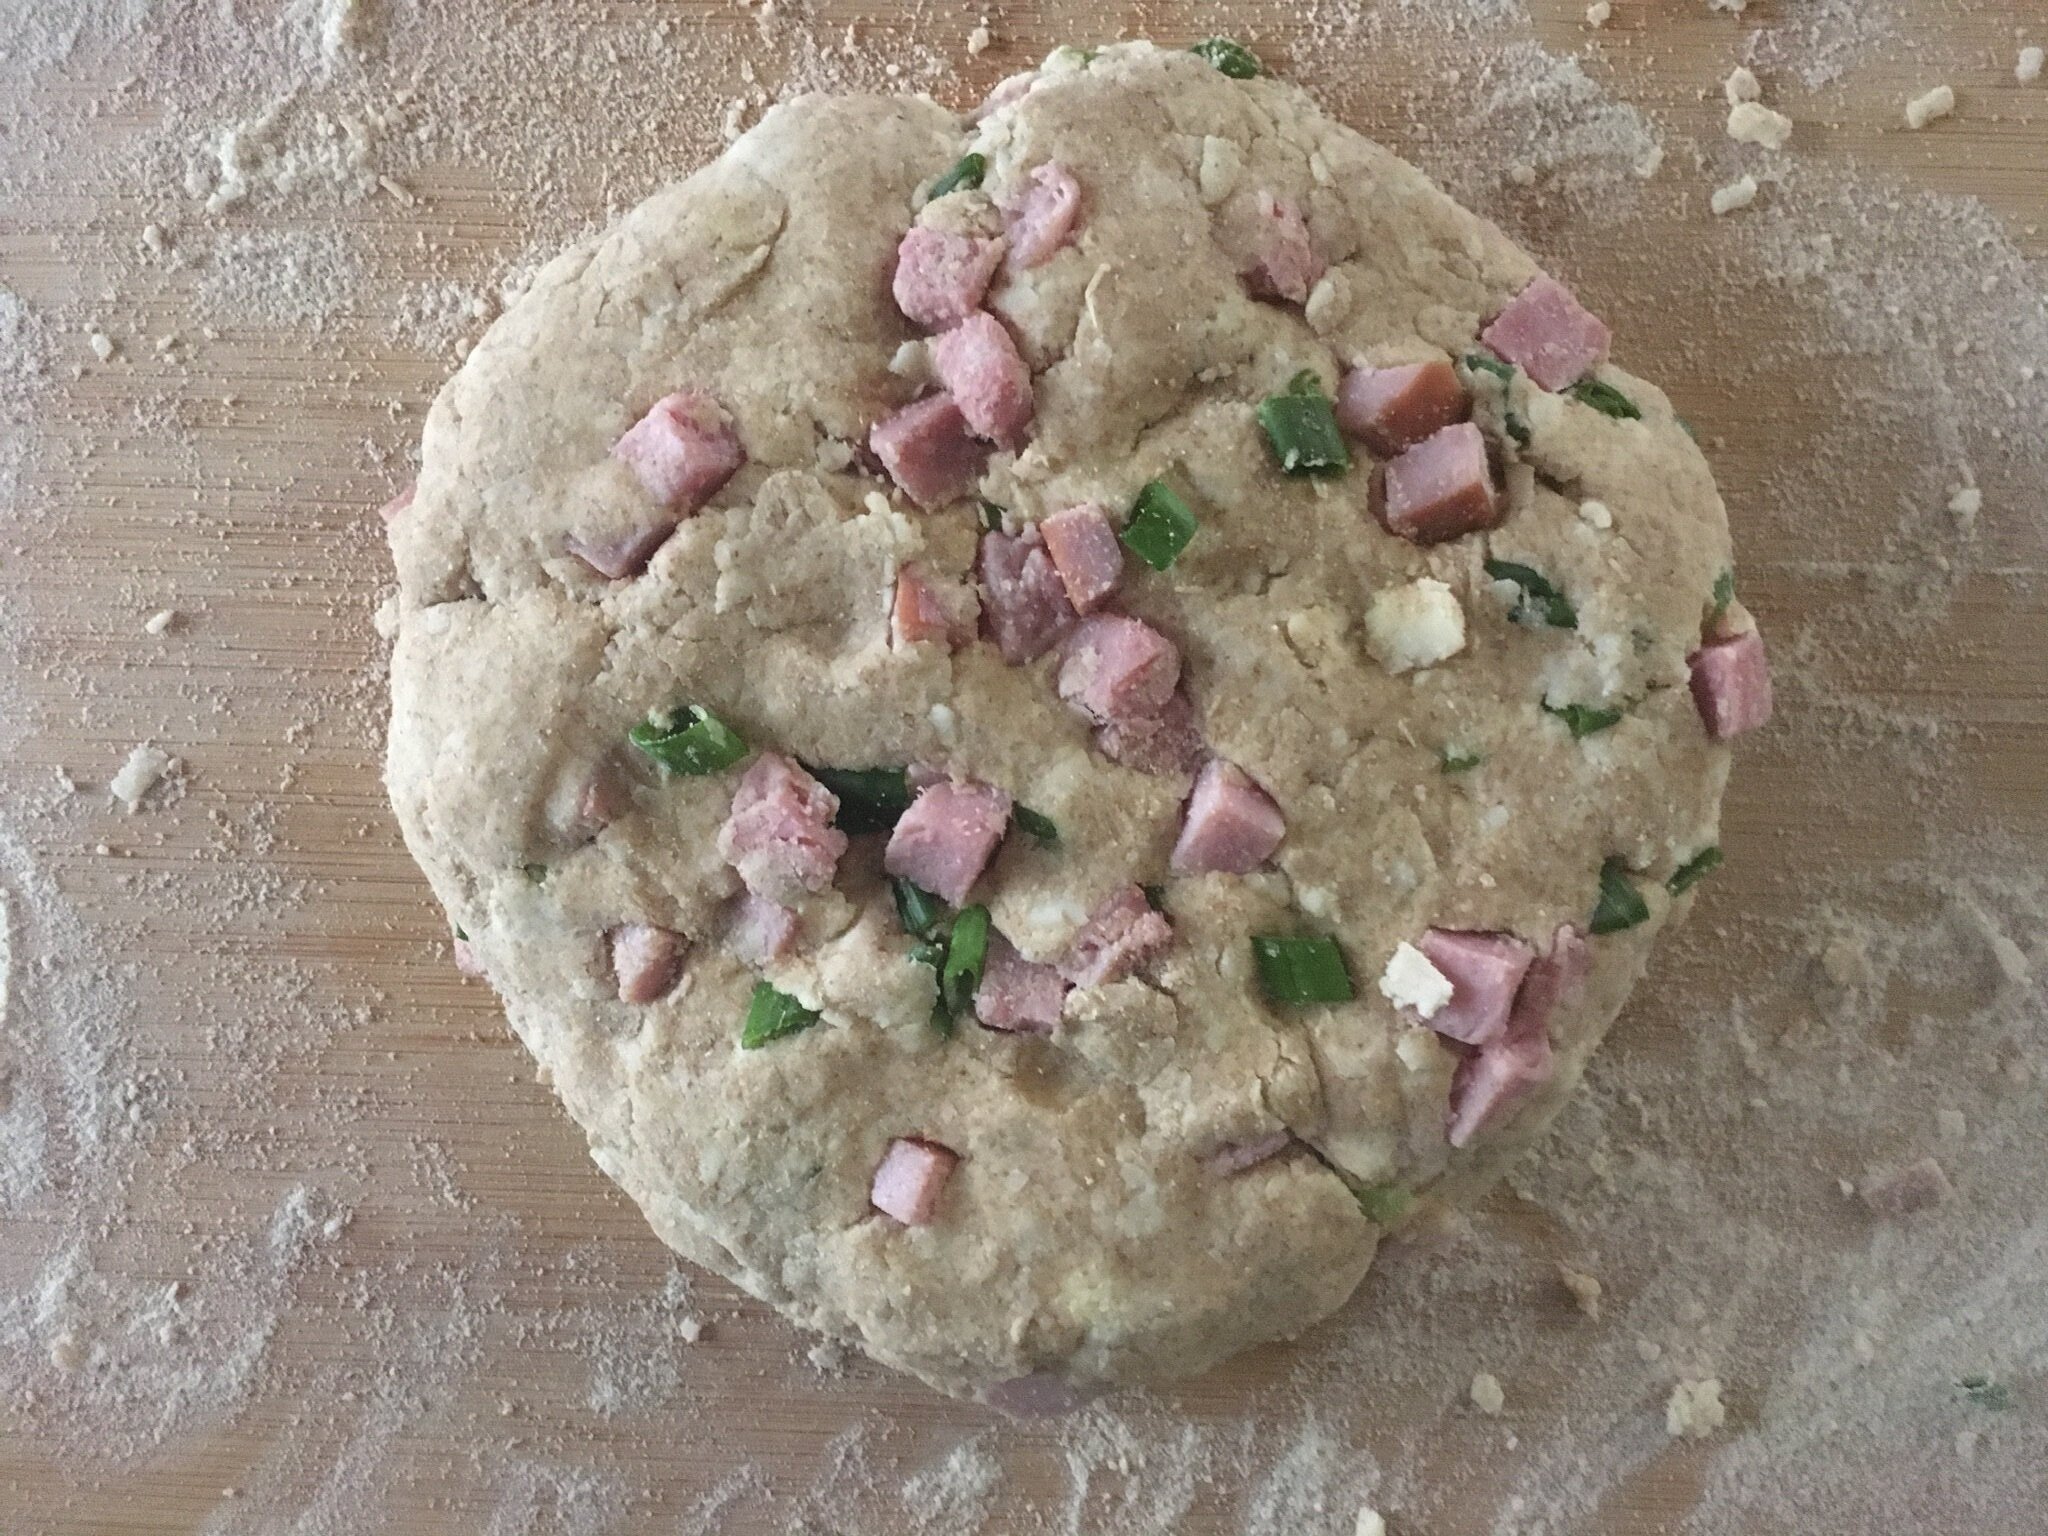
  4. Assemble your monkey bread: Use your hands to roll each piece of dough into a cute little ball. Toss the dough ball first in the melted garlicky butter, followed by the cheese mixture, coating as well as possible. Then, arrange each coated dough ball in your skillet until you’ve formed a single, lovely, cheesy layer. Scatter any leftover cheese mixture on top.

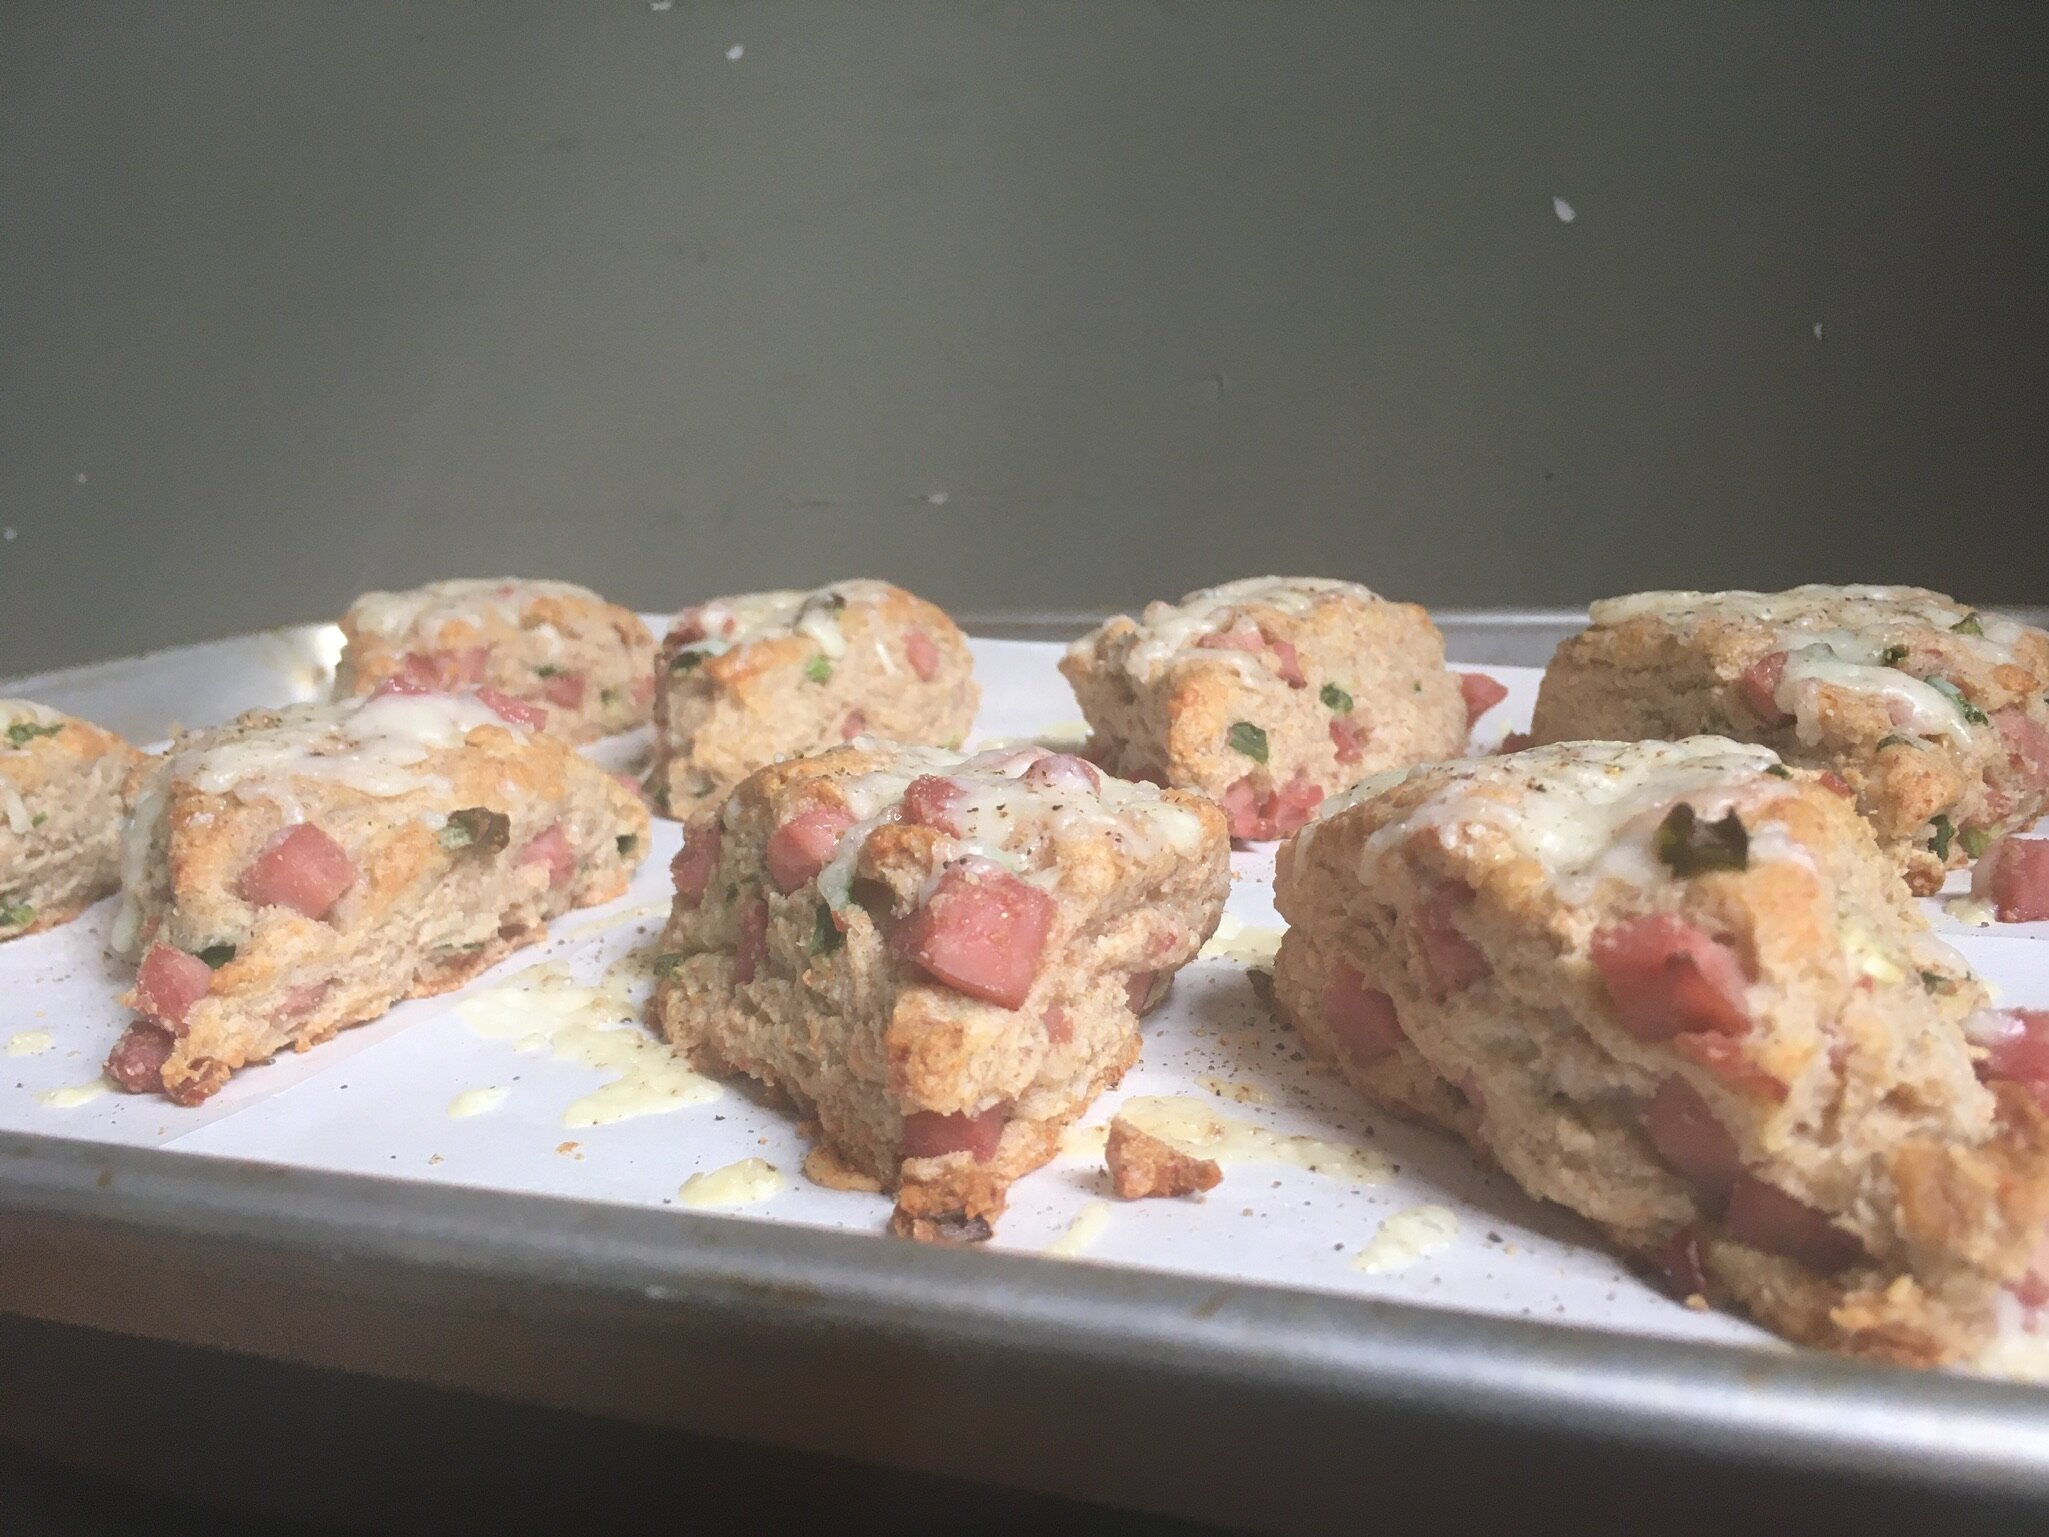
  5. Bake bread until the top is lightly browned, the Jack N Dill is mostly melted, and your kitchen smells amazing — 18-22 minutes. Now, remember your reserved cheese mixture? Sprinkle that on top, then continue to bake until the edges of your bread are firm and gorgeously golden brown, and the additional cheese is gooey and irresistible, about 10-15 minutes more.

  6. Eat immediately! Ideally alongside a cozy bowl of tomato soup for an easy dinner. Or...for an even easier dinner...just a generous helping of bread. I won’t tell ;)

IMG_0013+2.jpg

NOTES

  • If you’re feeling fancy, you could add 1 tbsp of fresh lemon juice (from about 1/2 a lemon) to the melted butter, and/or any of the following to the cheese mixture:
    - 1-2 oz. TCP Aged Parmesan
    - 1/4 cup finely chopped fresh parsley
    - 1/4 tsp dried red pepper flakes
    - 1 minced shallot (in place of the onion flakes)
    - 4 minced garlic cloves or 2 tsp jarred minced garlic (in place of the garlic salt)

  • Want to make your dough by hand? No problem! Just combine dough ingredients as instructed in a large mixing bowl, then mix with a wooden spoon until the ingredients form a nice shaggy mass. Turn the contents out onto a lightly floured counter and knead until a smooth, elastic dough forms, about 5-7 minutes. Whether you’re kneading by hand or by machine, my favorite tip is to work the dough till it’s “smooth as a baby’s bottom!” (If you’ve never kneaded a yeast dough before, check out YouTube for some useful tutorials—I like Online Culinary School’s!)

  • To serve: I run a spatula around the sides of the pan to loosen the bread, then use that same spatula to cut it into cute little pie-style slices. You can also invert the entire thing onto a serving platter and pull apart as you please. Follow your heart! (Remember to wear an oven mitt if you need to steady the skillet as you’re serving; it will be VERY hot.)

  • For leftovers (should there be any): store at room temperature, wrapped tightly in plastic or beeswax wrap. I recommend reheating under the broiler for 1-2 minutes.