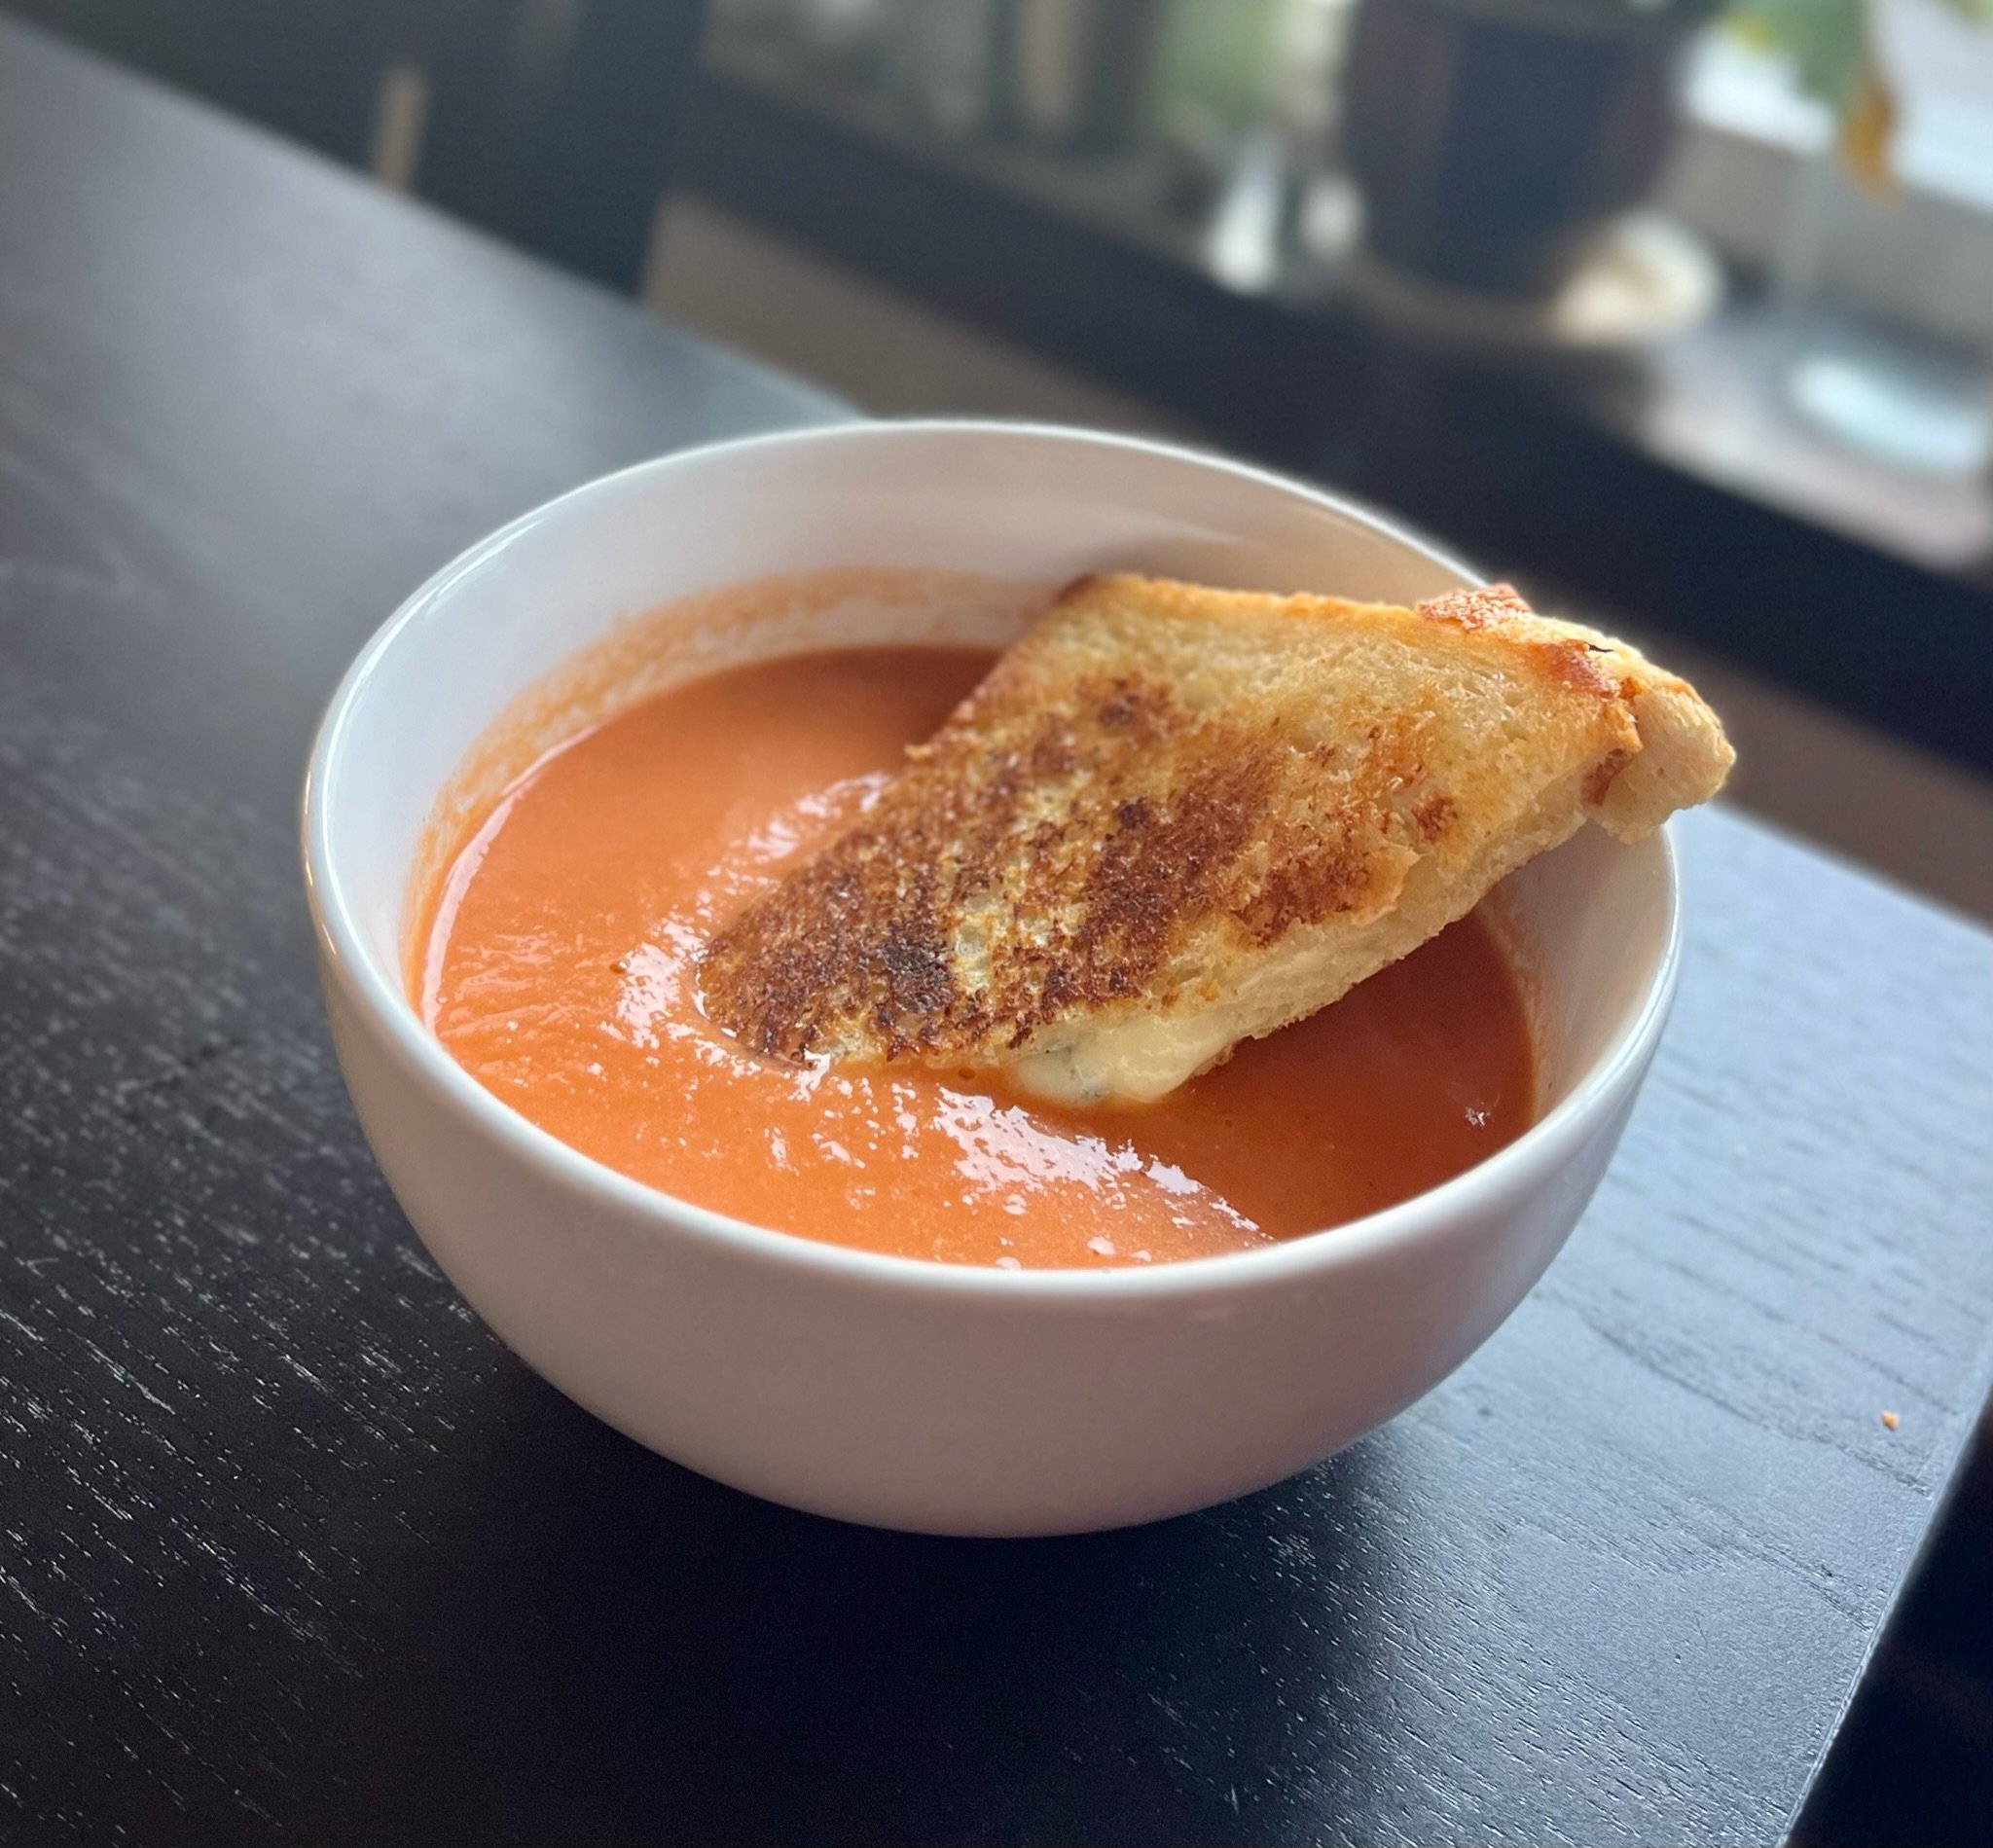
By Cheesemonger Evy

INGREDIENTS:
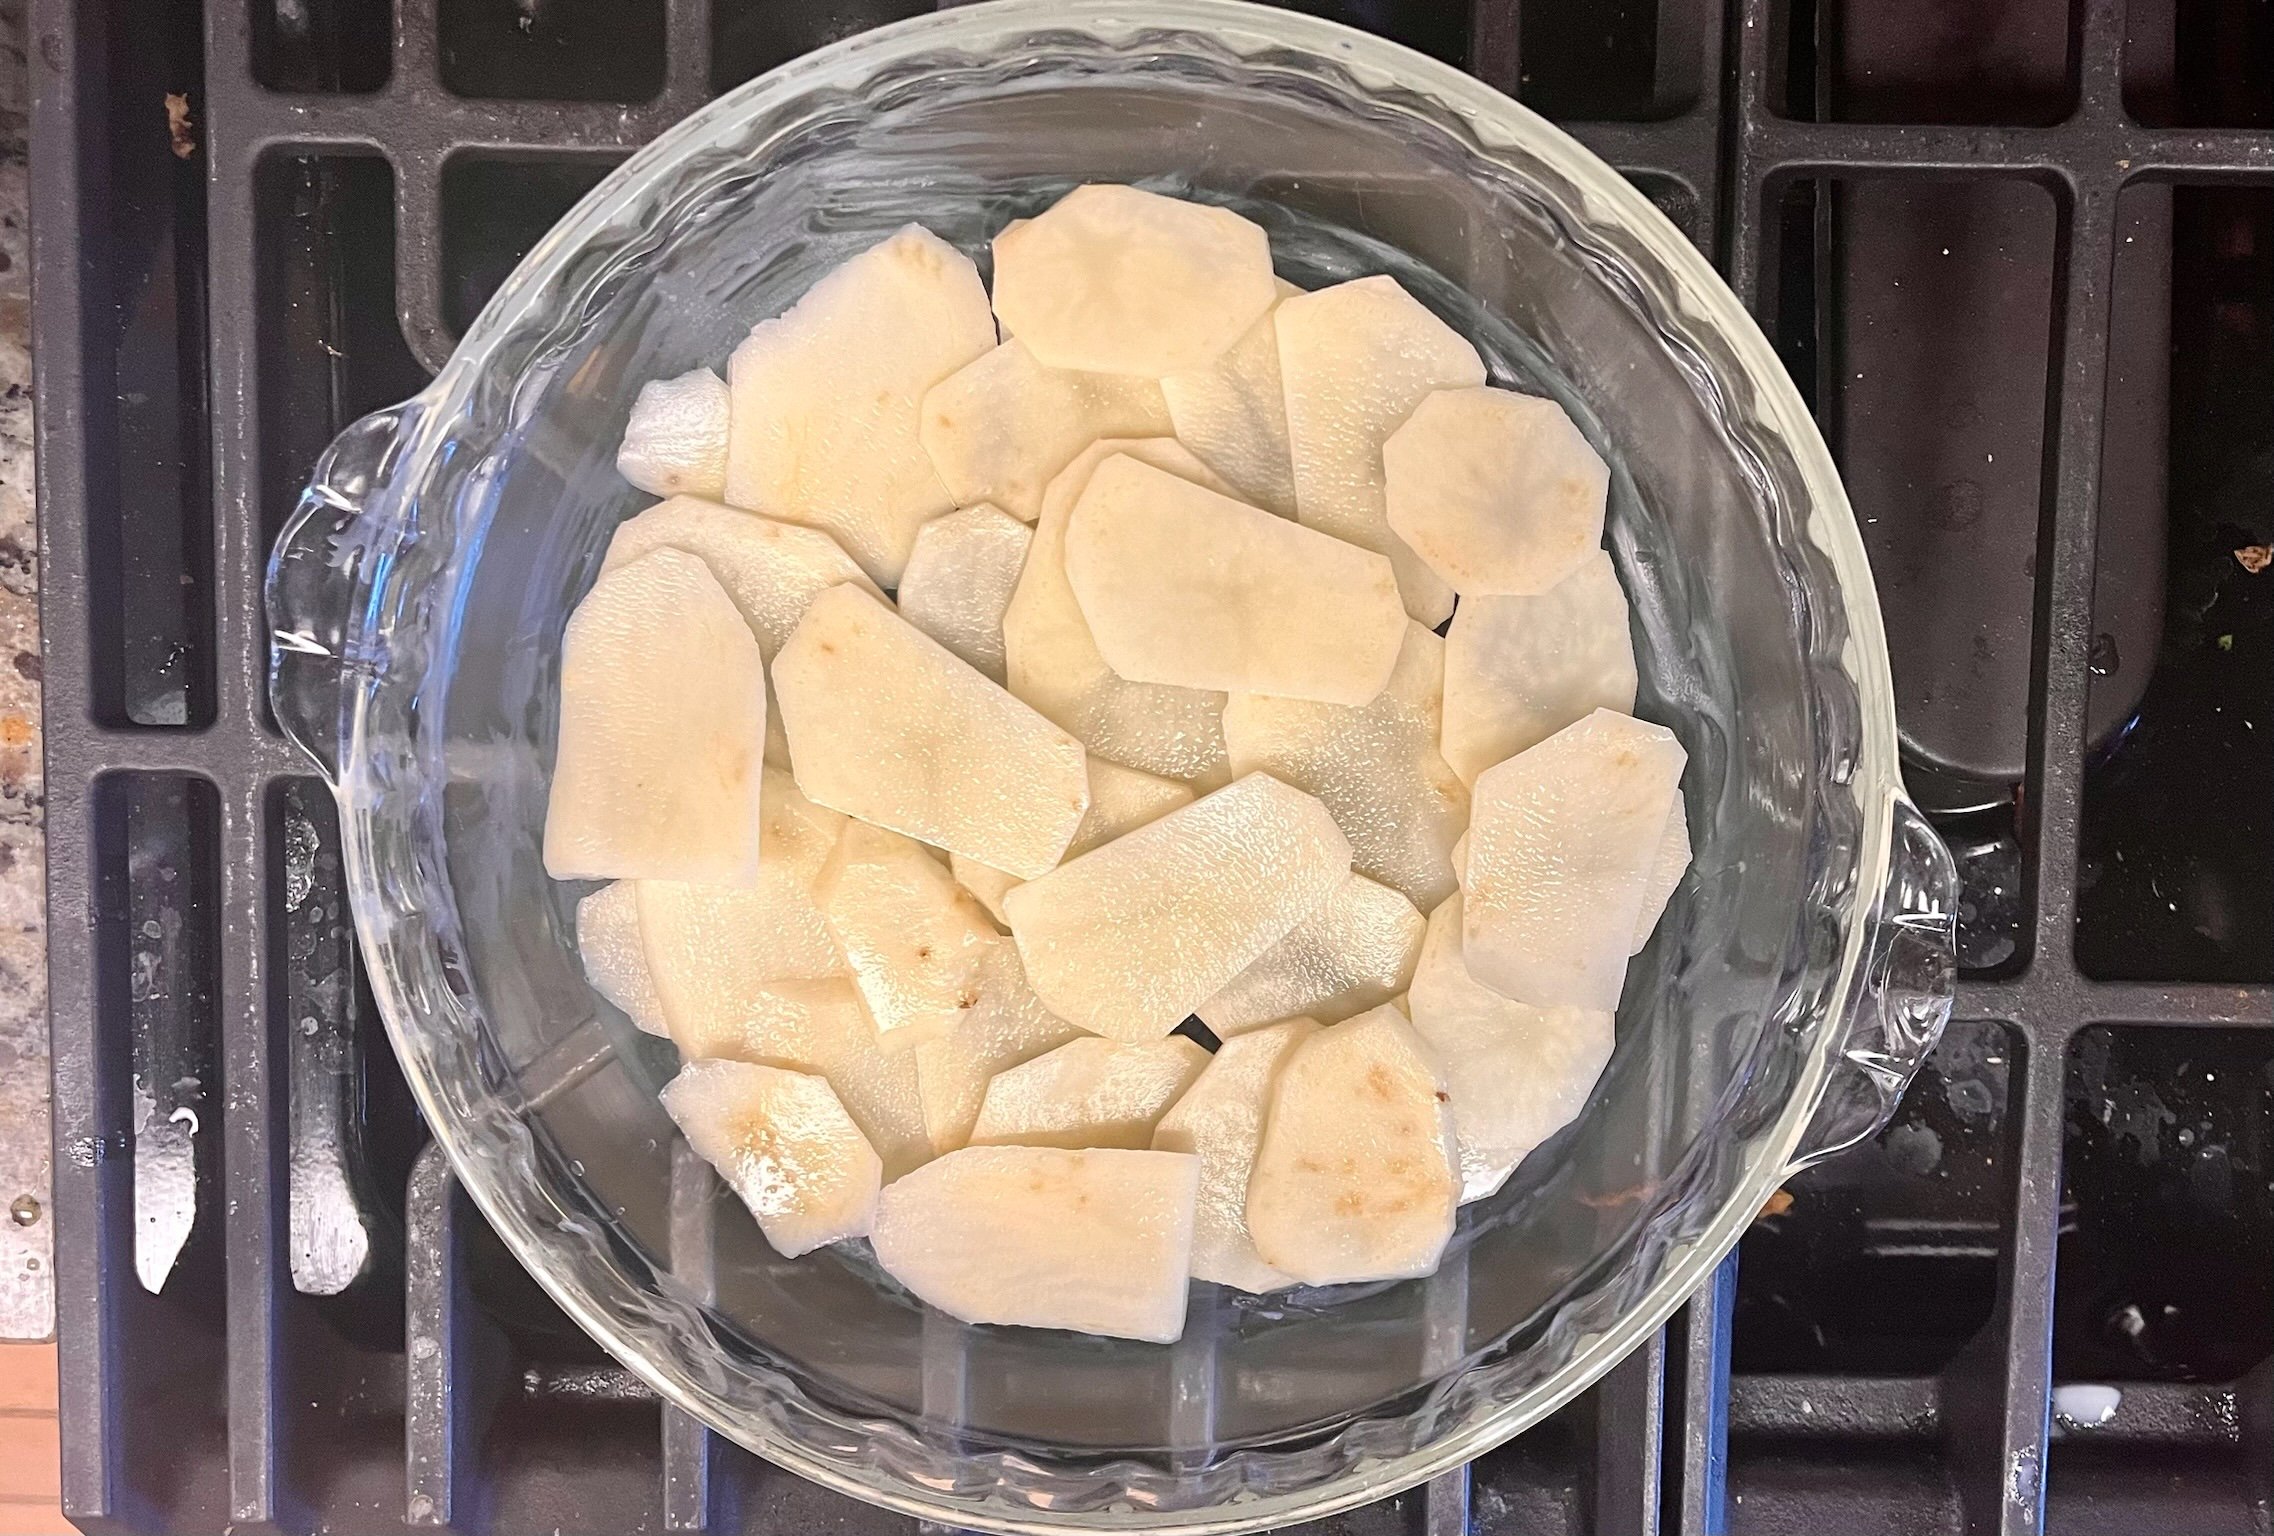
1 pound potatoes, peeled and sliced as thin as possible*
1 Tbsp butter
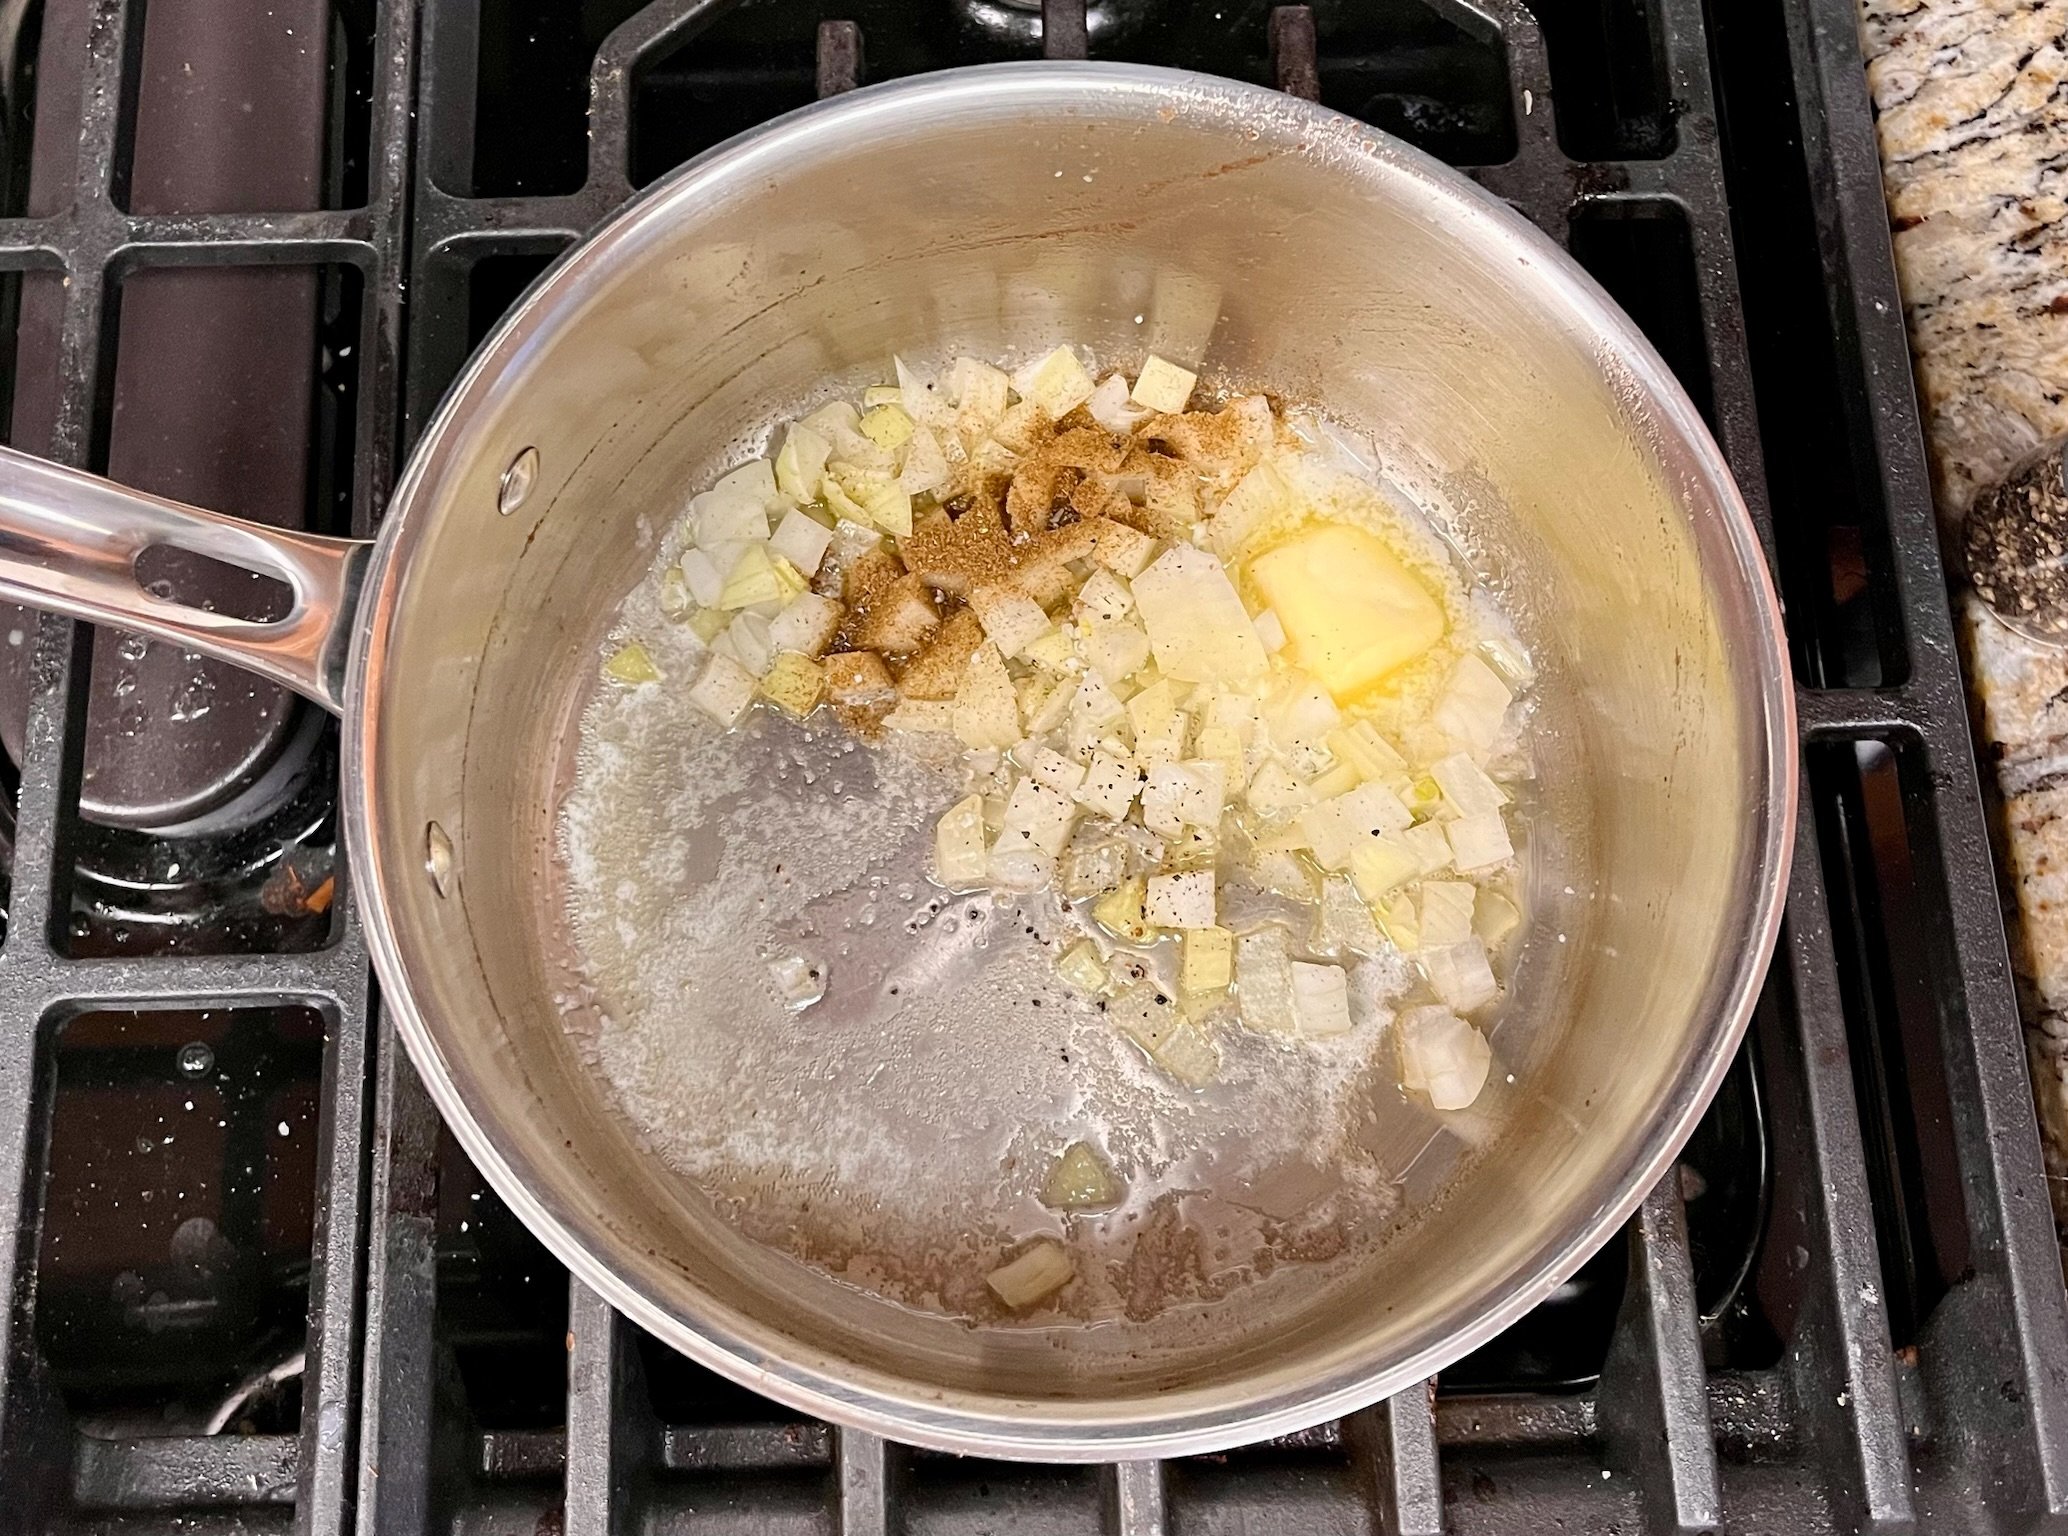
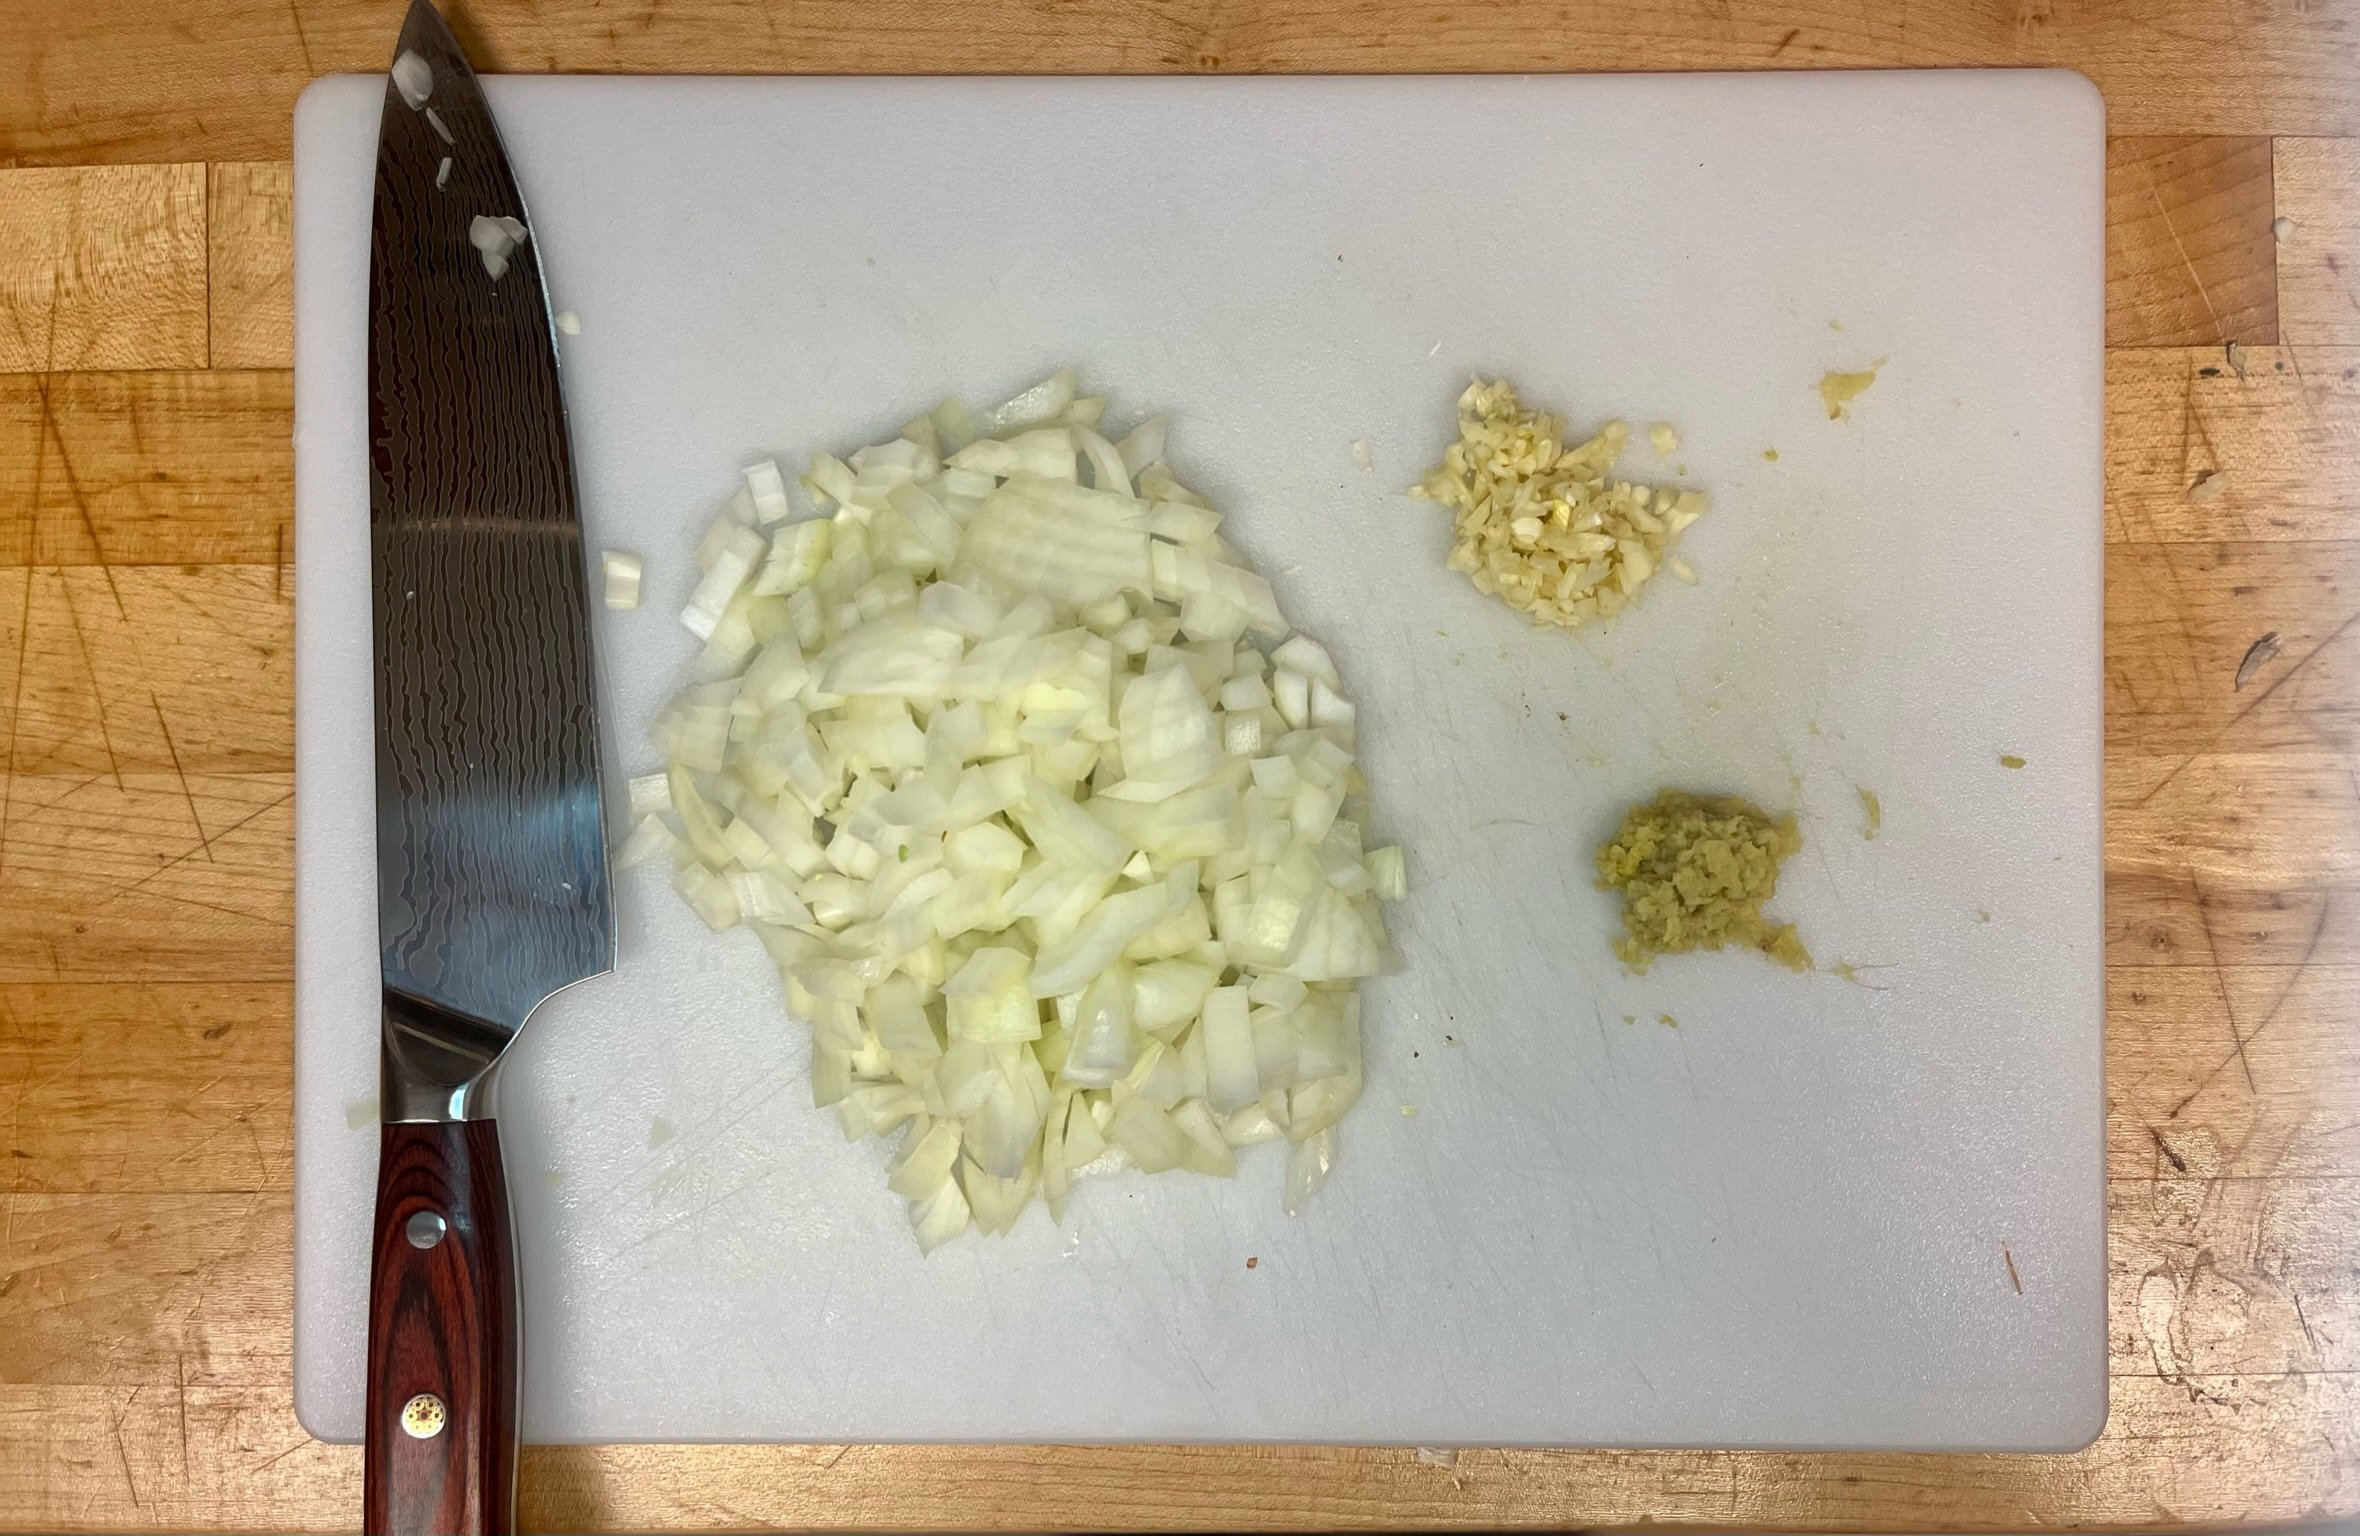
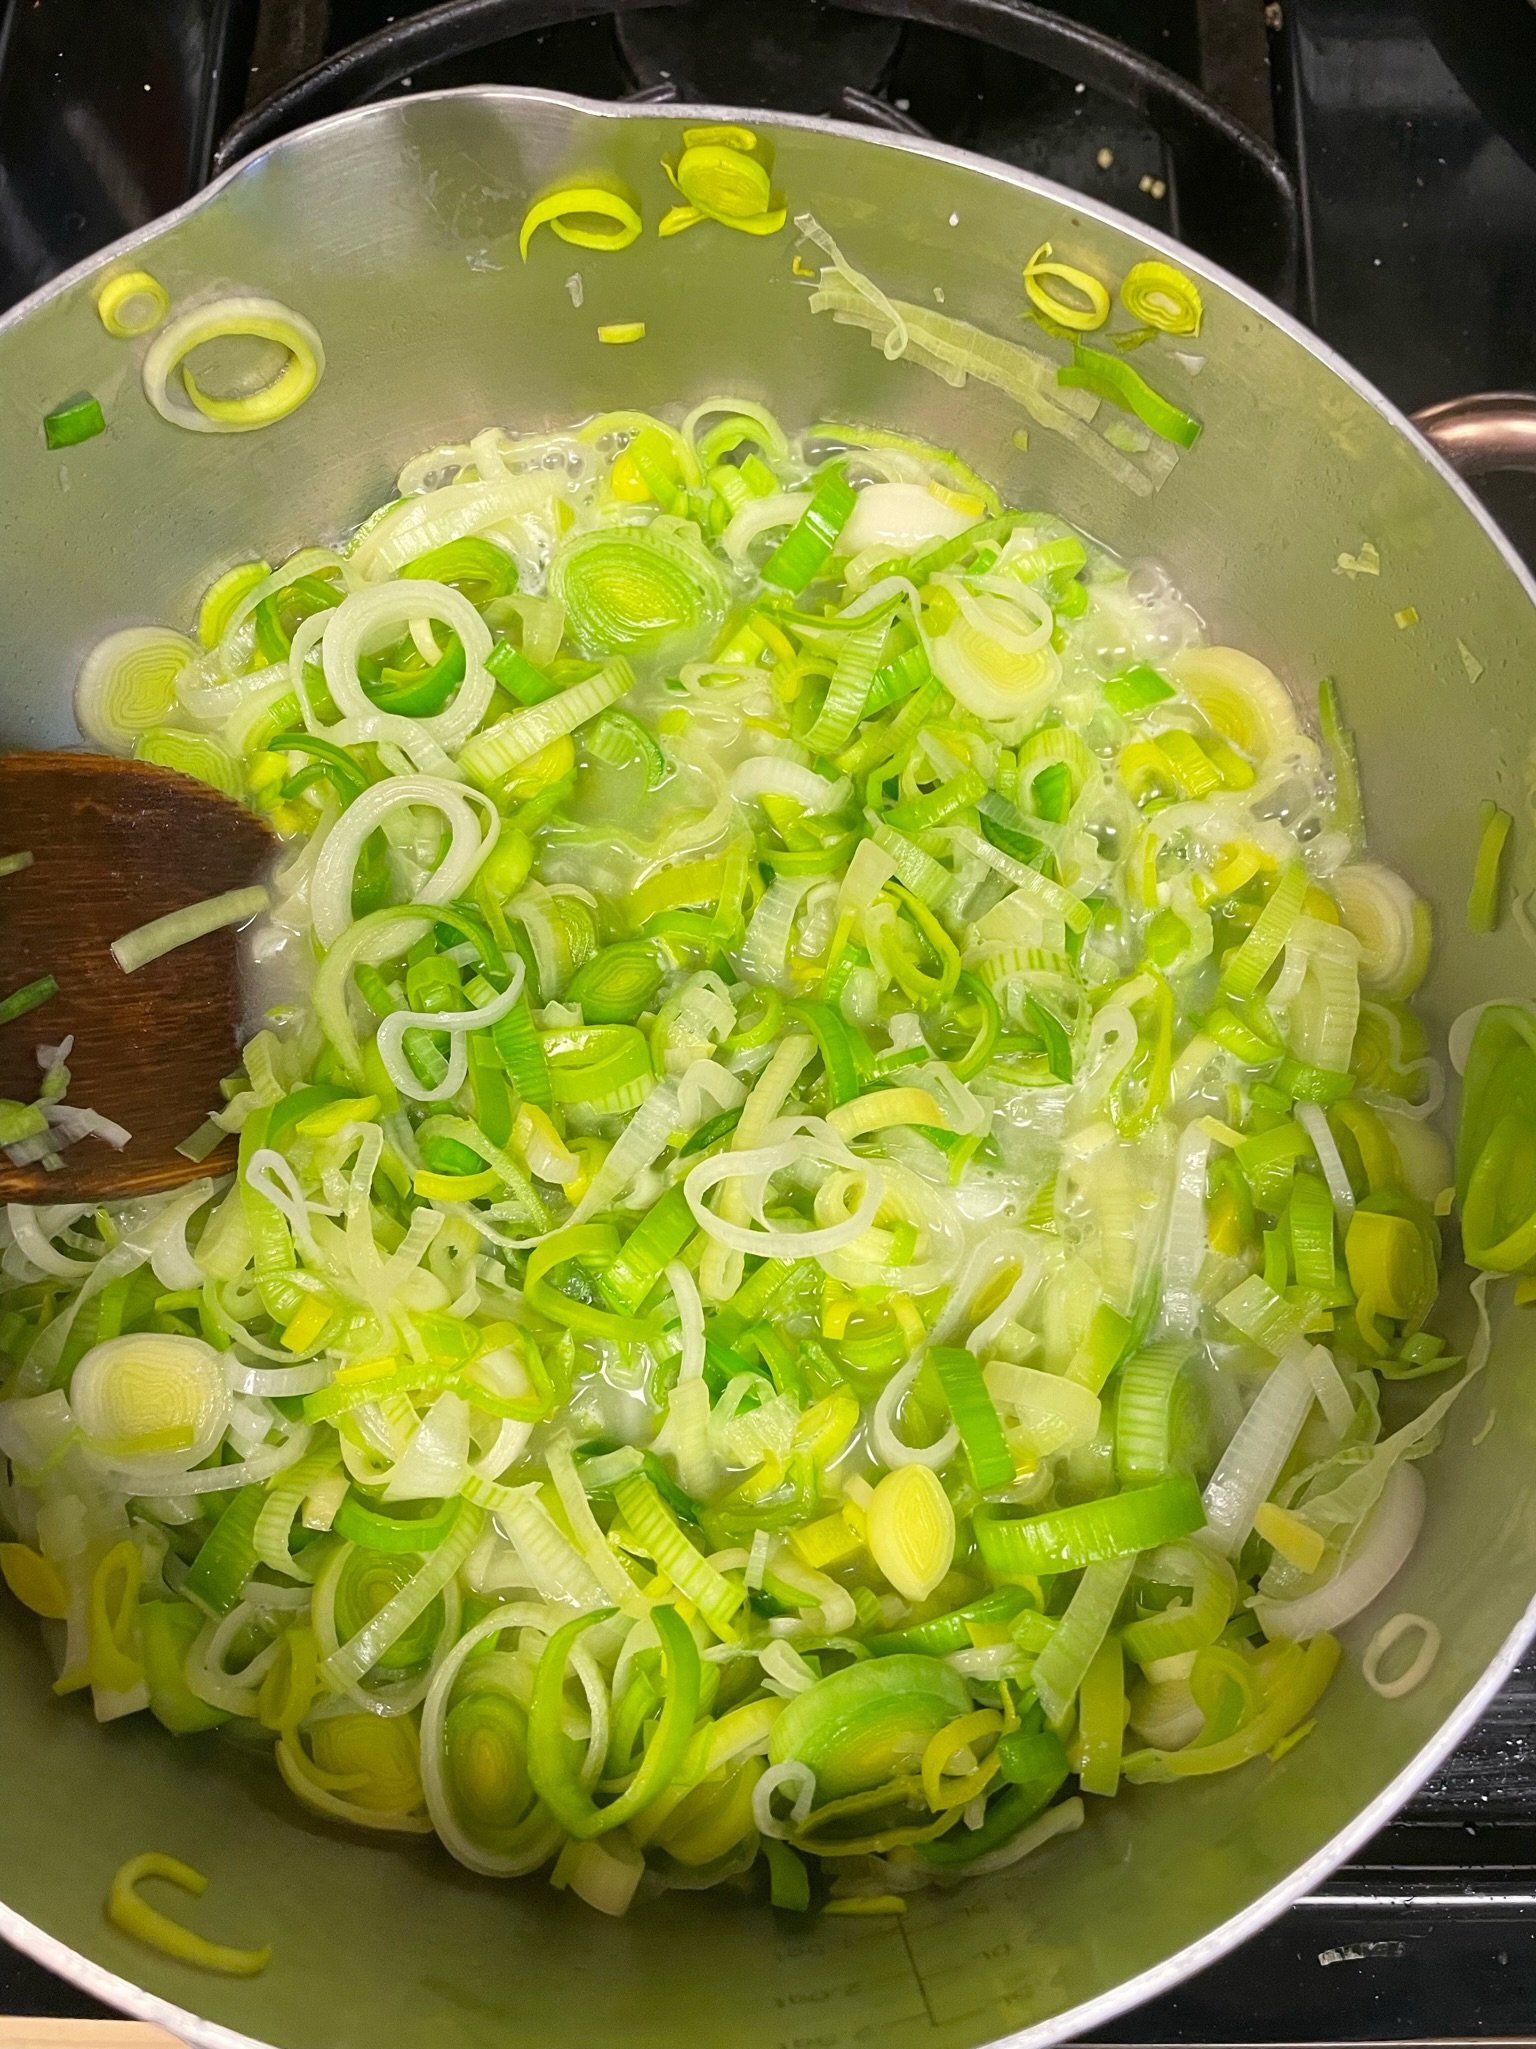
½ small white onion sliced thinly
2 cloves garlic, minced
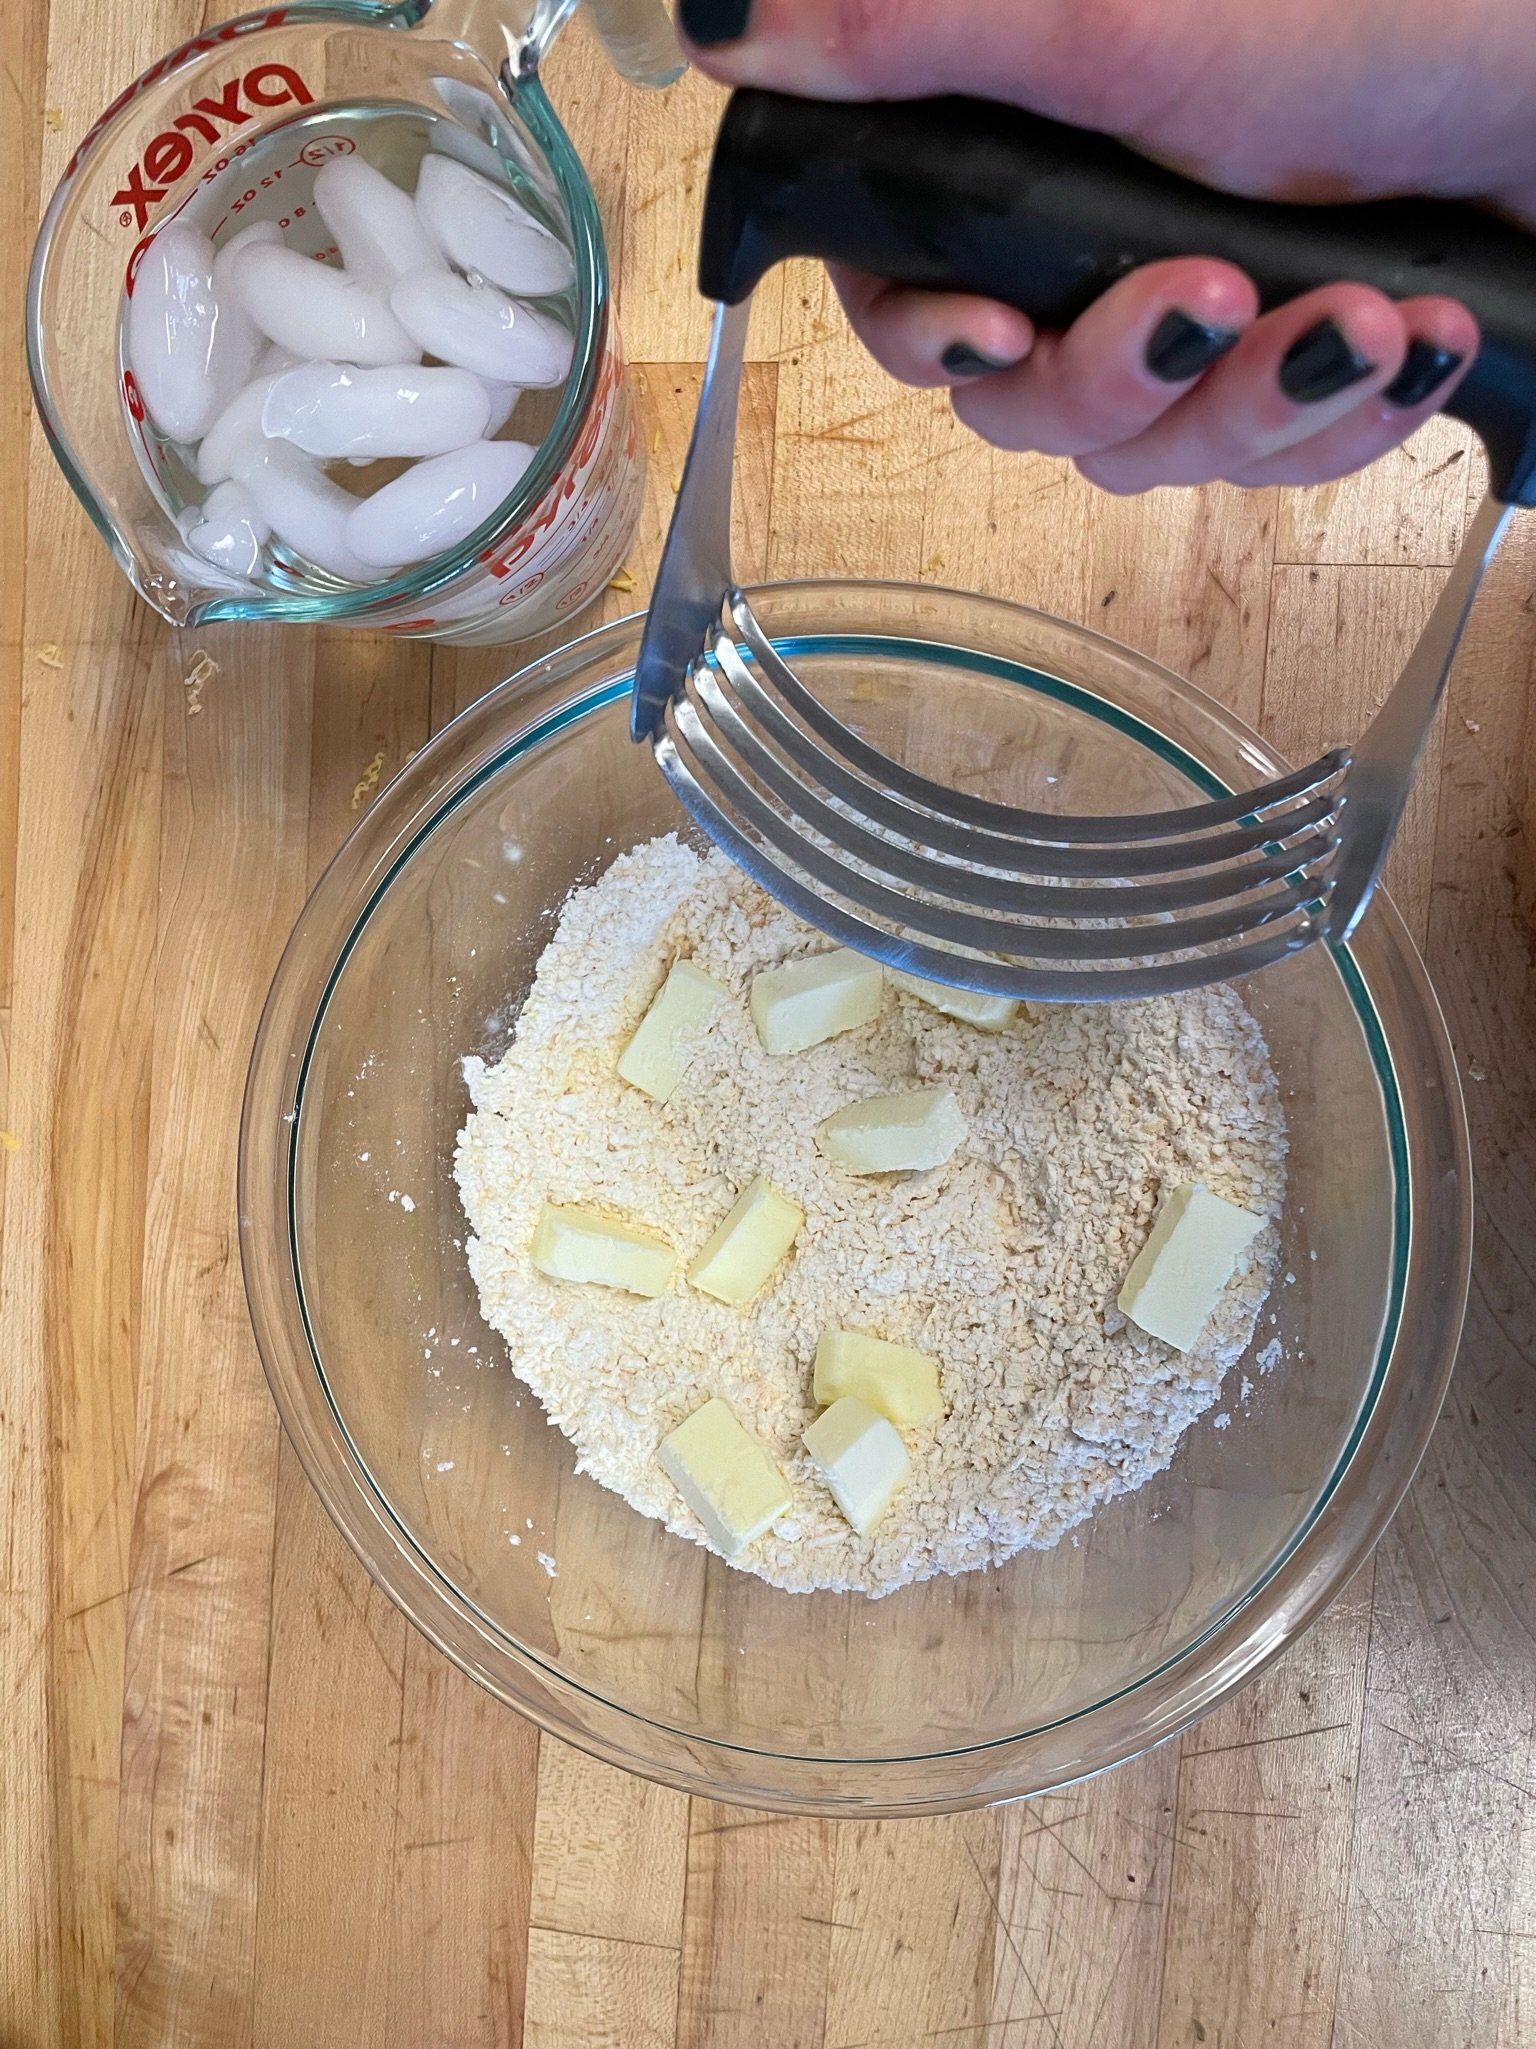
2 Tbsp flour
¼ cup vegetable or chicken broth
½ cup whole milk (or half&half)
½ tsp salt
Pinch black pepper
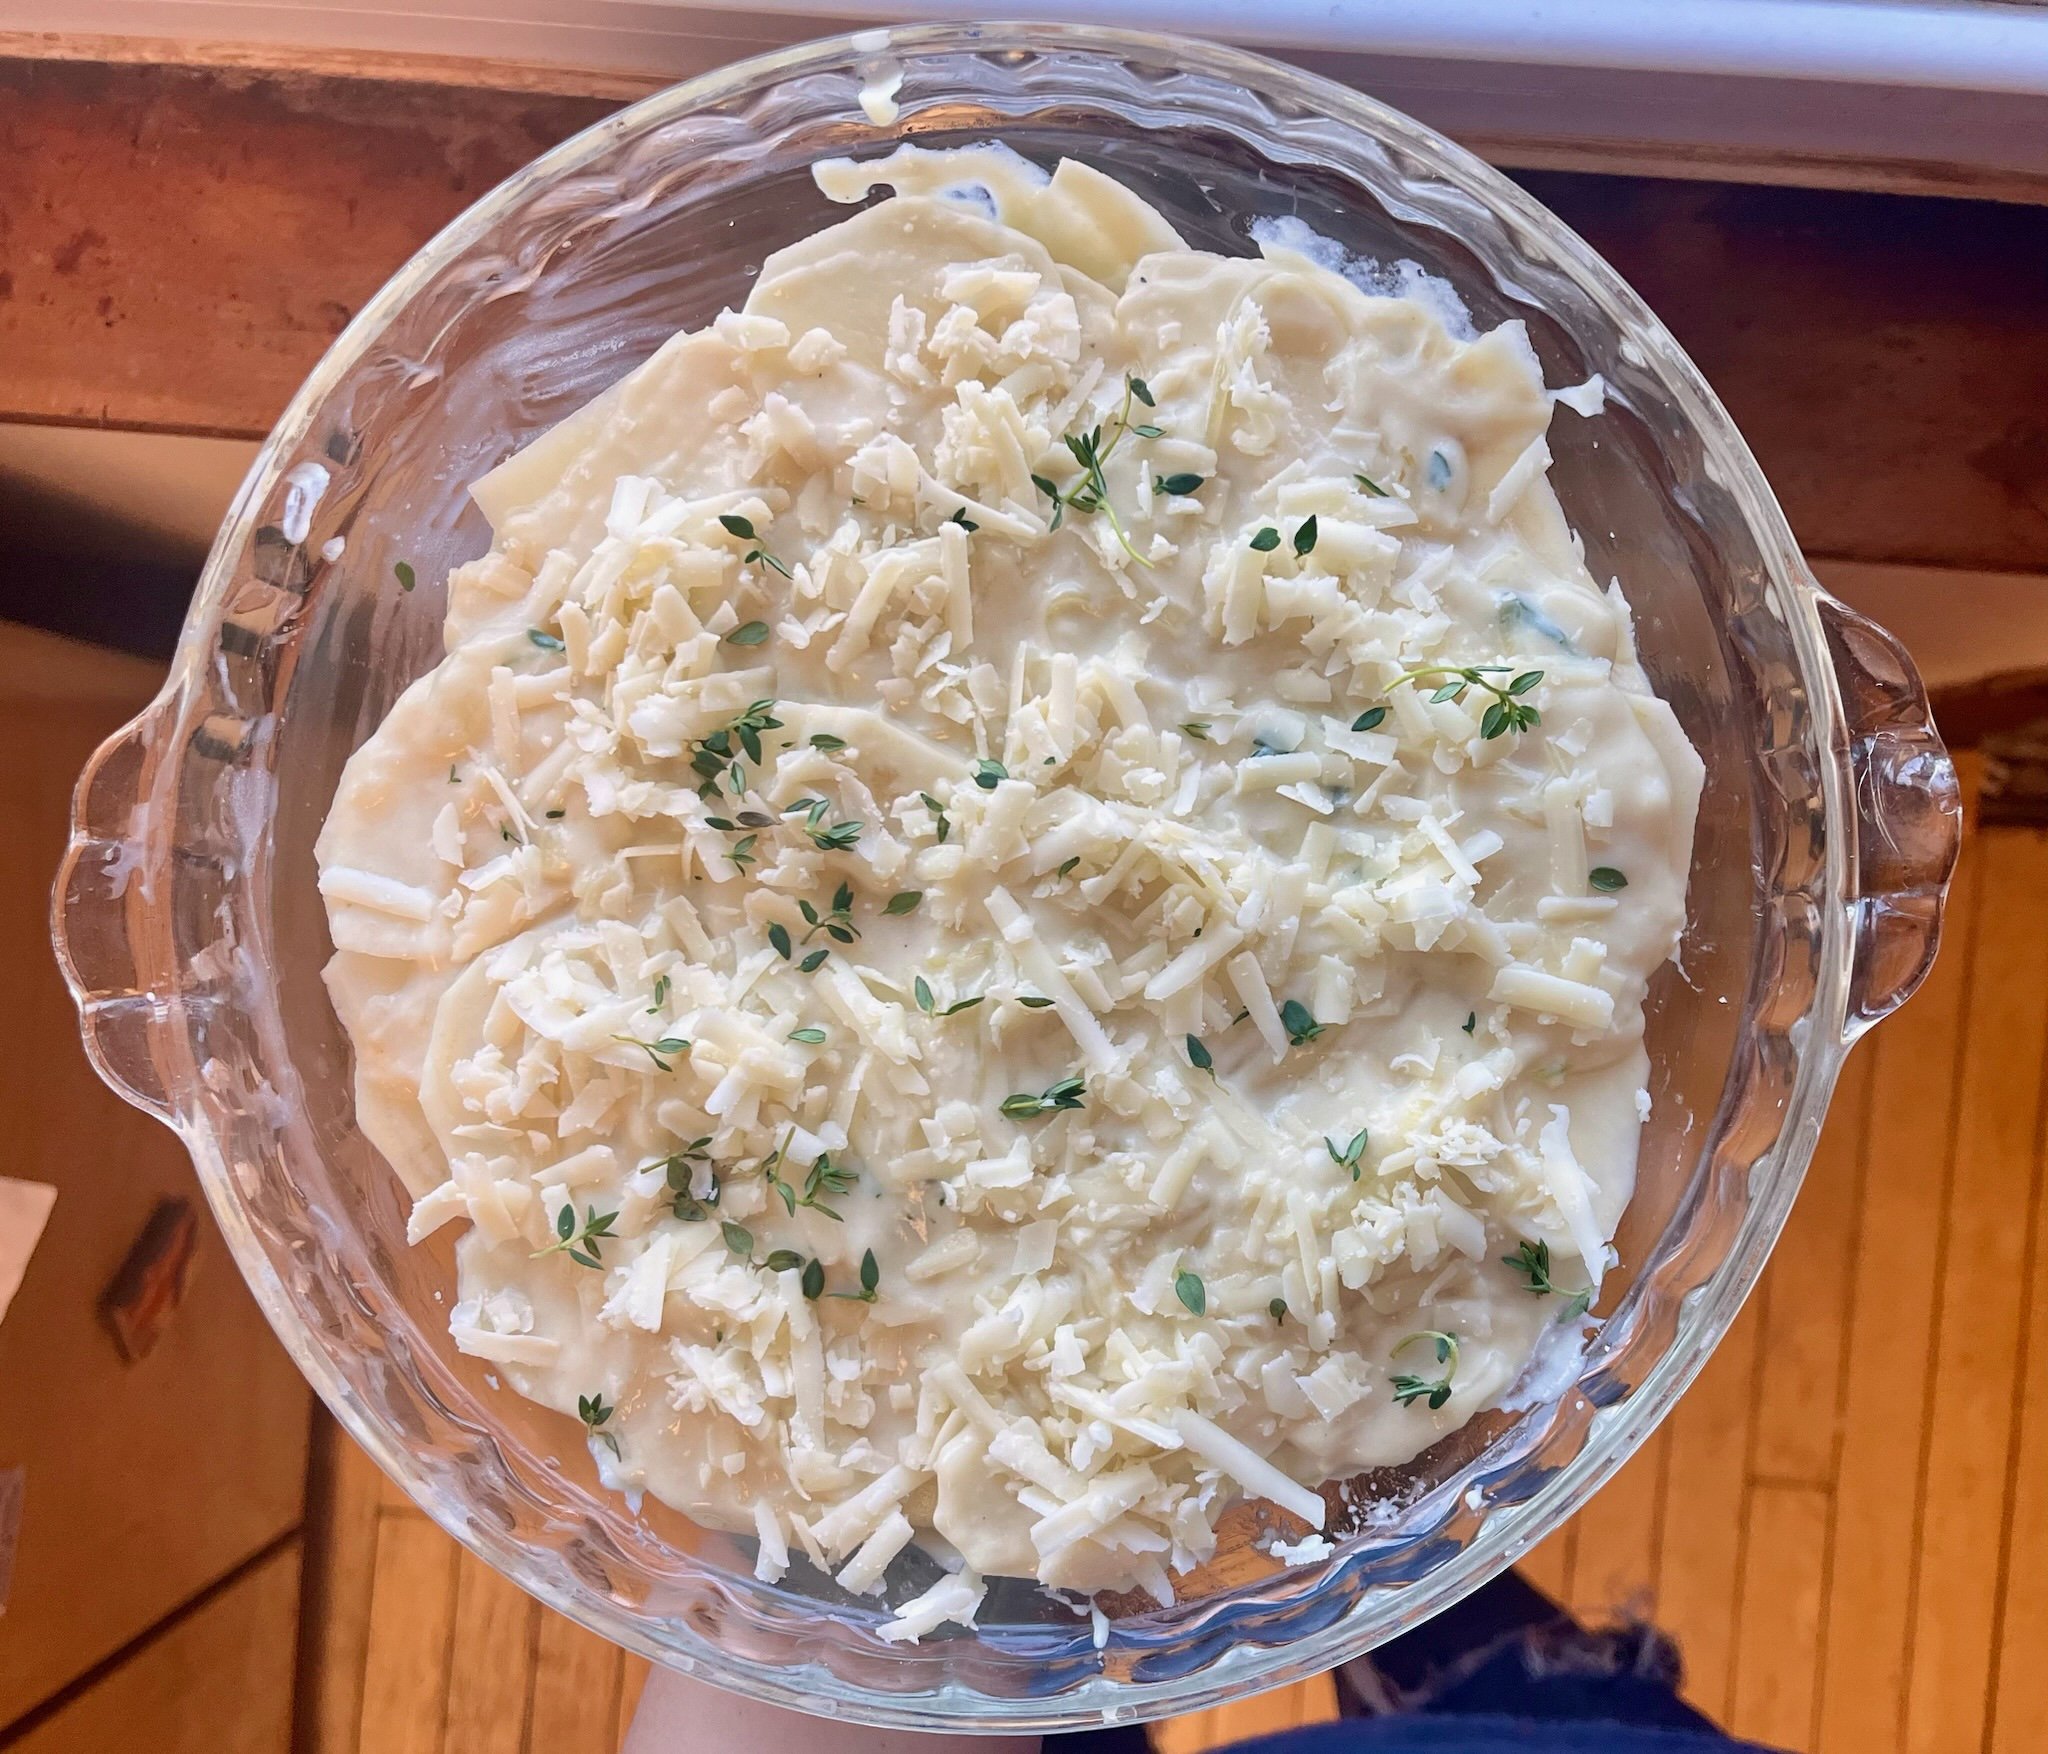
1 tsp thyme leaves
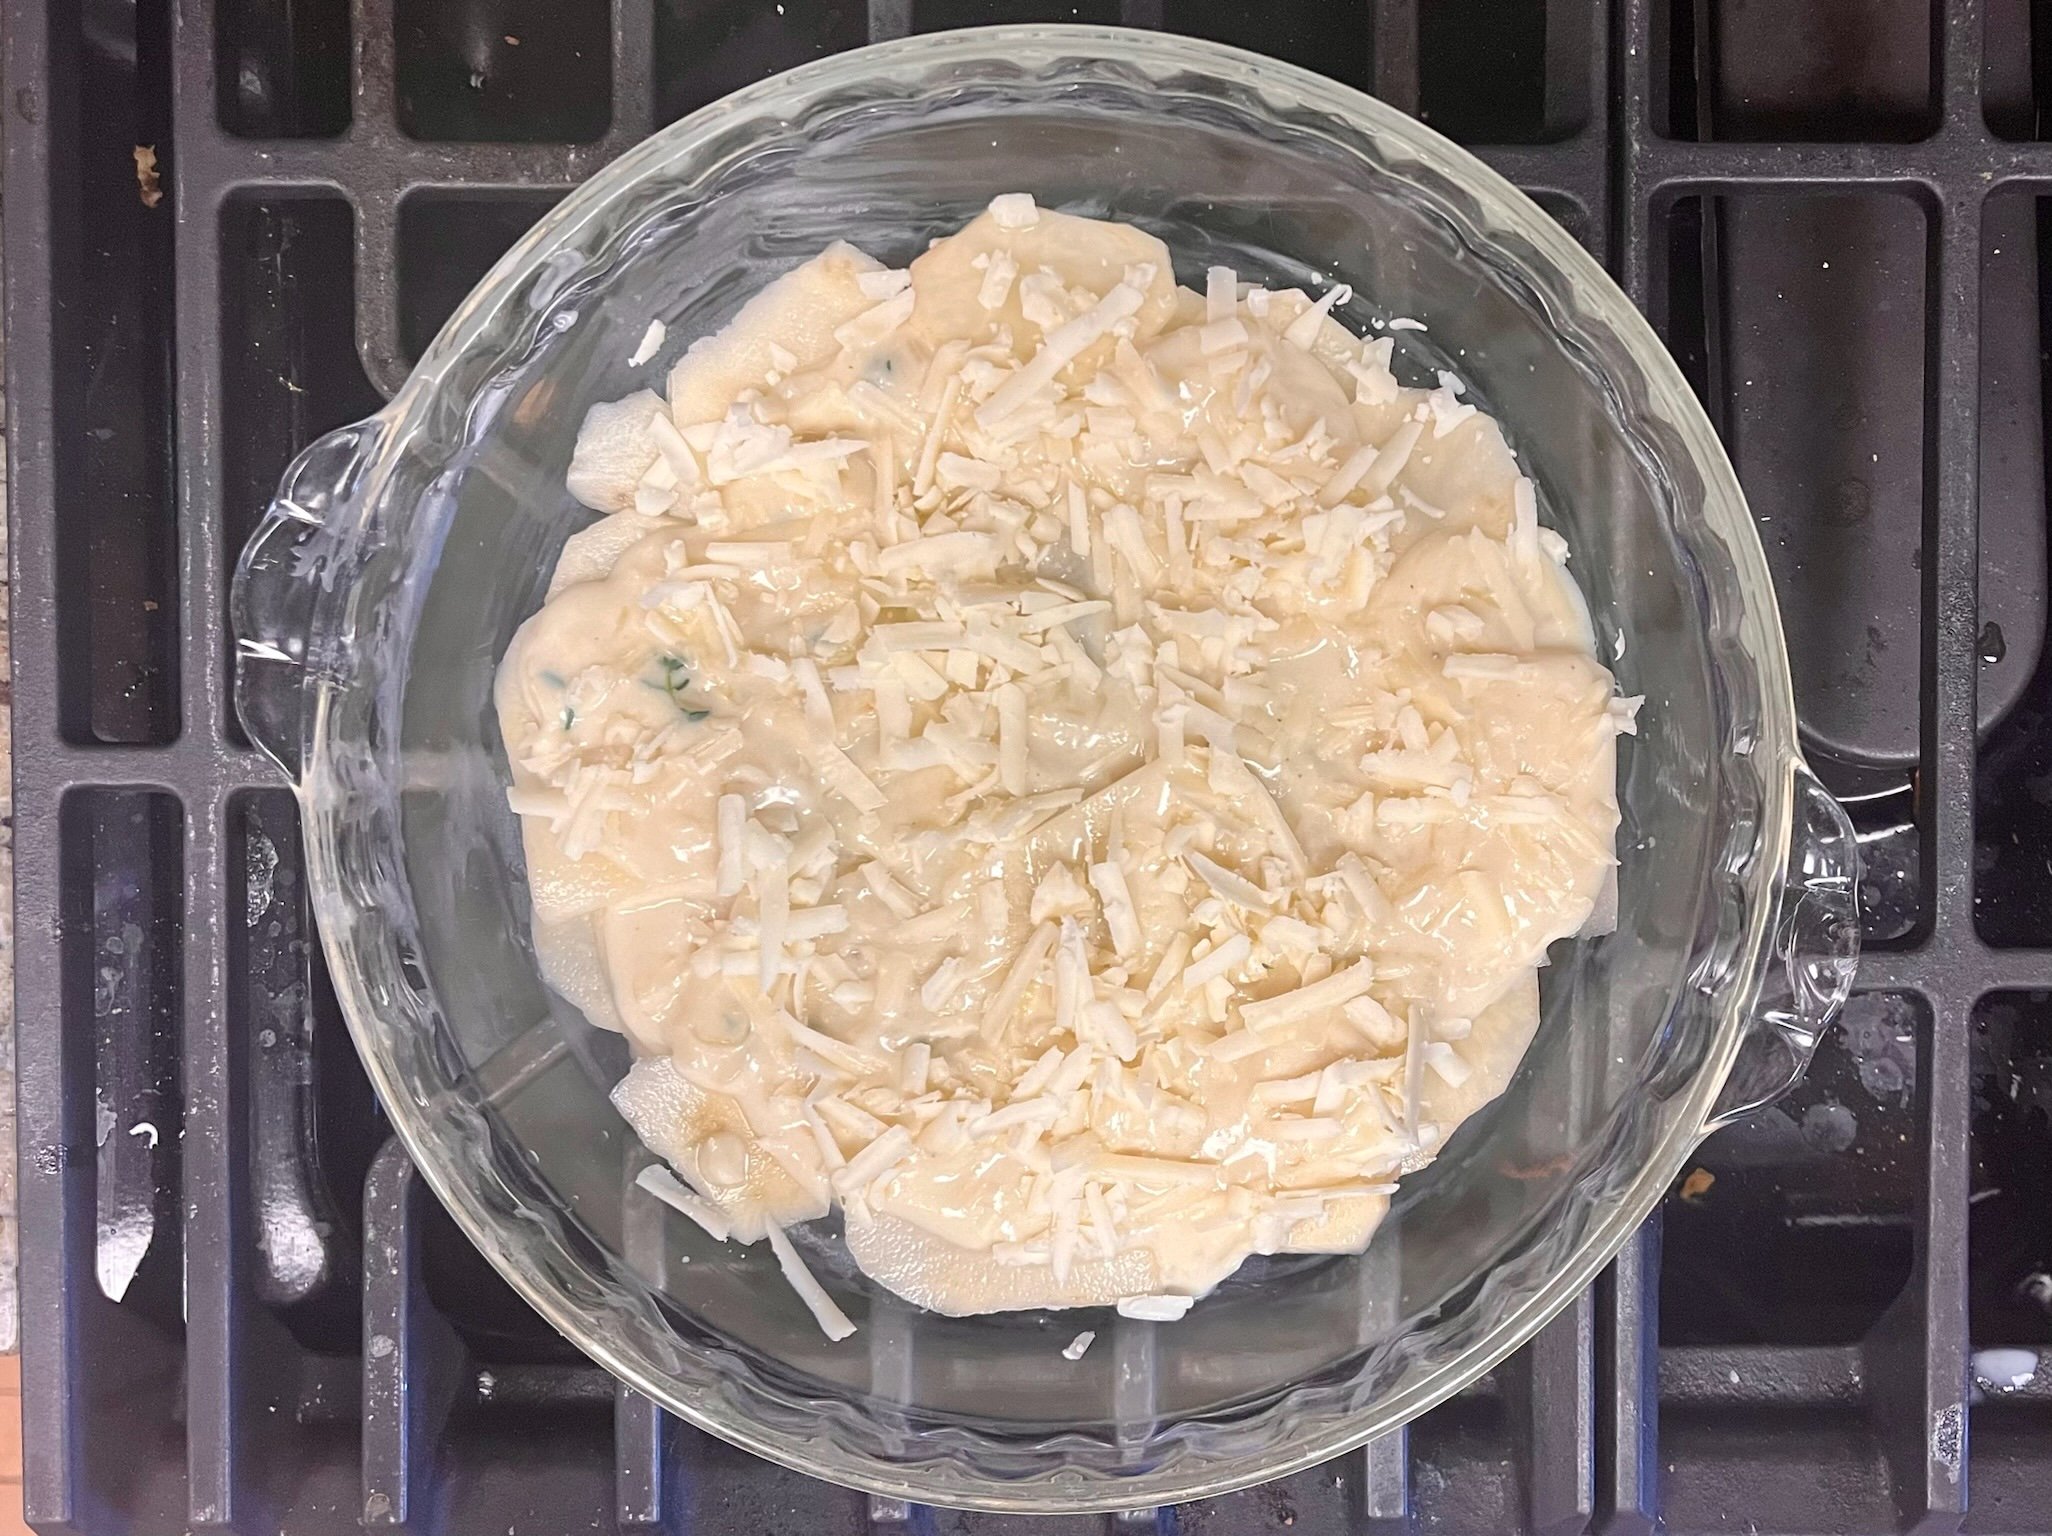
½ cup grated Chandoka Cheddar
INSTRUCTIONS:
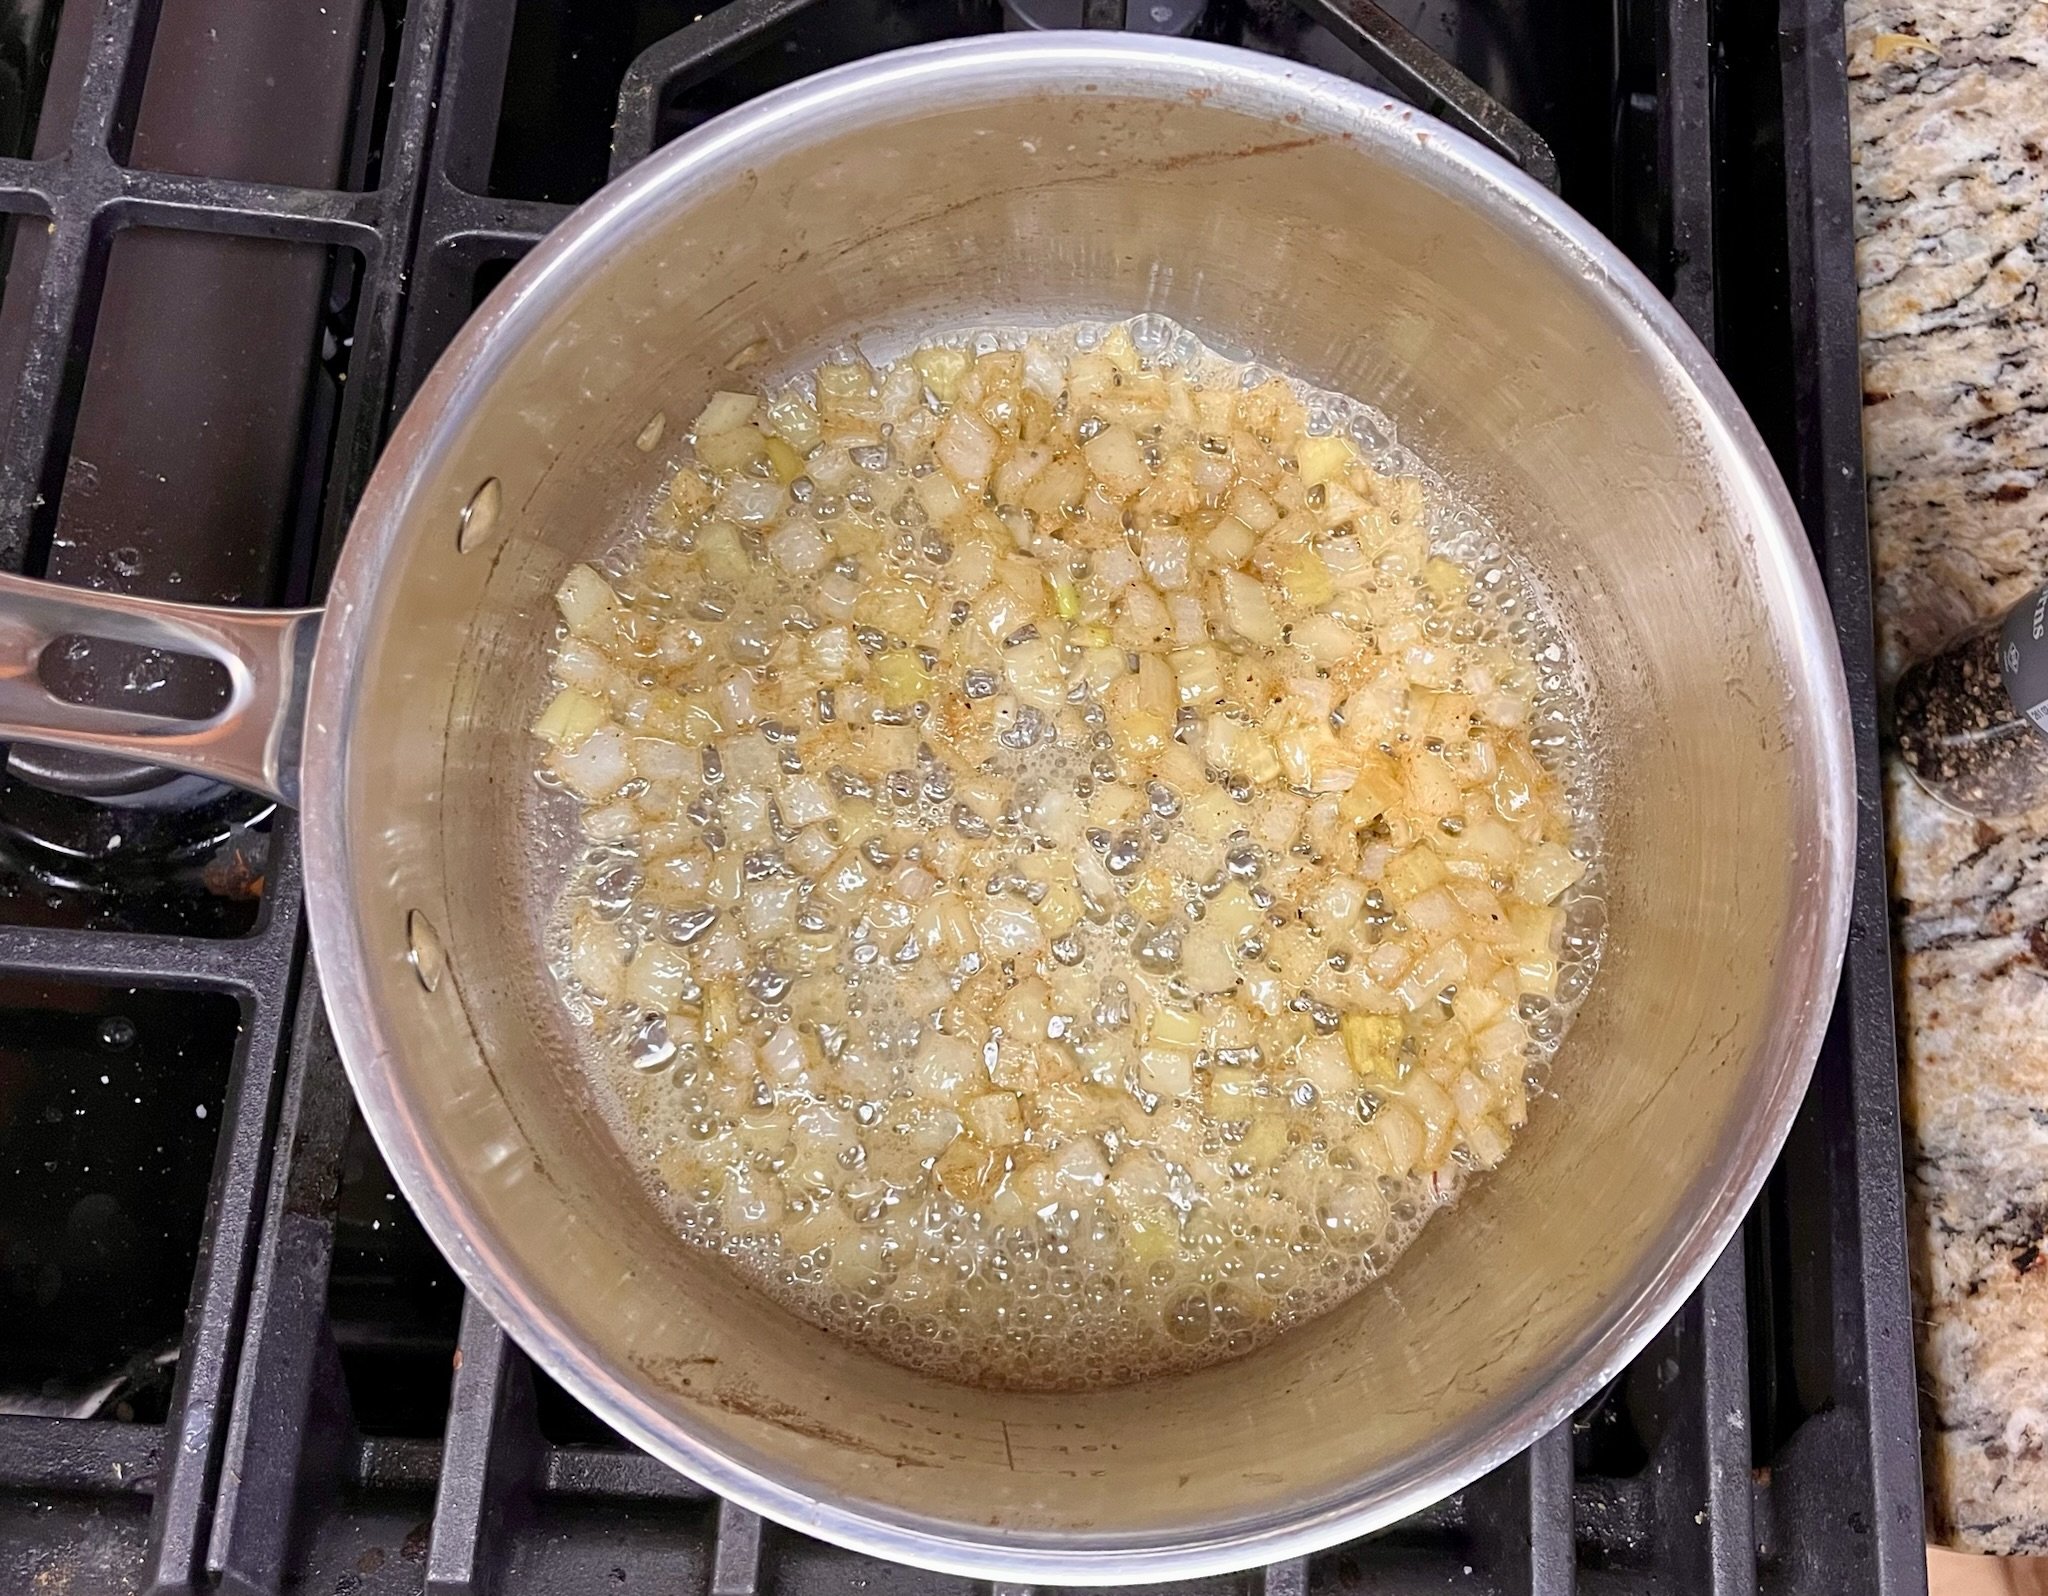
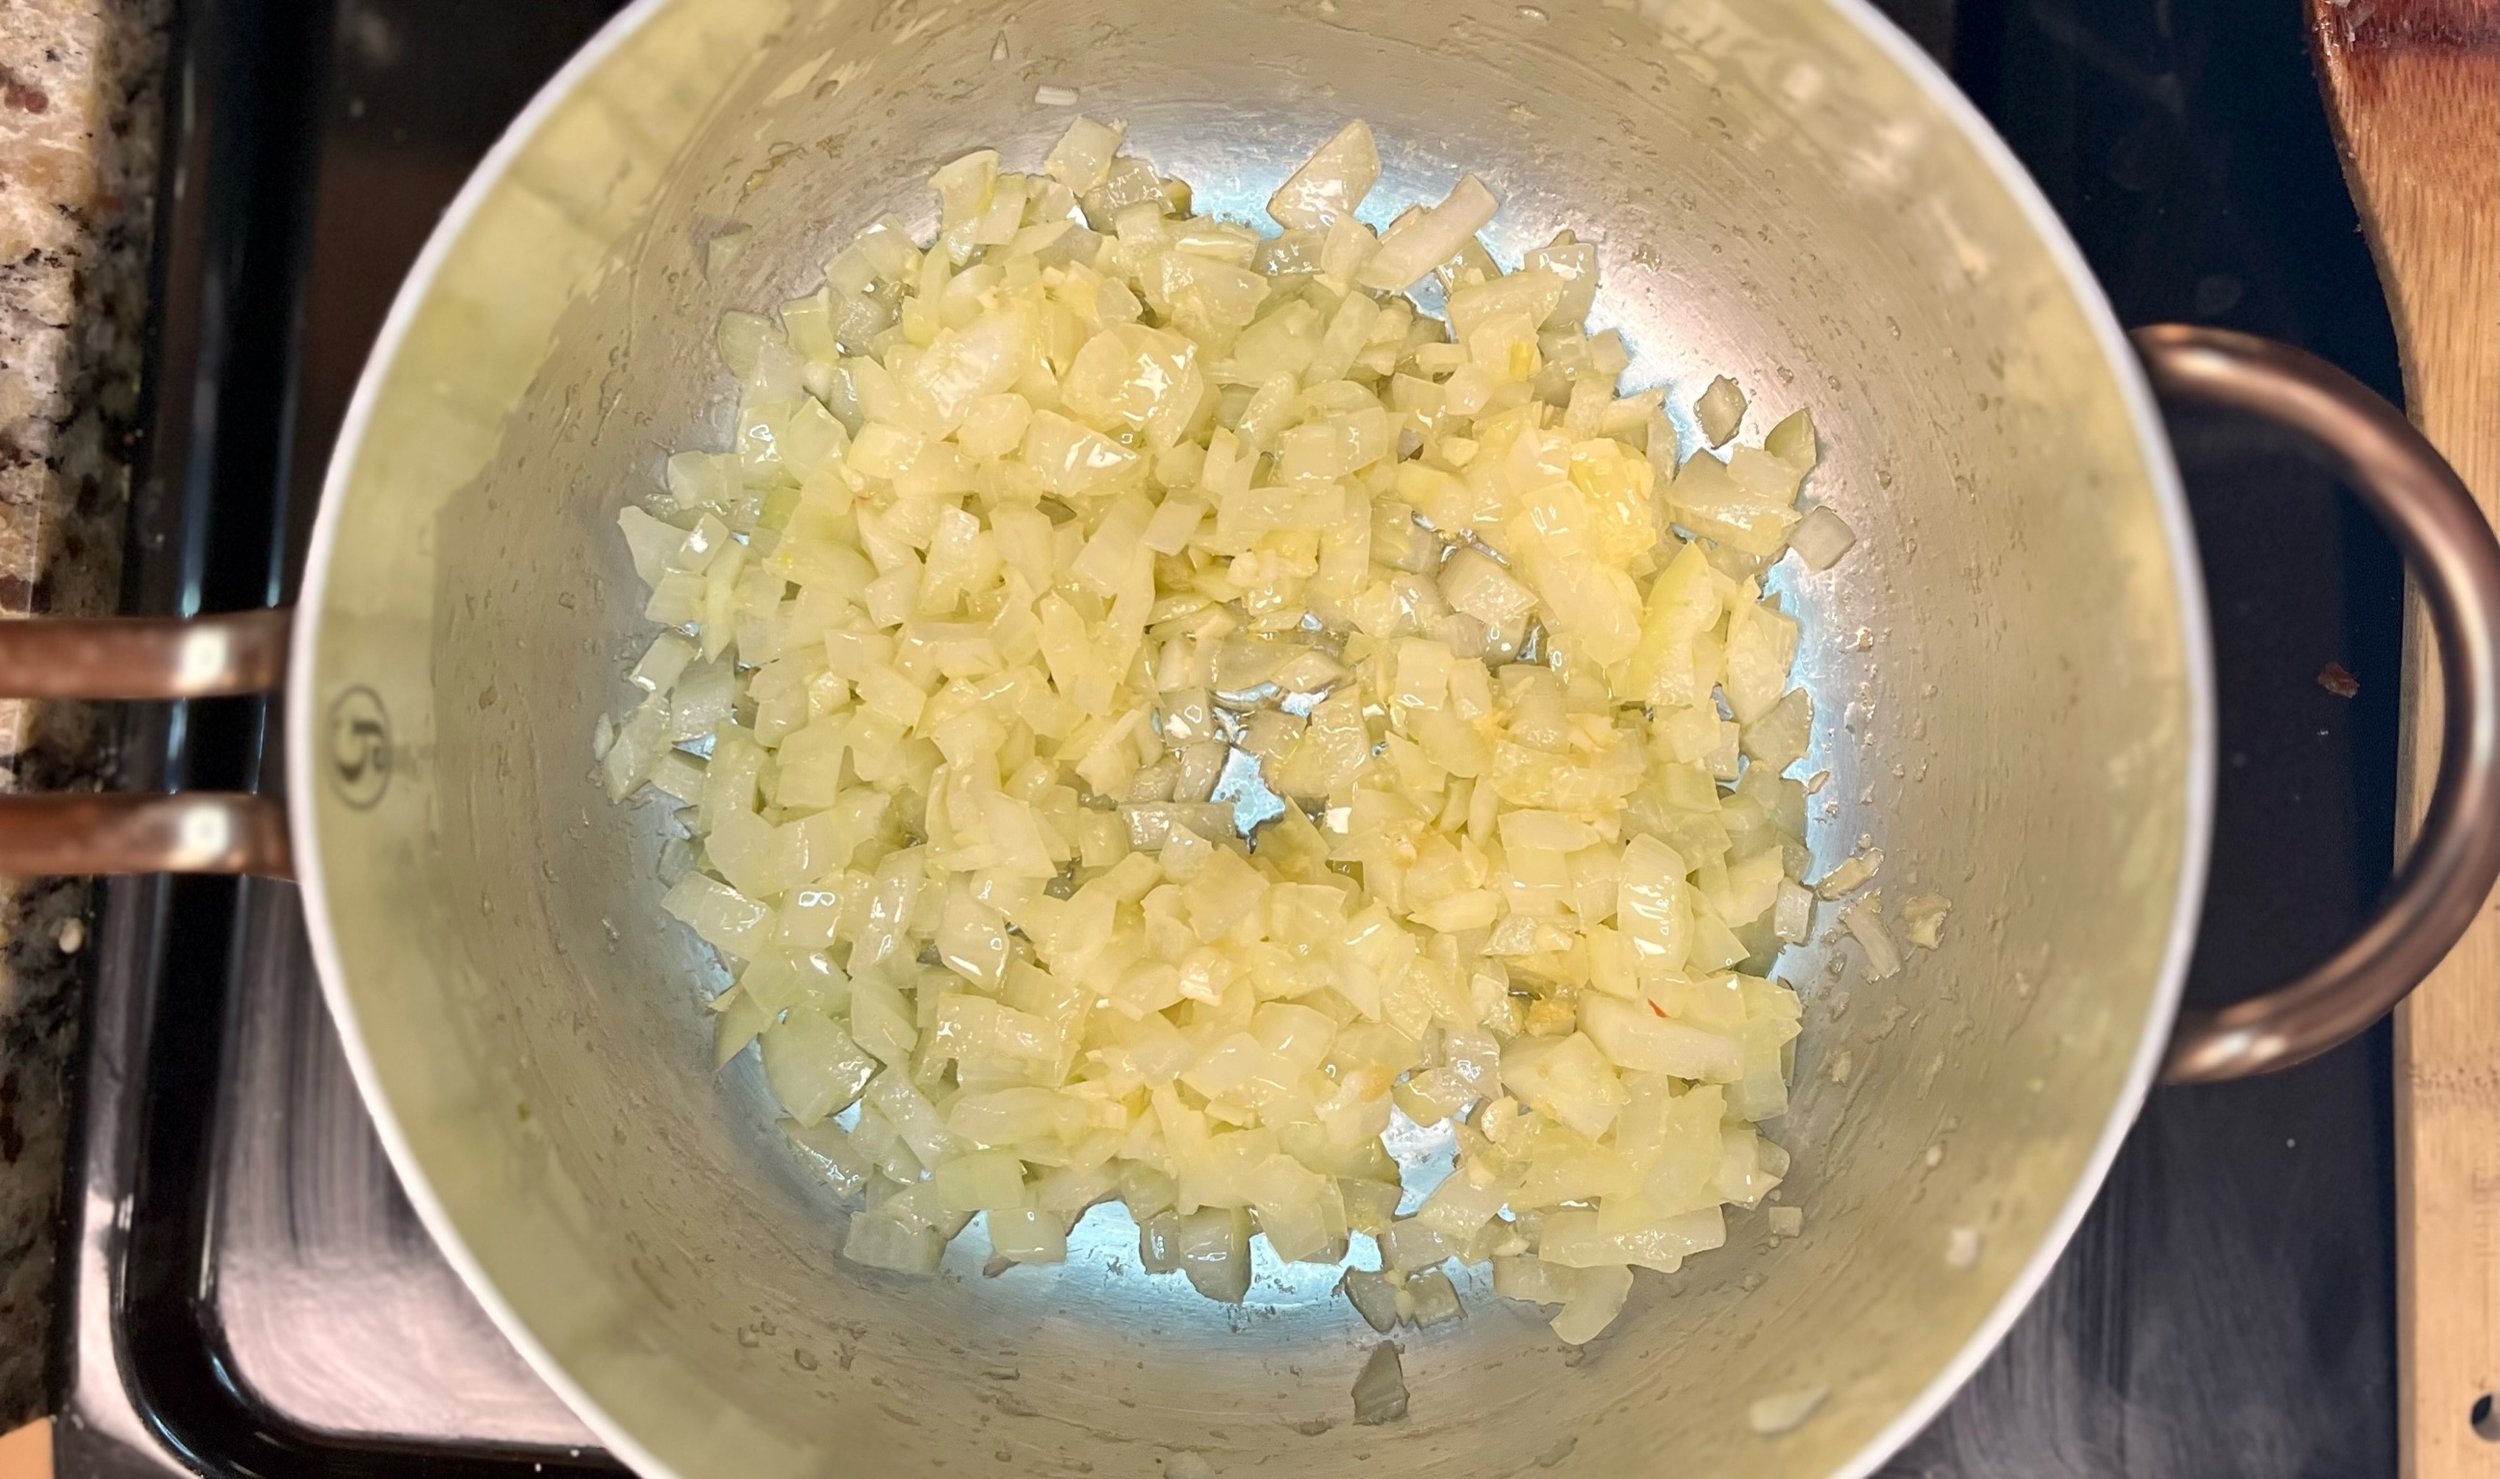
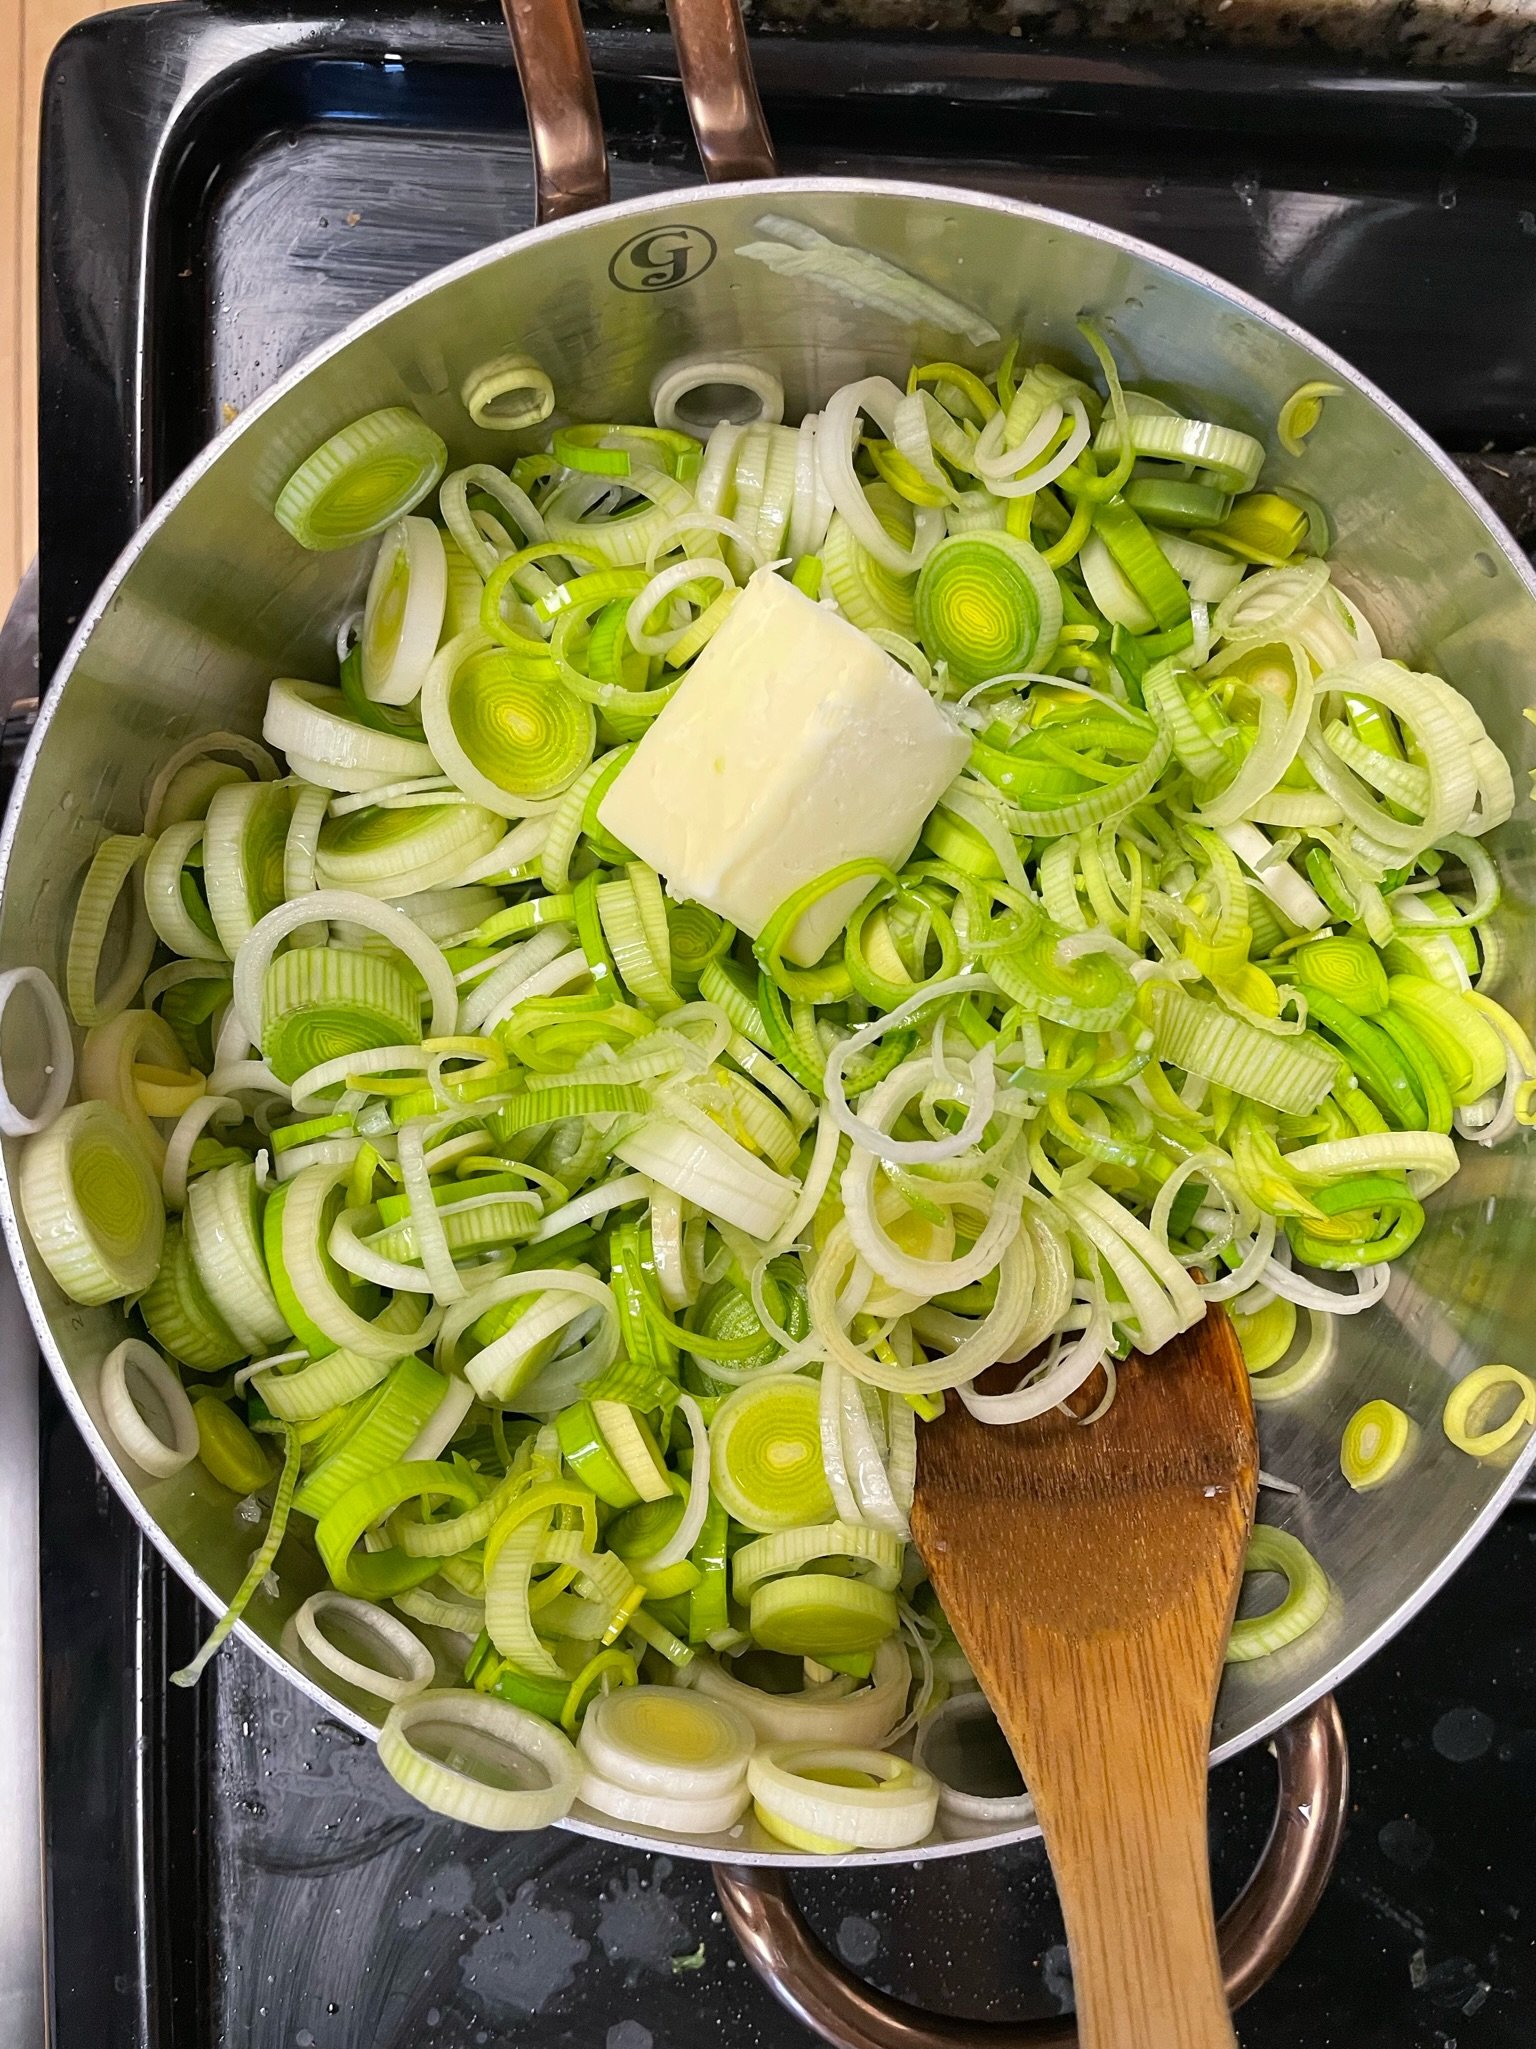
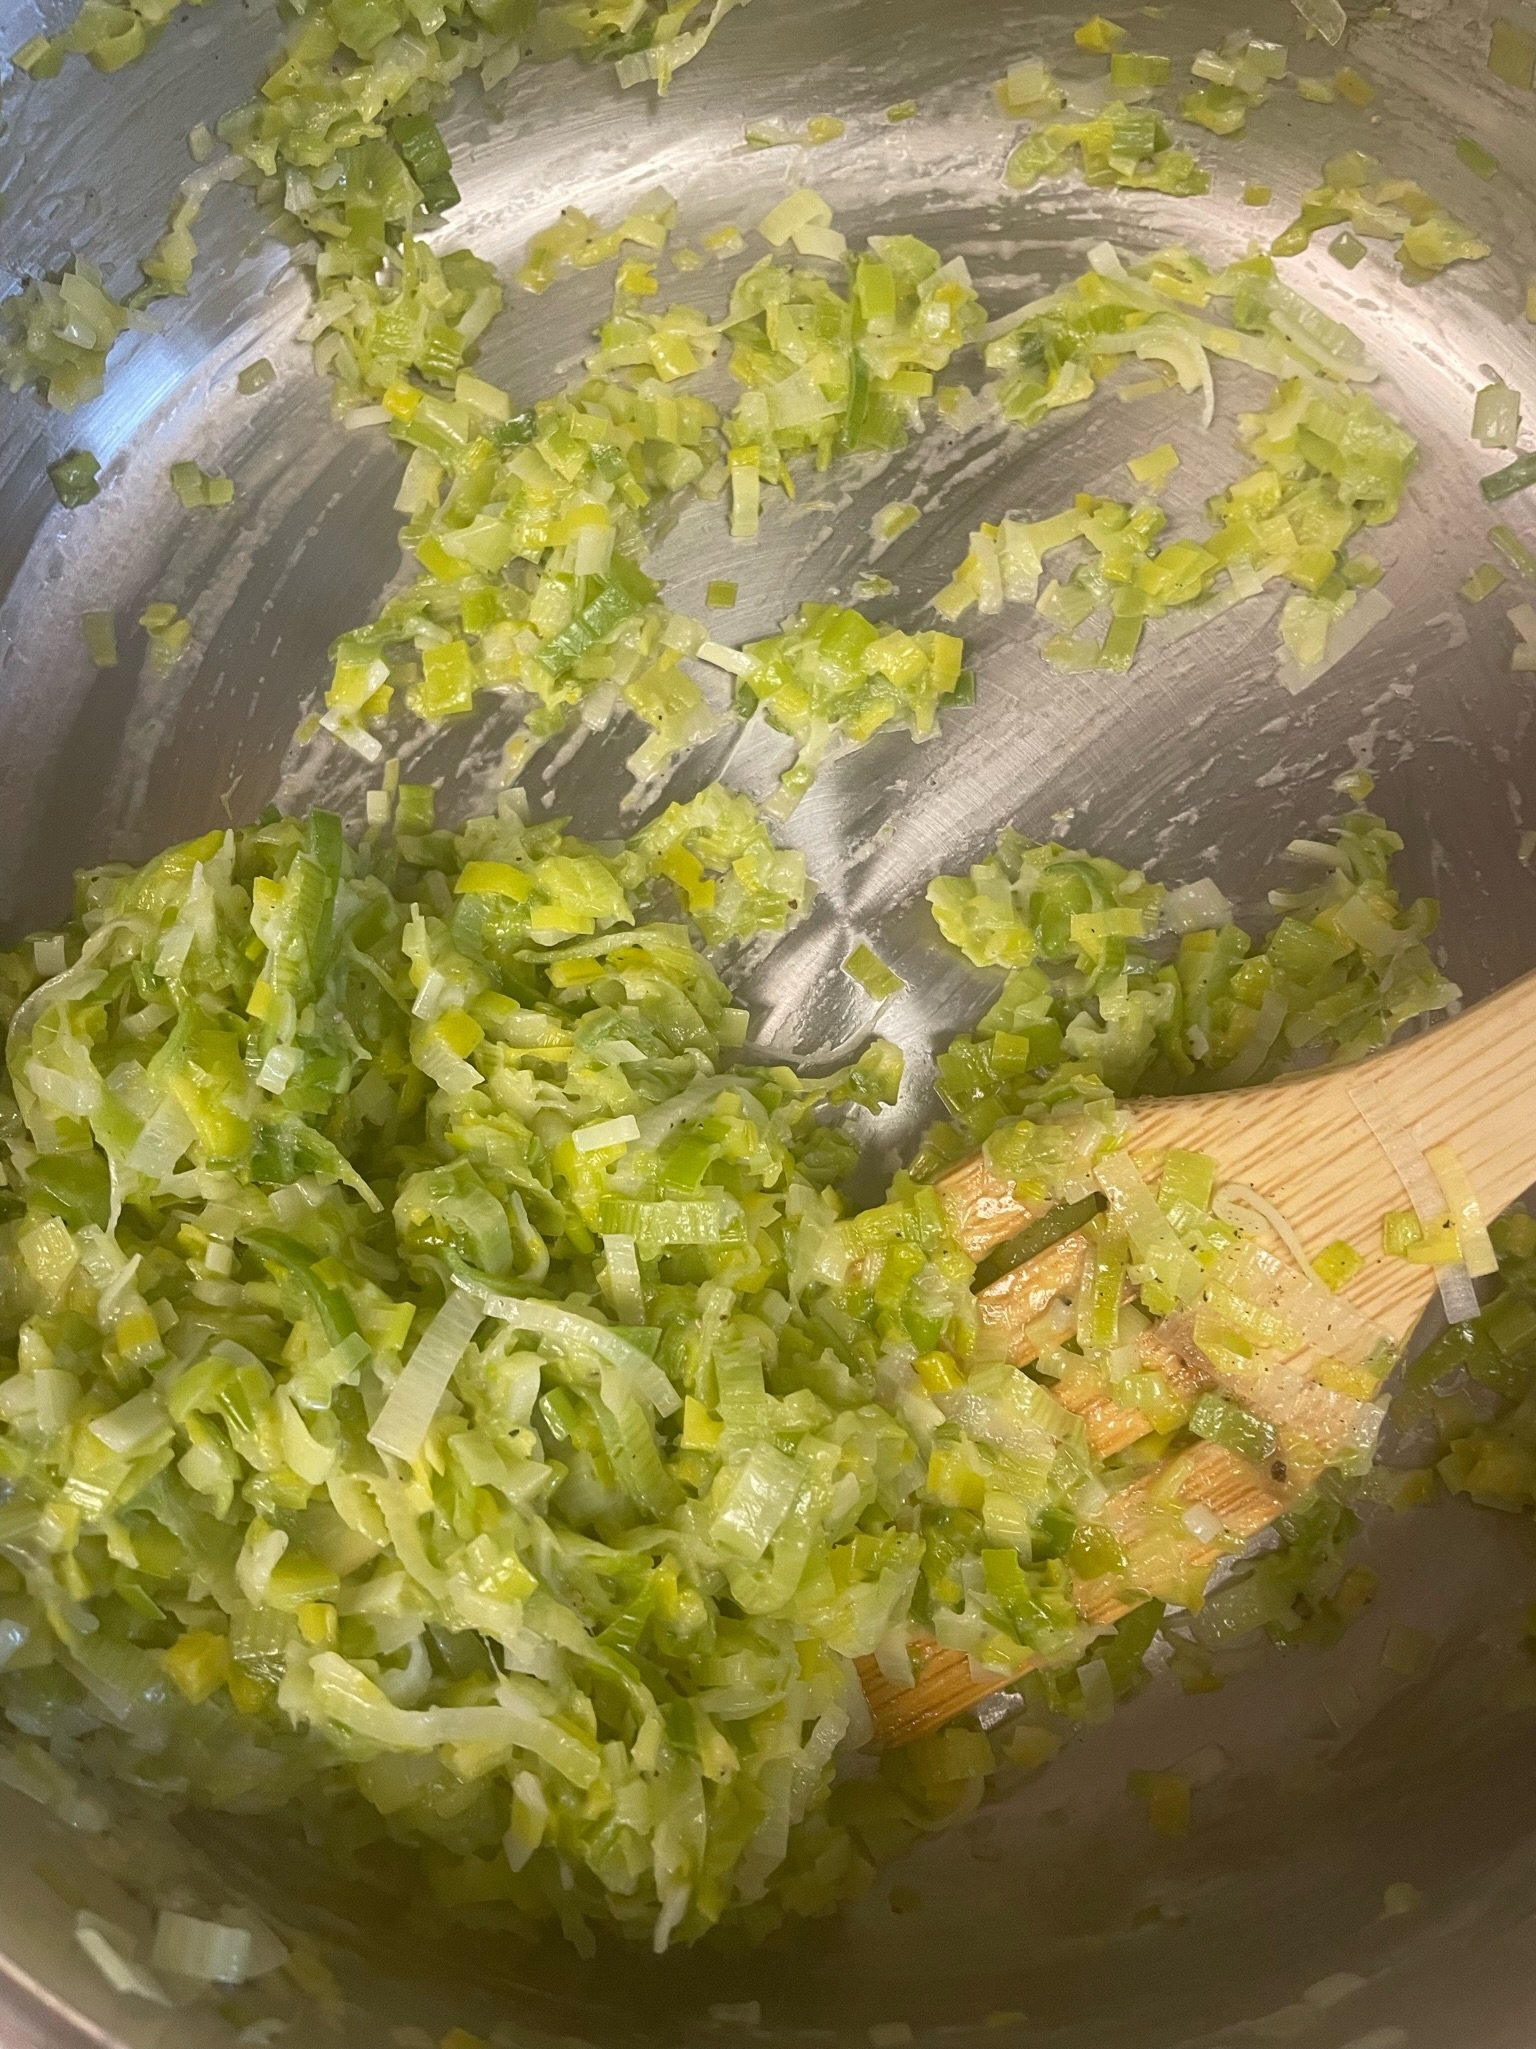
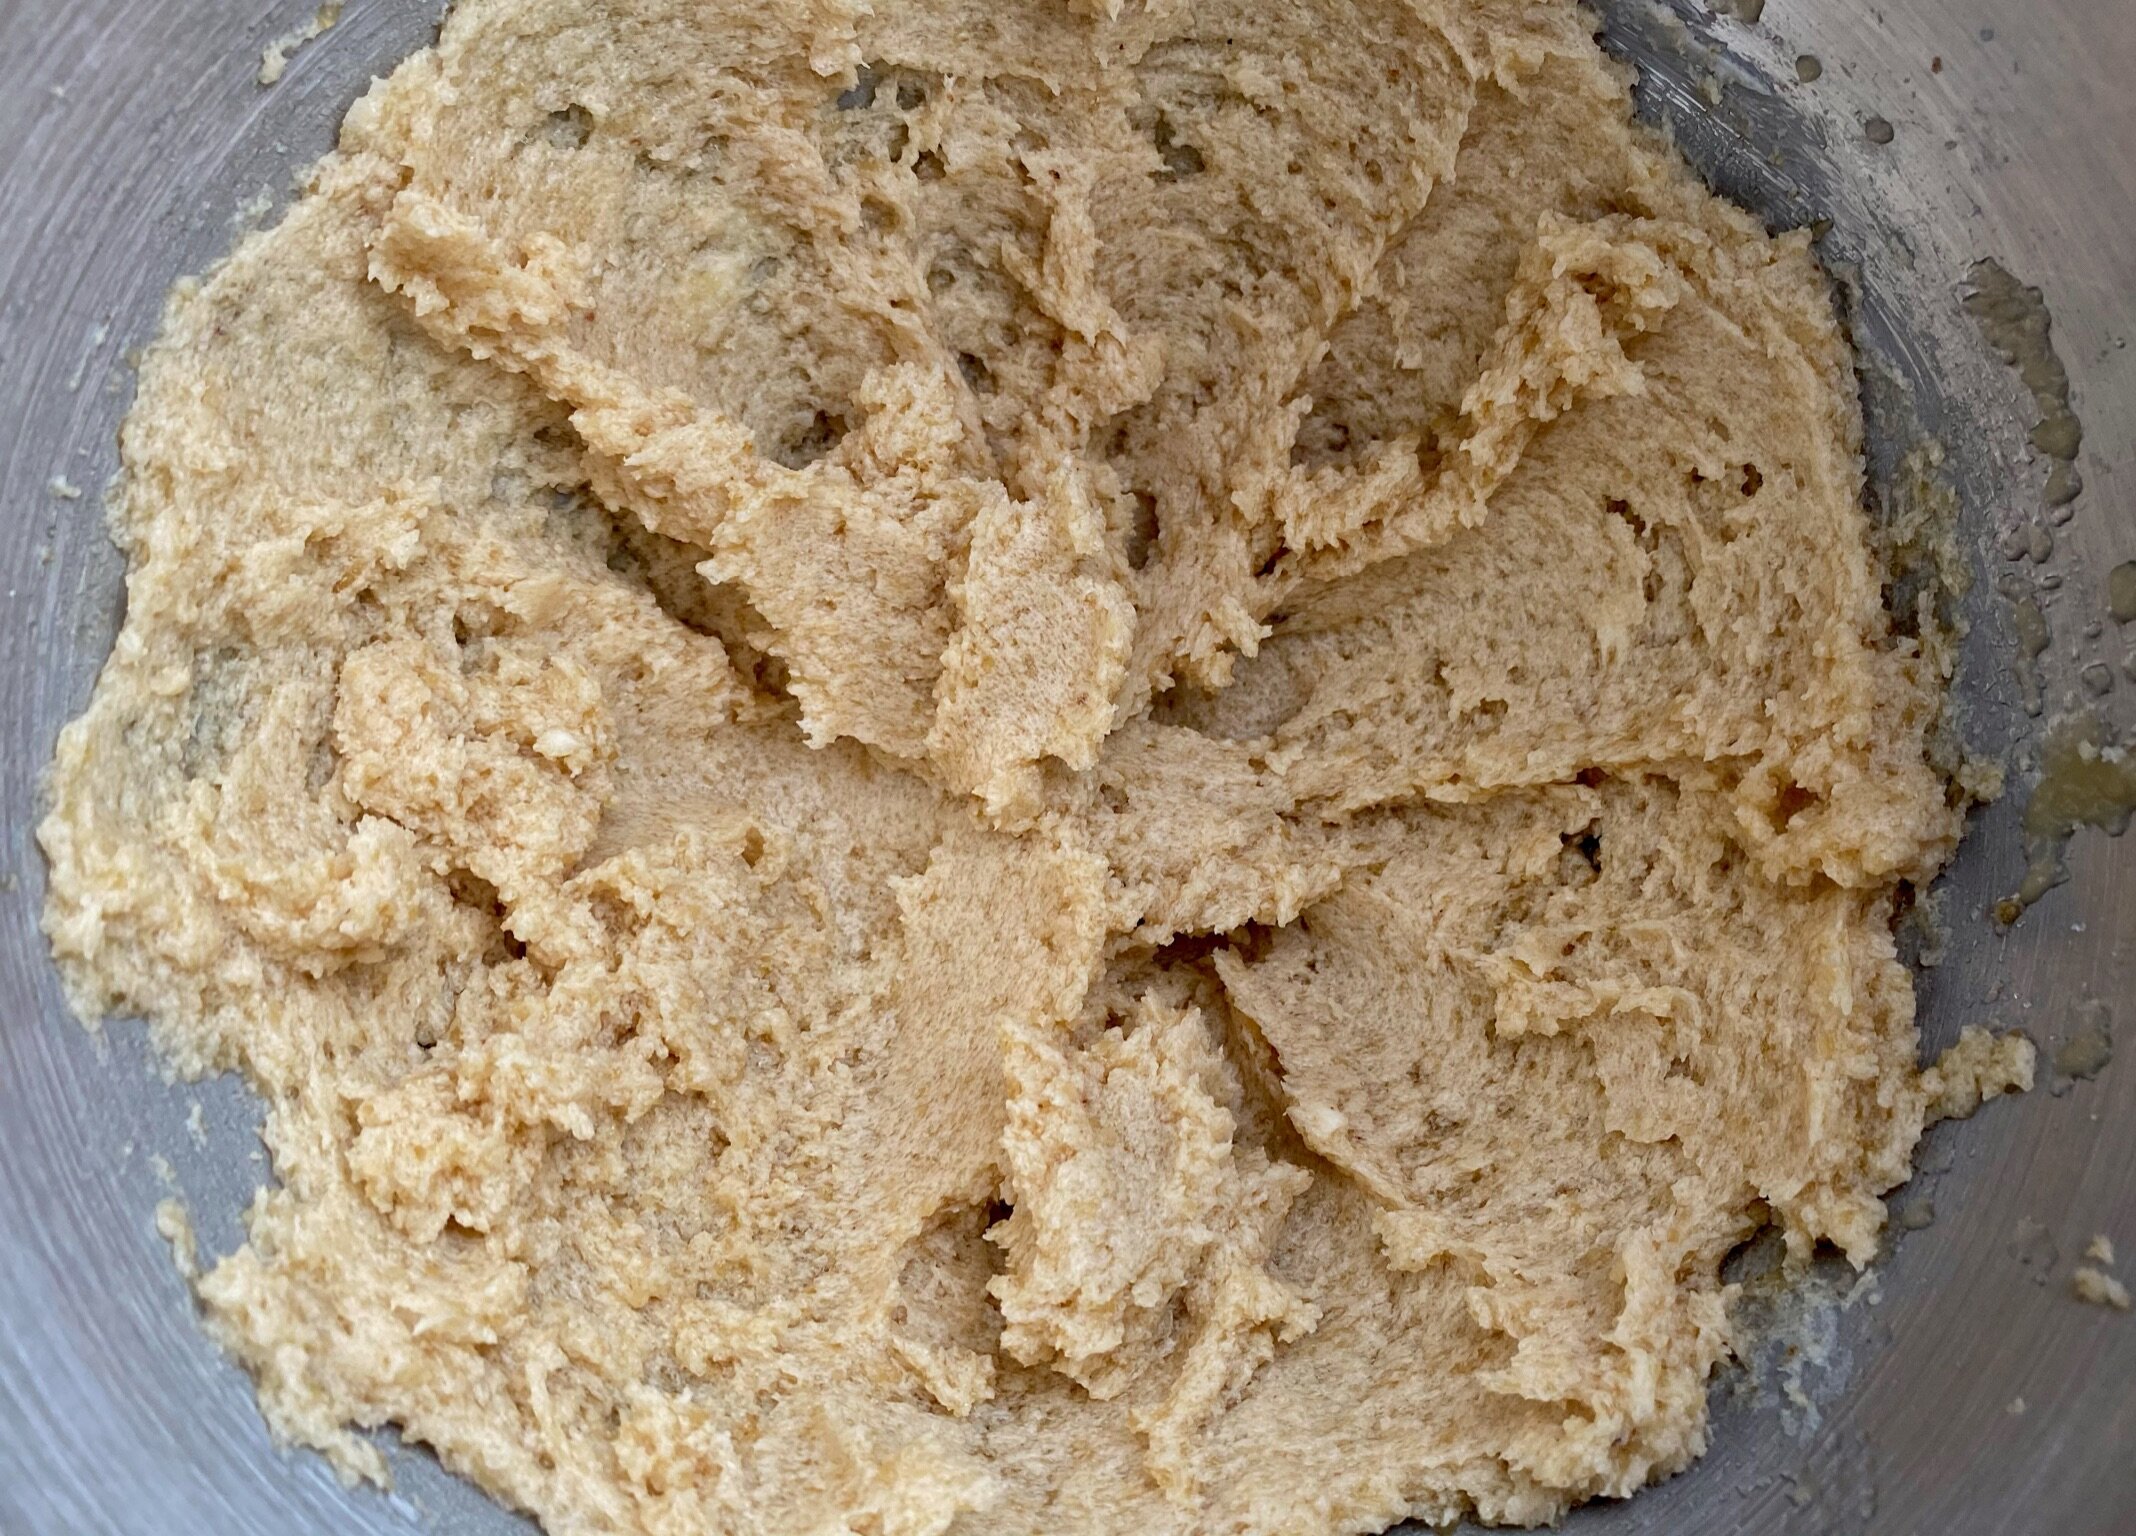
Melt butter in a small saute pan, add onion, and cook for 4-5 minutes till softened and translucent. Add garlic and cook for another minute or so until fragrant. Stir in flour and cook for another few minutes.

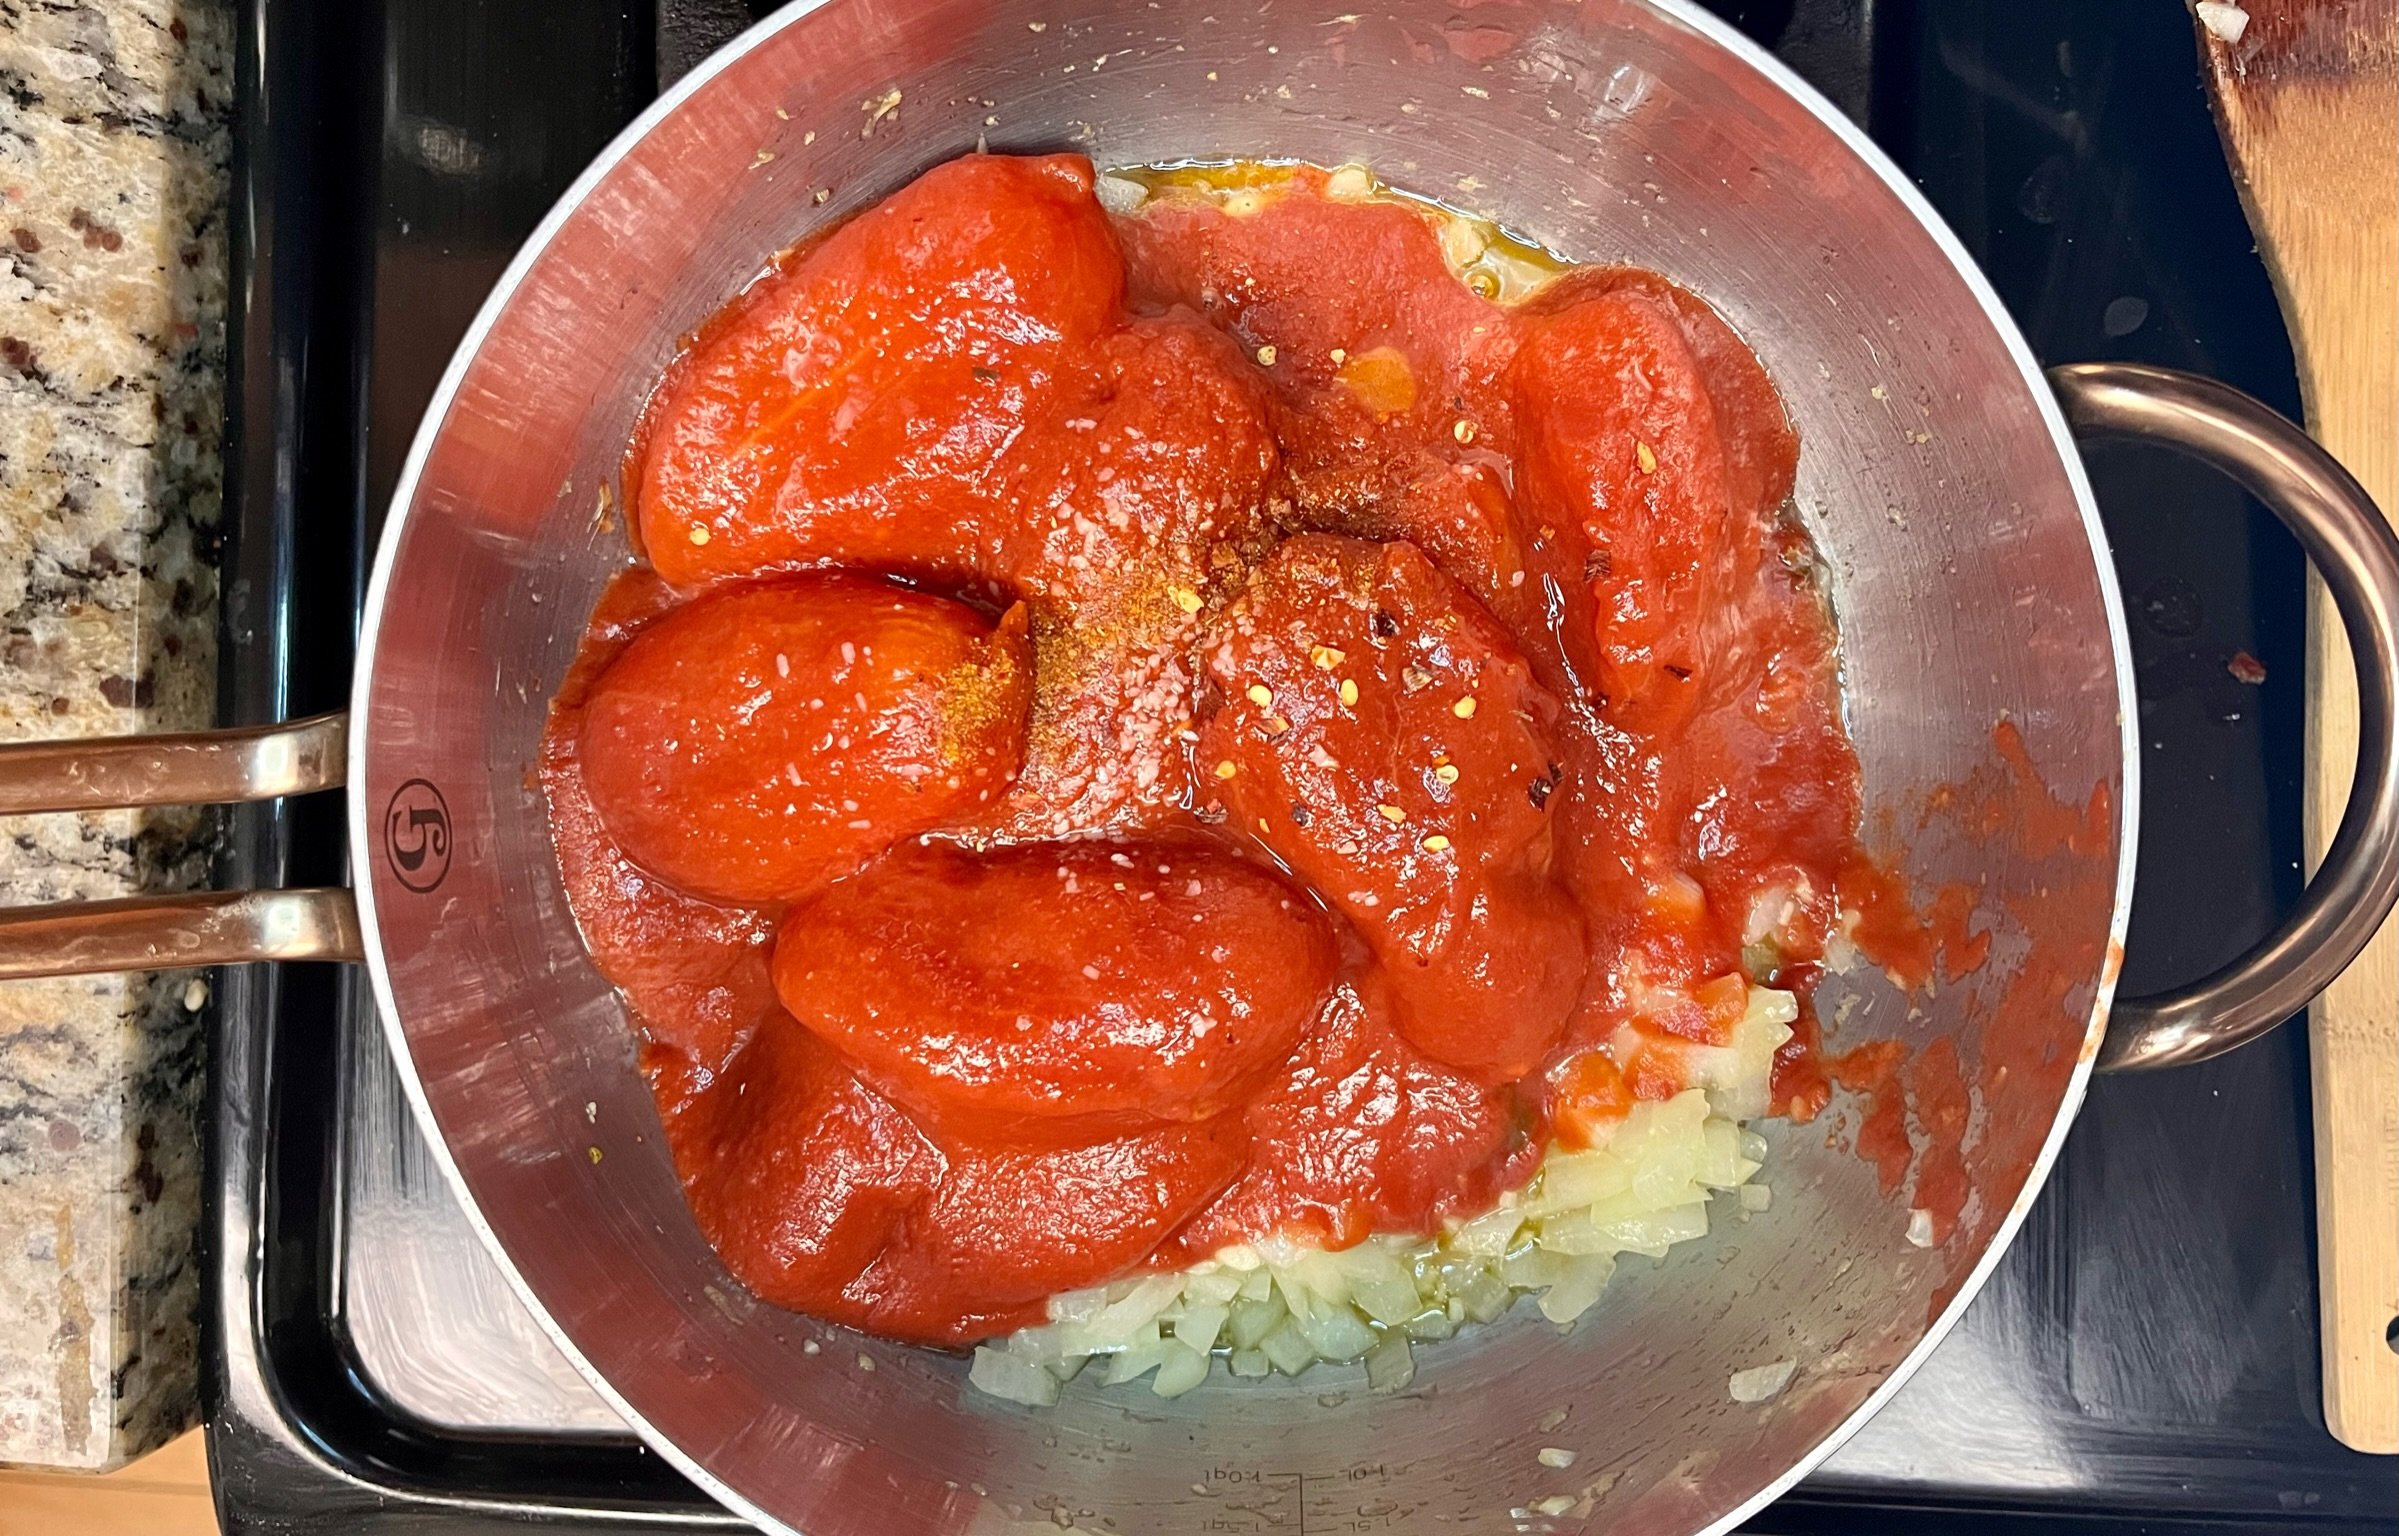
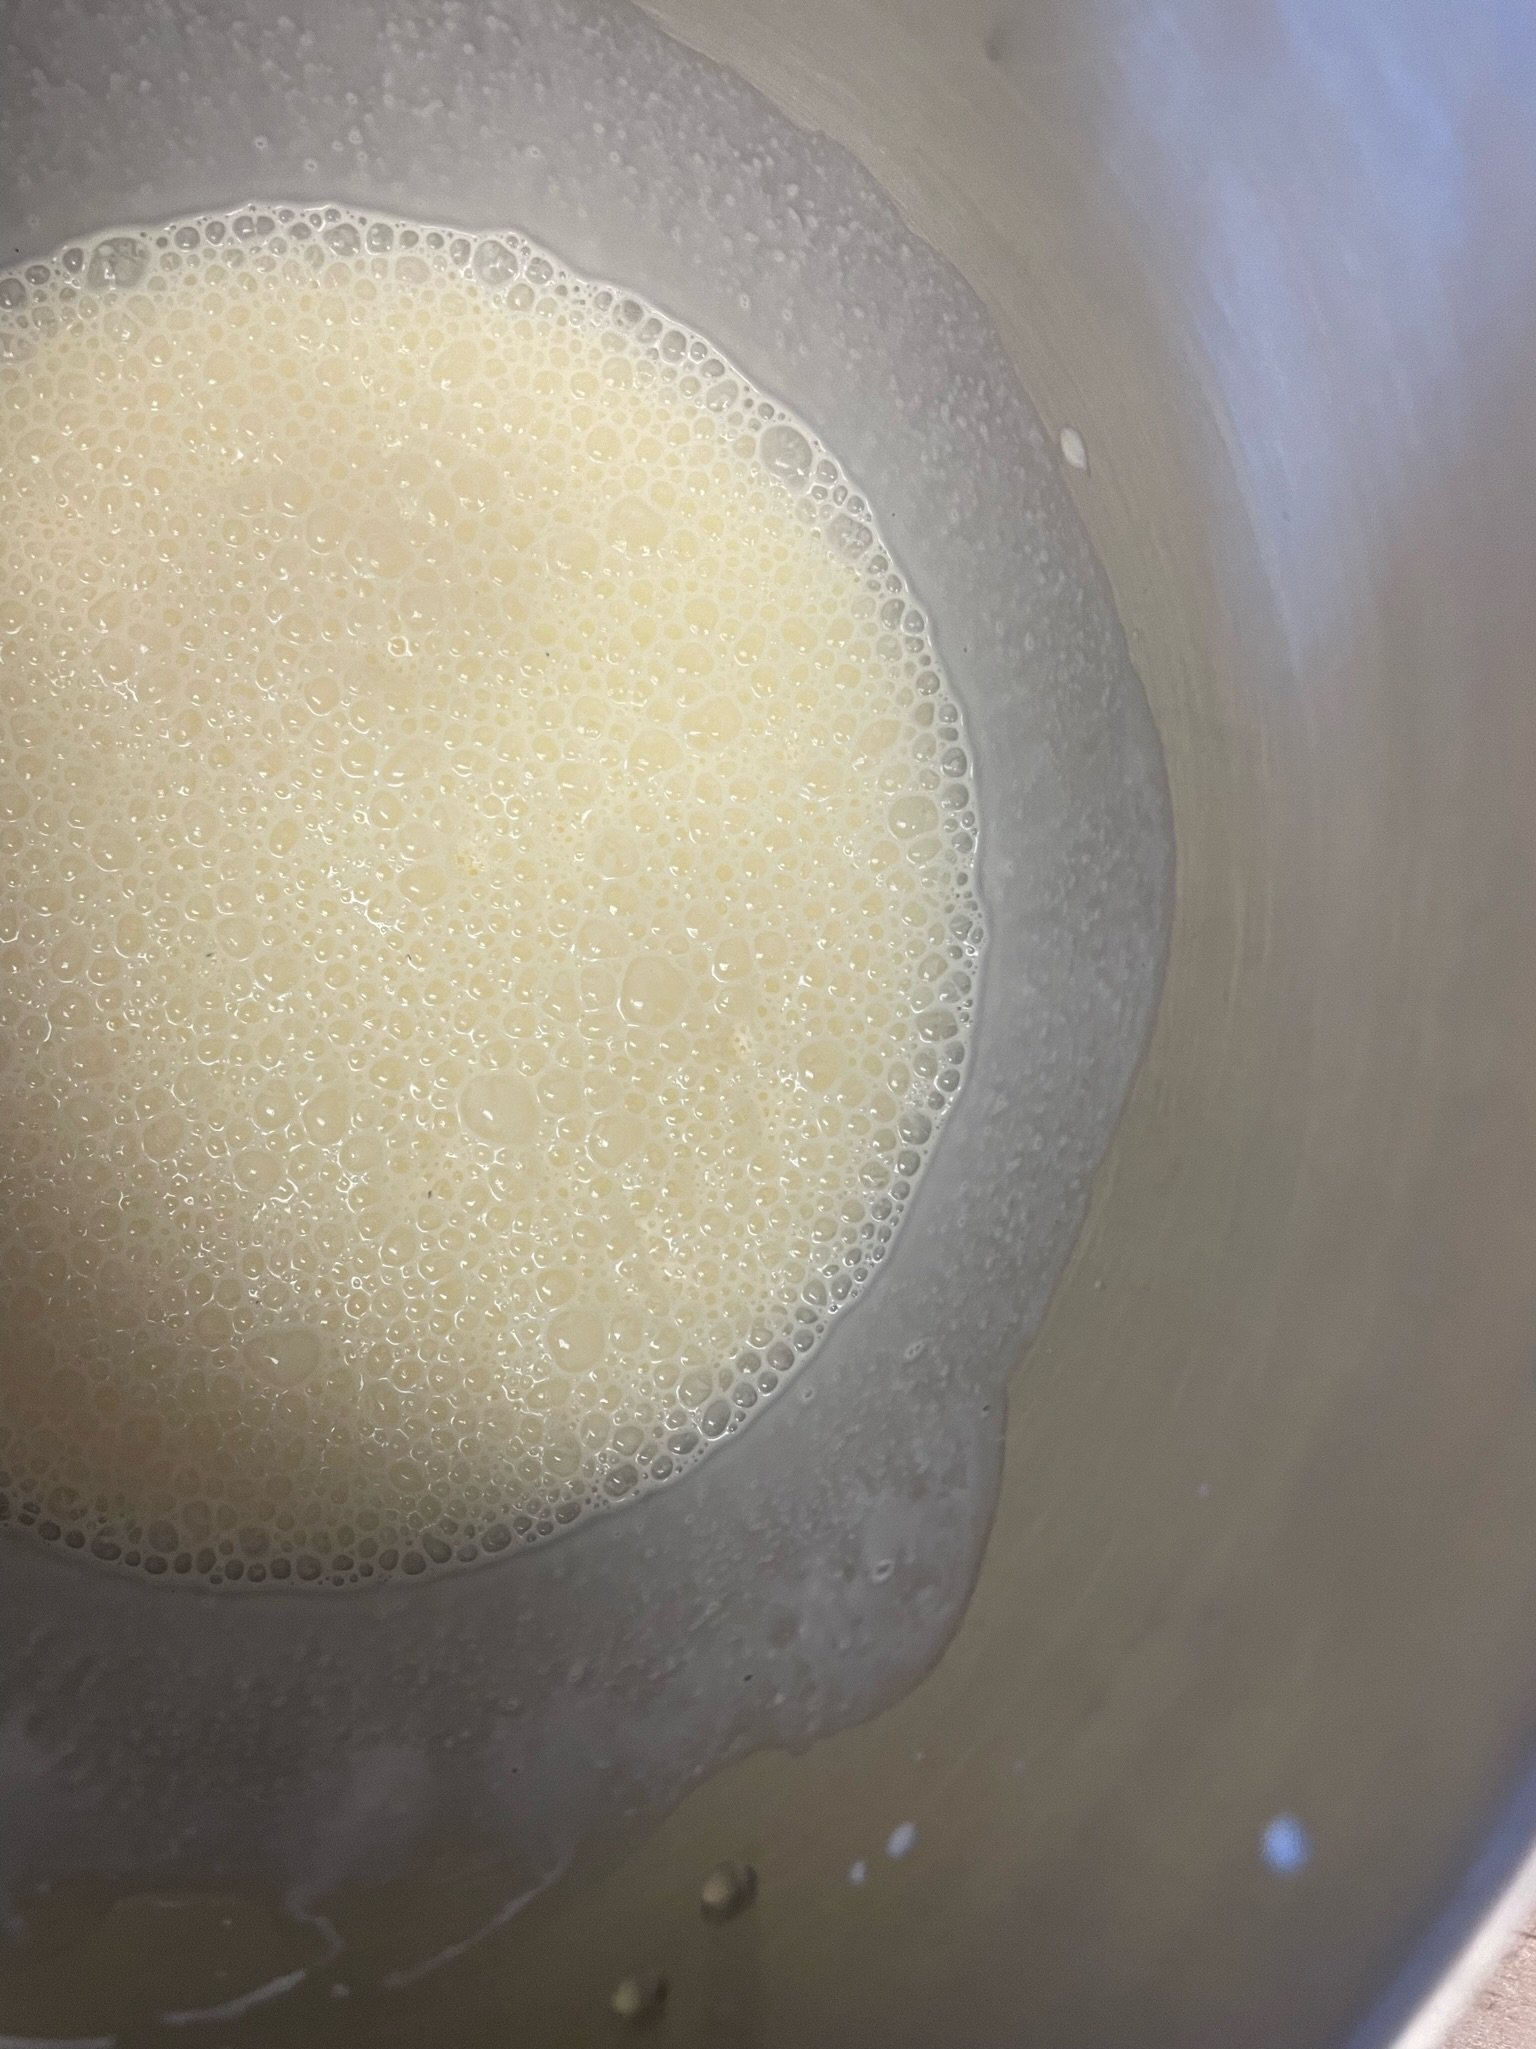
2. Whisk in the stock, then add in milk, pepper, salt, and thyme, stirring til combined. Let the sauce cook for a few minutes until thickened, stirring occasionally so it doesn't burn.

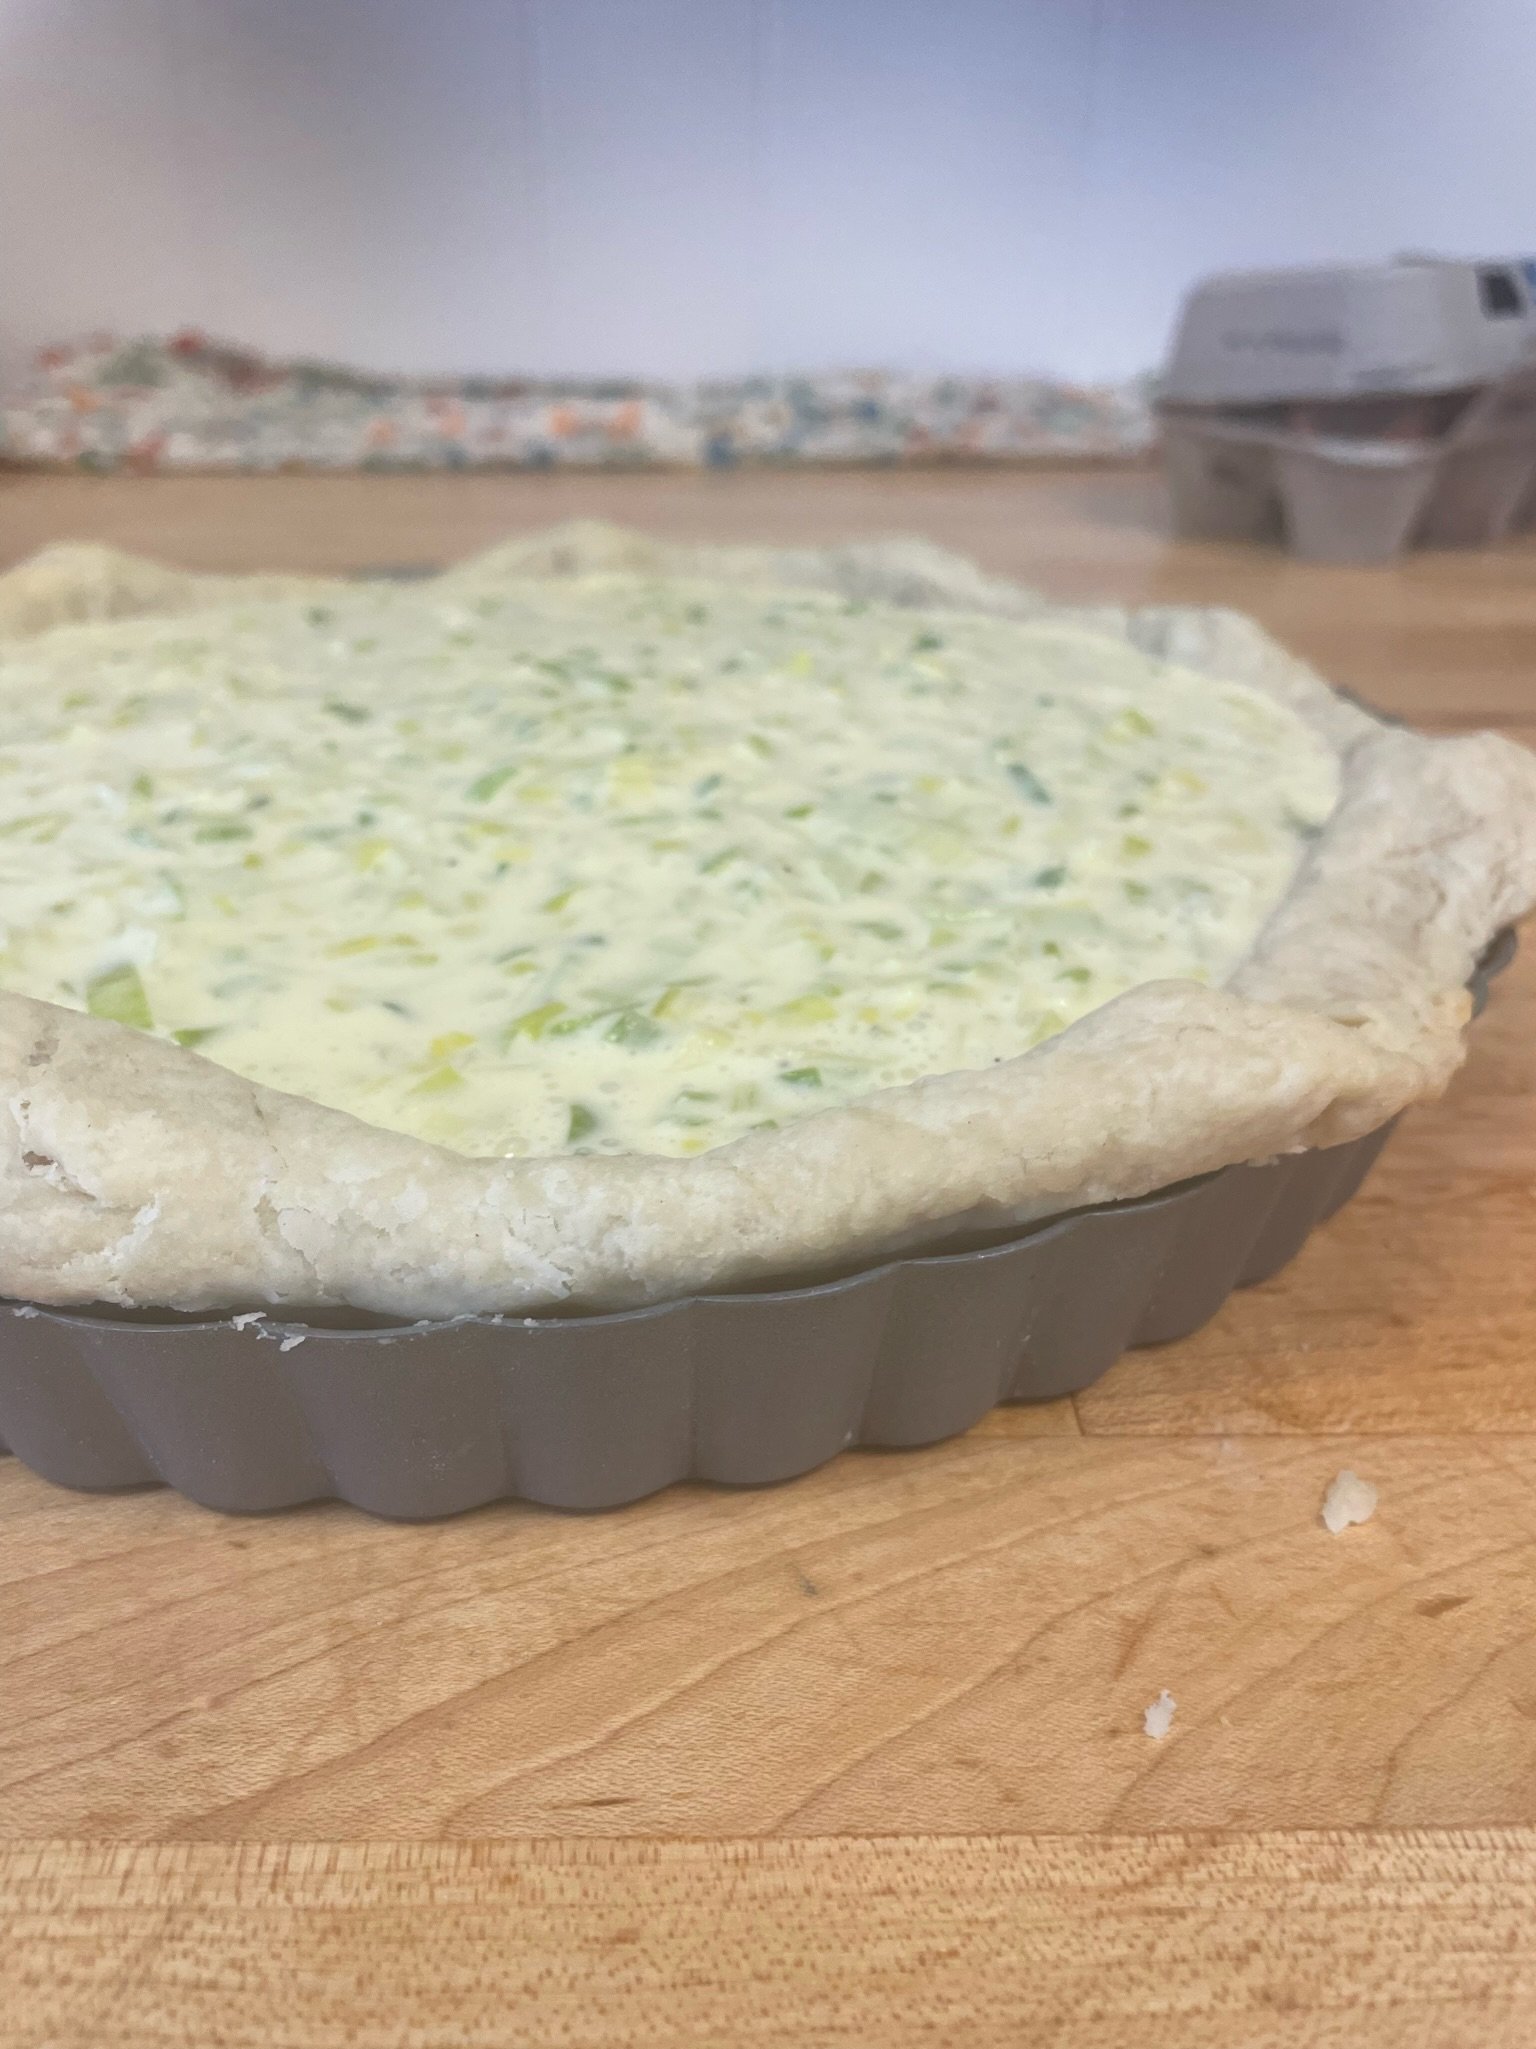
3. Butter a pie plate, and place half the potatoes in an even layer on the bottom. Cover with half of the sauce, and half of the cheese. Repeat with the remaining potatoes, sauce, and cheese.
4. Bake for 30 minutes covered in foil, then remove the foil and bake for another 15-20 minutes or until golden and potatoes are cooked through. Best served hot!
* totally worth it in my opinion to buy a mandoline even if it's only ever used for slicing potatoes.